How to include considered products in a message?
You can add a Considered products element to your automation message. It works with Product viewed and Product liked conditions, enabling you to build scenarios that remind customers about the products they’ve already explored or shown interest in.
By showing items a customer has already shown interest in, you keep the buying journey seamless and relevant – gently nudging them back to products they liked or explored. It’s a simple way to turn browsing intent into conversions by keeping the most relevant products top of mind.
The Considered products block works only in automation messages in a Send message action.
The block is available in Marketer, Creator, and GetResponse MAX accounts.
When you add the Considered products block to an automation message, we create a placeholder with space for the product image, name, and price per unit. We use data gathered through web tracking to show each contact the products they have viewed or liked. Images in the message link to product pages by default.
You can decide where in the message you want to display the items by dragging and dropping the block anywhere in the message template. You can also customize its text and design to suit your brand.
Before you begin:
Connect your online store to GetResponse. You can use one of our plugins or Ecommerce API.
Configuring the Considered products block is a two-part process. First, you create an automation message draft (if you don’t have or don’t want to edit an existing automation message). Then, you use it in a workflow together with the Product viewed or Product liked condition.
Adding the Considered products block to an automation message
To add the Considered products block to a message:
- Go to Automation >> Automation messages.
- Click Create automation message or edit an existing one by clicking on its name.
- Click Design message (or Edit message for an existing one).
- When creating a new message, select your template and proceed to the editor.
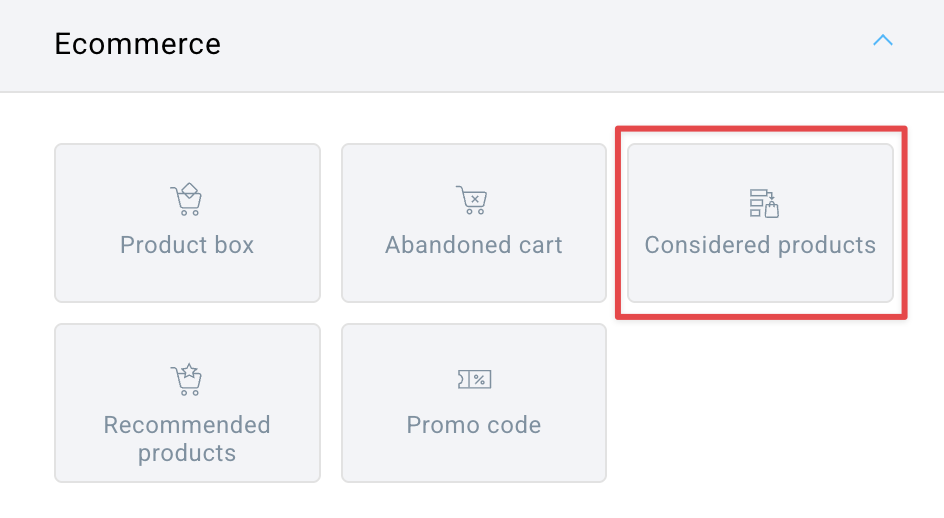
- On the menu on the right, expand Ecommerce.

- Drag and drop the Considered products block to where you want it to appear in the message.
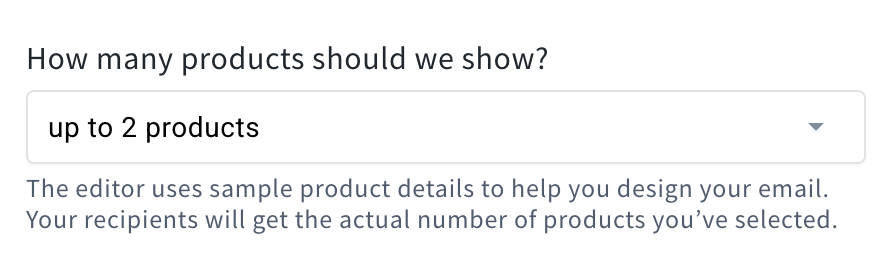
- The placeholder shows two items, but you can choose how many products should be displayed (1, up to 2, or up to 4). To do this, click on the block and select the appropriate option under How many products should we show?
Note: only one Considered products element can be added to a message.
You can now edit the block to suit your brand and encourage your customers to complete their purchase. The product image, name, and price will be automatically populated when the message is sent.
Editing the Considered products block
First, you can change the Product feed design.
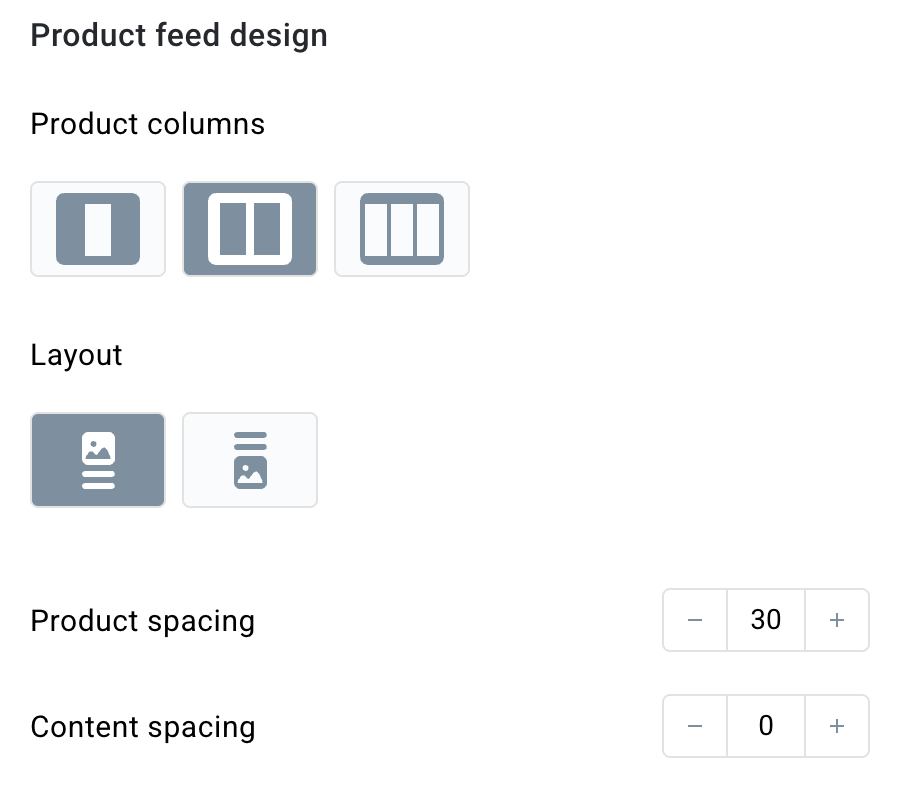
You can change:
- The layout of the element,
- The orientation,
- Spacing between the products,
- Spacing between the product box and the top edge of the block.
Next, you can edit the Product feed style.
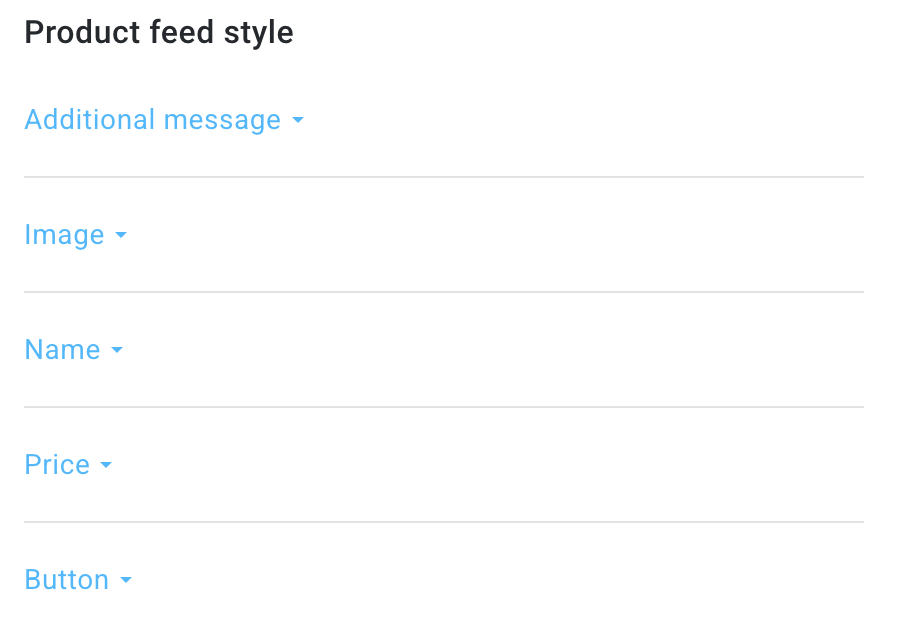
In this section, you can edit the following items one by one:
Additional message
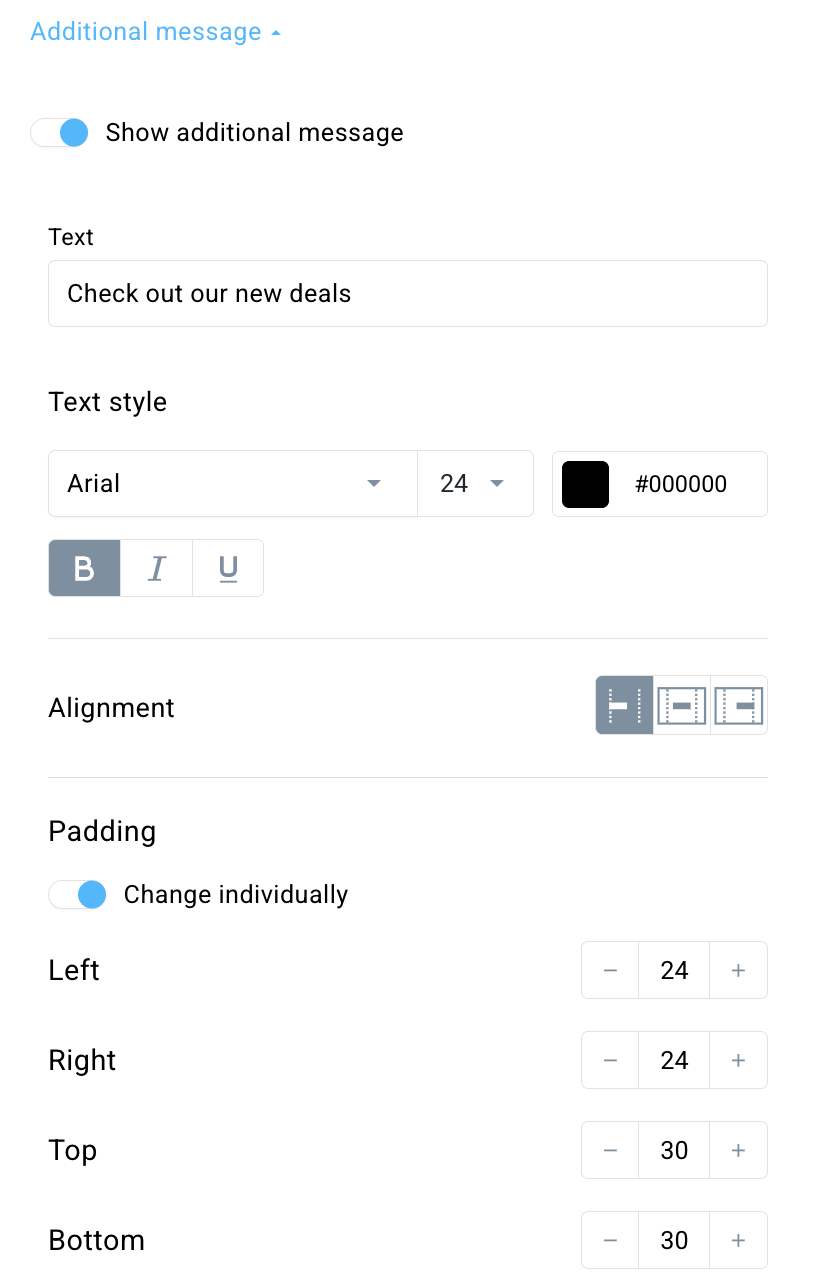
You can enable or disable the additional message by using the switch at the top of the element settings. If this option is enabled, you’ll be able to specify your own text (e.g., Check out our new deals) that will appear at the top of the block.
You can also:
- edit the text style (font, size, color, if it’s bolded, italicized, underlined),
- choose text alignment (right, center, or left),
- add text padding (you can also edit it individually).
Image
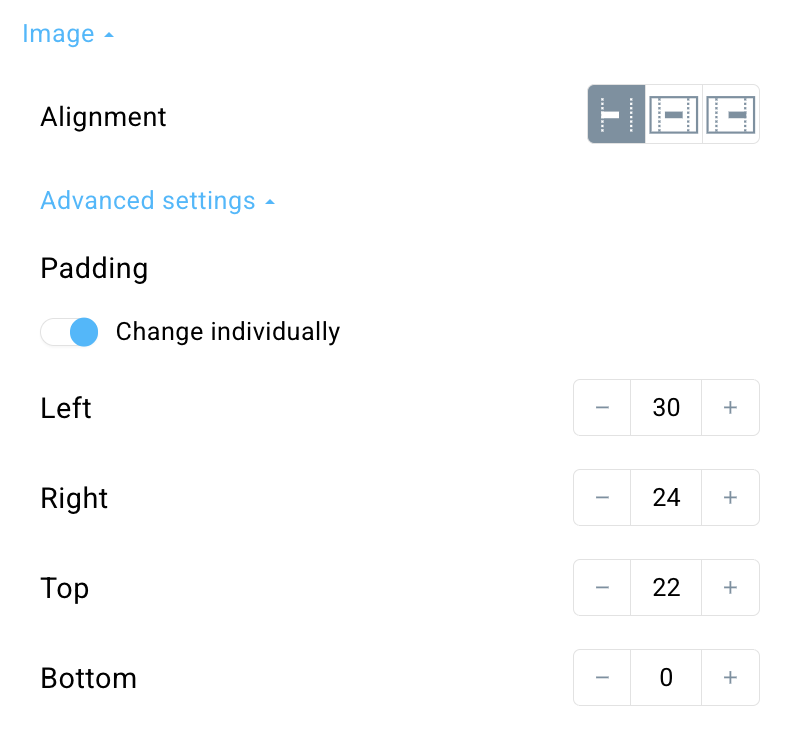
In the Image section, you can edit:
- image alignment,
- (under Advanced settings) padding between the image and the rest of the elements
Name
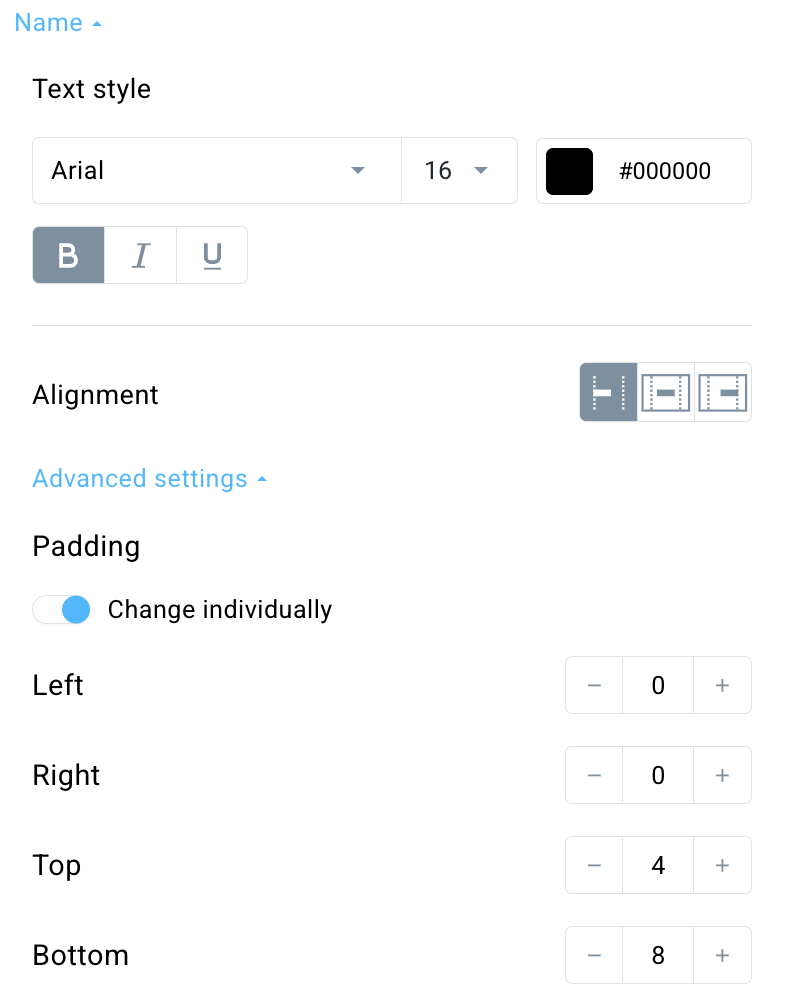
In the Name section, you can edit:
- text style (font, size, colour, if it’s bolded, italicized, underlined),
- (under Advanced settings) padding between the name and the rest of the elements
Price
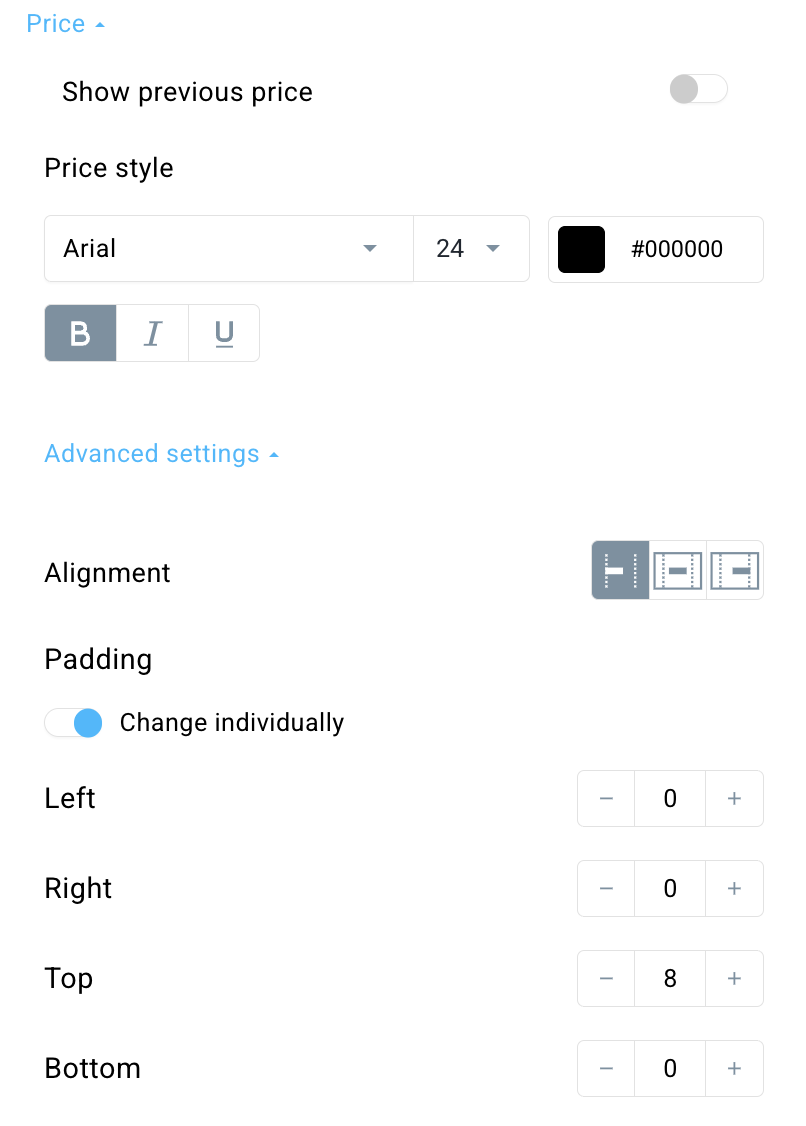
In the Price section, you can edit:
- price style (font, size, colour, if it’s bolded, italicized, underlined),
- (under Advanced settings) text alignment (right, center, or left) as well as padding between the price and the rest of the elements
You can also enable the Show previous price option at the top of this section’s settings.

This will add a new section in the settings called Discounted price style, where you can edit the text style of the discounted price and, in Advanced settings, adjust its alignment and padding. 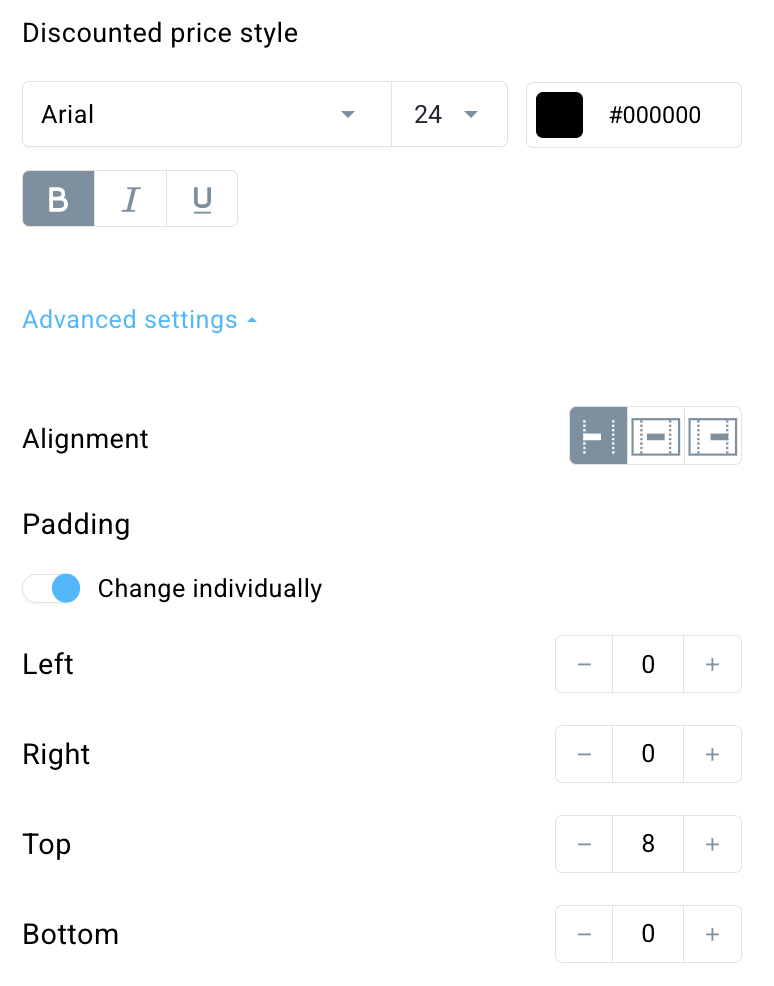
The previous (higher) price will appear above the discounted price in the product block and will be crossed out. Our recommendation: Make the old price clearly distinct from the new one by using a different color. To make this easier for you, we’ll set the old price color to red by default, but you can still edit it later in the Price style section.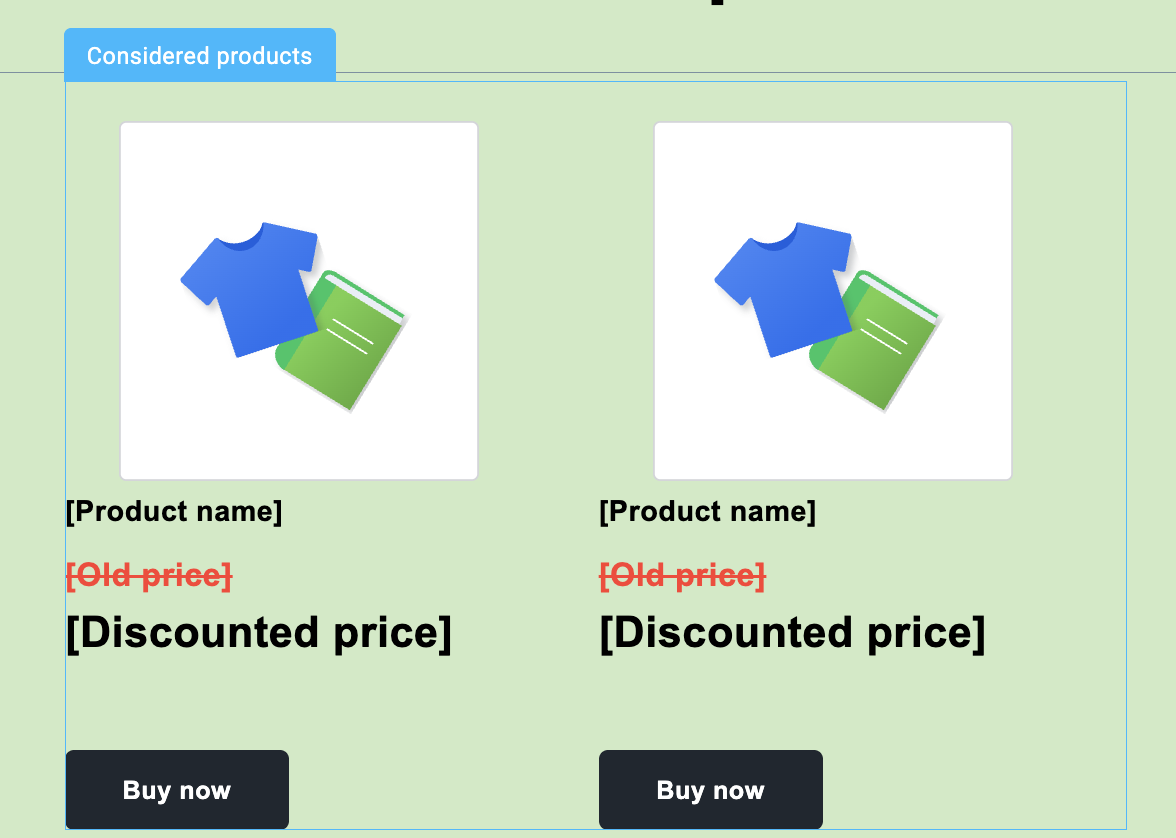
Button
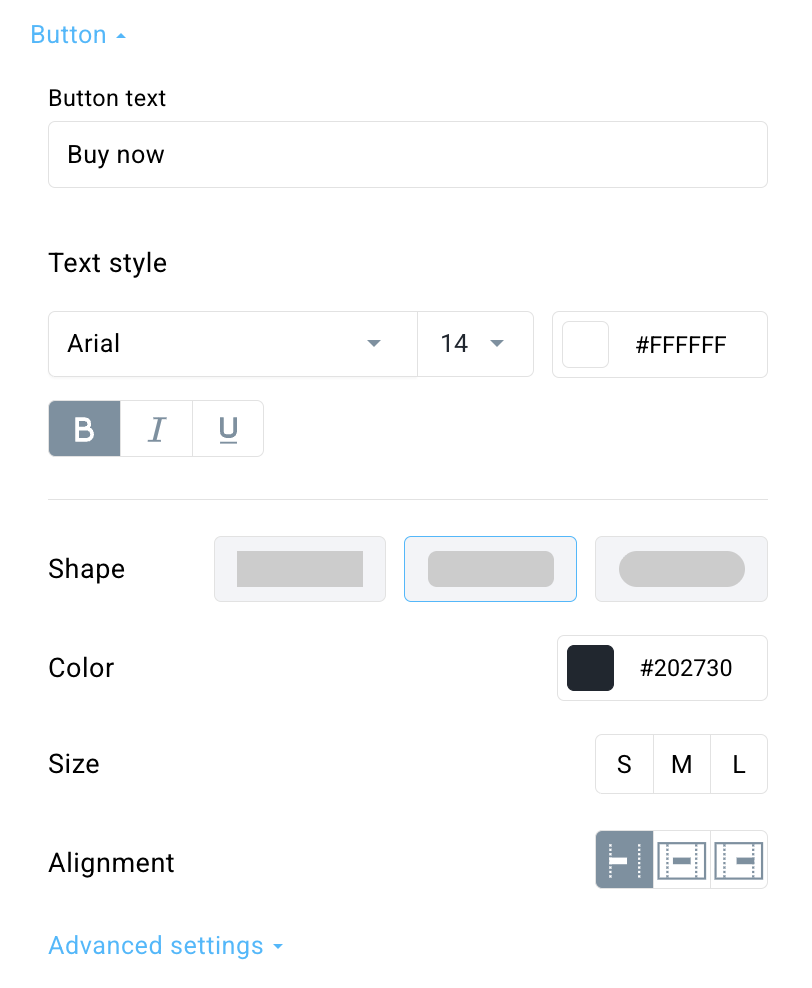
You can edit the text that is displayed on the button and adjust its style (font, size, color, if it’s bolded, italicized, or underlined).
Apart from that, you can also edit:
- shape
- color
- size
- alignment
Under Advanced settings, you can customize the button in more detail:
- background color behind the button,
- border,
- border radius,
- size,
- padding.

In the Mobile view section, you can choose to Keep desktop view on mobile, which means the columns will be displayed exactly as they appear on desktop.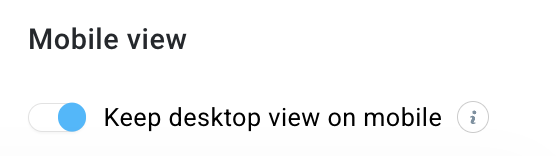
Using the Considered products message in a workflow
Here you turn the message draft into an automation message and finish the setup of how to track considered products. The workflow needs to have at least three elements – the Product viewed/Product liked condition, the Email subscriber filter, and the Send message action.
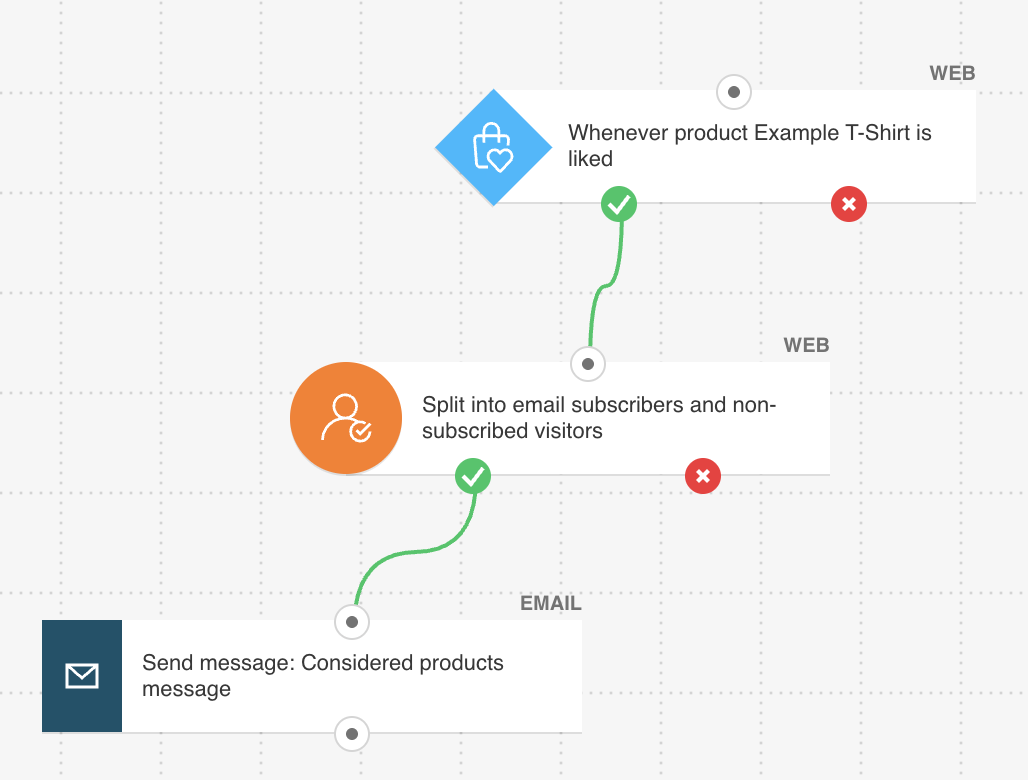
- Build a workflow that starts with the Product viewed or Product liked condition.
- Configure the starting condition.
- Add the Email subscriber filter. Since all the elements being used in this workflow operate within the Web channel – meaning they are accessible to anonymous website visitors who do not need to be subscribers on the list – it is necessary to use this filter to identify people who are already on the contact list, as marketing messages can only be sent to those people.
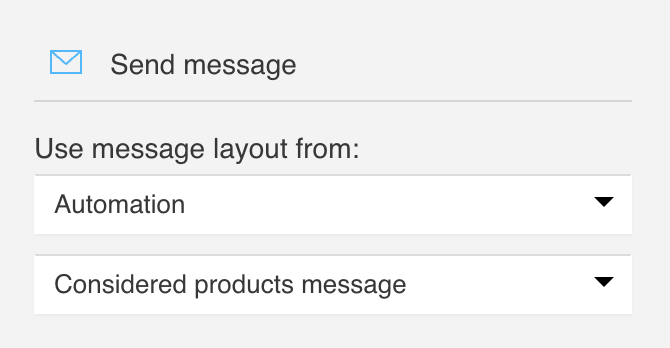
- Configure the Send message action. For message type, select Automation. Next, from the drop-down list, select the message containing the Considered products block.
- (Optional) Set all the elements to Run multiple times to allow sending the message to the same customer every time they like/view a product.
- When you’re done setting up the workflow, click Save and publish. Click Save and exit if you want to save it as a draft.


