How to use templates to build workflows?
Templates are pre-built workflows designed for a variety of marketing situations. You can find them under Tools > Automation > Create workflow. They are built to provide you with a starting point using preselected elements. The conditions, actions, and filters are arranged and connected in a way that will help you manage your contacts and customers journey in specific scenarios. Once you select a template, you’ll need to configure some of its elements. Each required element will prompt you to enter specific information under the Properties tab before you can publish the template as a workflow.
Additionally, you have the option to:
- export new and existing workflows as templates
- import templates
What are the available templates
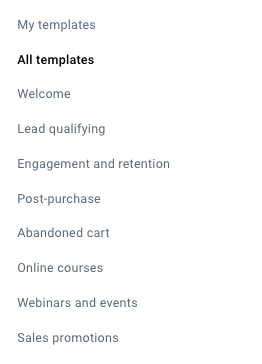
The templates are grouped into 9 categories:
- Welcome
- Lead qualifying
- Engagement and retention
- Post-purchase
- Abandoned cart
- Online courses
- Webinars and events
- Sales promotions
- Affiliate marketing
Once you select the category, scroll to choose the template you want to use. You can use a template to automate a specific process, for example, sales promotions or special event sales. You can also build an entire series of workflows by using tags applied at the end of one workflow to trigger another workflow for contacts with that tag.
Using the prebuilt templates
Below are general instructions for using templates. You’ll find instructions on how to configure specific templates in the Working with templates section.
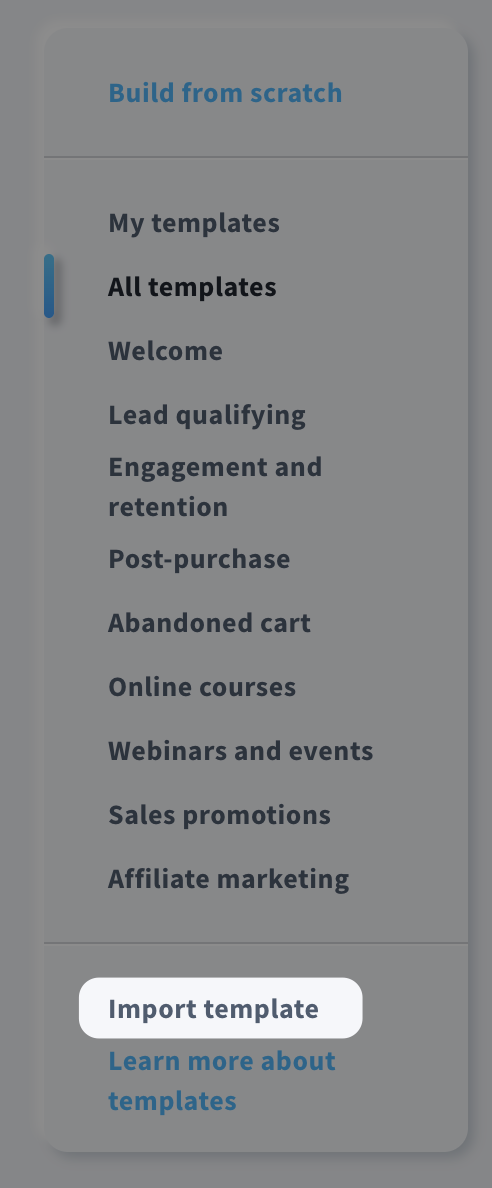
Accessing the template gallery
- Go to Tools > Automation.
- On the Manage workflows page, click the Create workflow button.
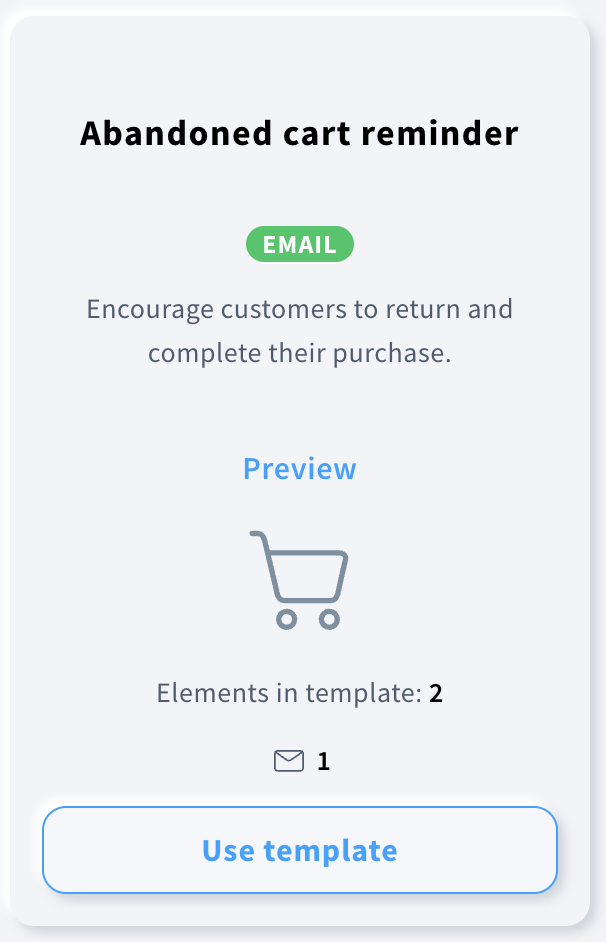
- A page with all the templates will open. You can scroll to see all, or click the category name in the side menu to browse by category.
- Click Preview if you want to see the template before using it.
- Click the Use template button on the tile. This will take you to the workflow template. You can now start setting it up.
For step-by-step instructions on how to configure specific templates, go to the Working with templates section.
Sharing templates
You can export and import templates as a GRFLOW file. If you want to export a file to share with others, all elements will be reset to their default settings during export. This ensures that any sensitive information like list names, tags, or message names are removed.
Exporting templates
You can export templates directly from the workspace or from the Manage templates page:
- in the workspace, move the mouse pointer over the Save and publish button to expand additional actions. Select Save and export to download the template to your computer.
- on the Manage workflows page, click the Actions menu icon (3 vertical dots) and select Export to download the file to your computer.

Note: Because the file is coded, you won’t be able to open or edit its content.
The exported templates are downloaded to your computer (the workflow name is also the file name). You can add them to My templates by importing the downloaded files.
Importing templates
You can upload a template as GRFLOW file up to 10MB.
1. Go to Tools > Automation.
2. On the Manage workflows page, click the Create workflow button.
3. A page with all the templates will open. Click Import template in the side menu.
4. Enter a name (required) and description (optional) of your template.
5. Upload the template. You can:
- drag and drop the file from your computer into the upload area,
- or click Select a file from your computer to find and select a file from your computer.
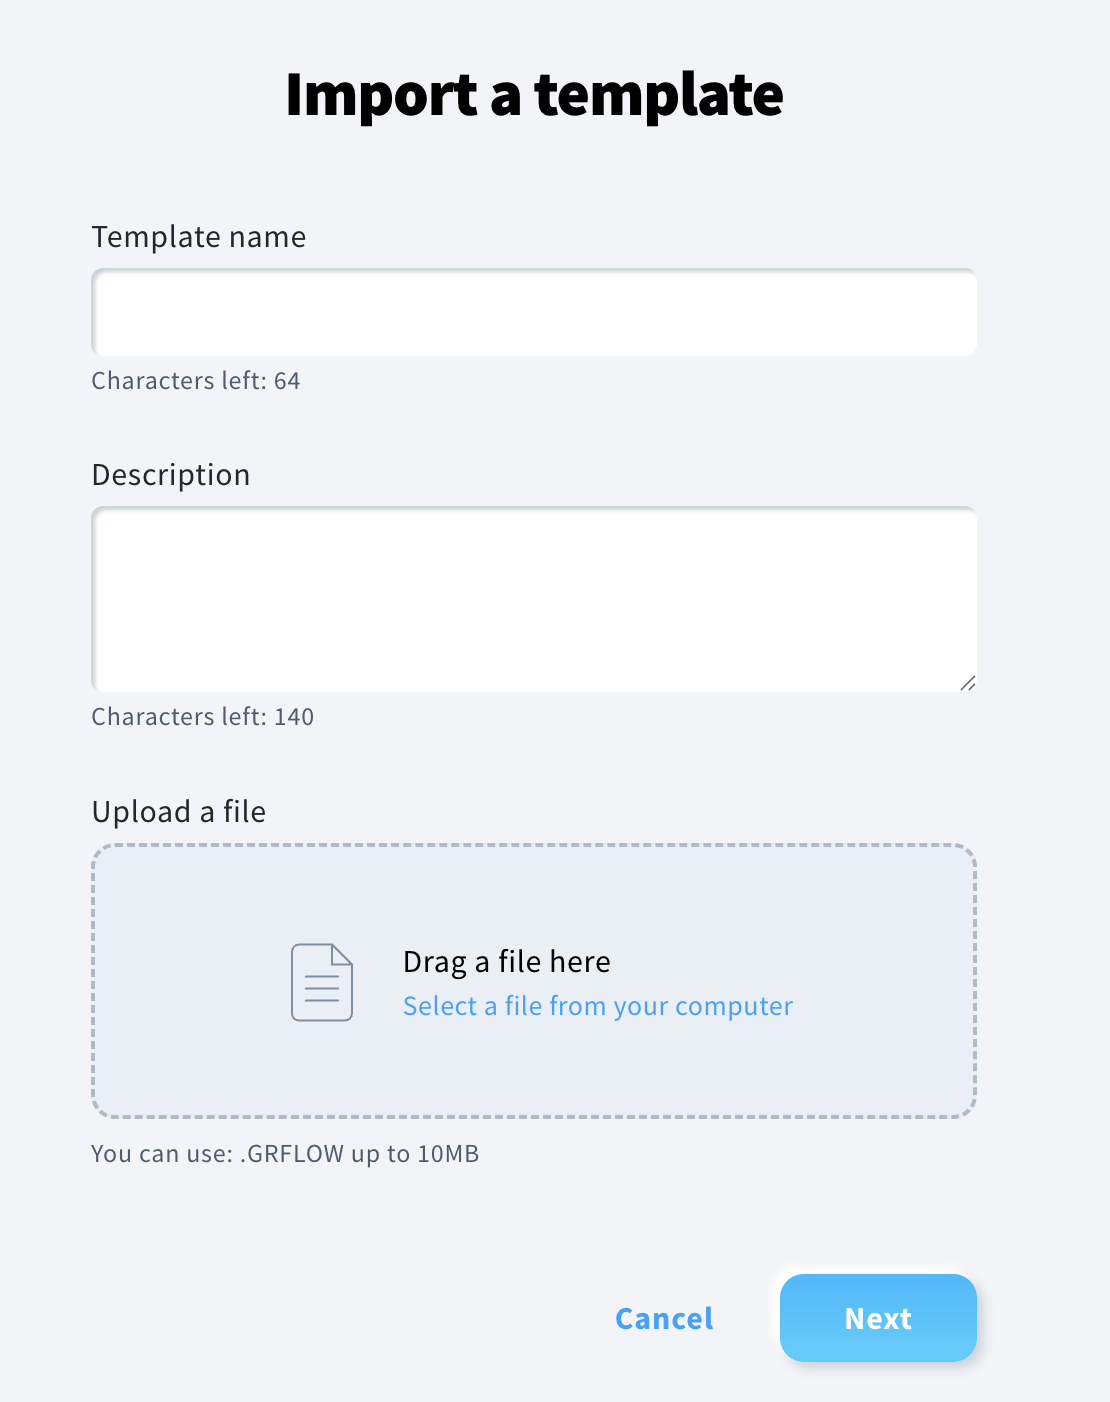
6. Click Next.
The template will be added to My templates. Your imported templates are organized chronologically, oldest to newest. You can edit or delete your existing templates.


