Post-webinar follow-up
You can use the Post-webinar follow-up template to automatically send the webinar materials (and any other relevant information) to the contacts you invited.
Template overview
Category: Webinars and events
Elements in template: 5
Minimum number of elements to configure: 4
Here’s what you’ll need to configure the elements and publish the template as a workflow:
– 2 automation messages or messages (or drafts) that can be used as automation messages
– (Optional) tags. You can create tags as you’re building the workflow but its best to have a basic tagging plan set.
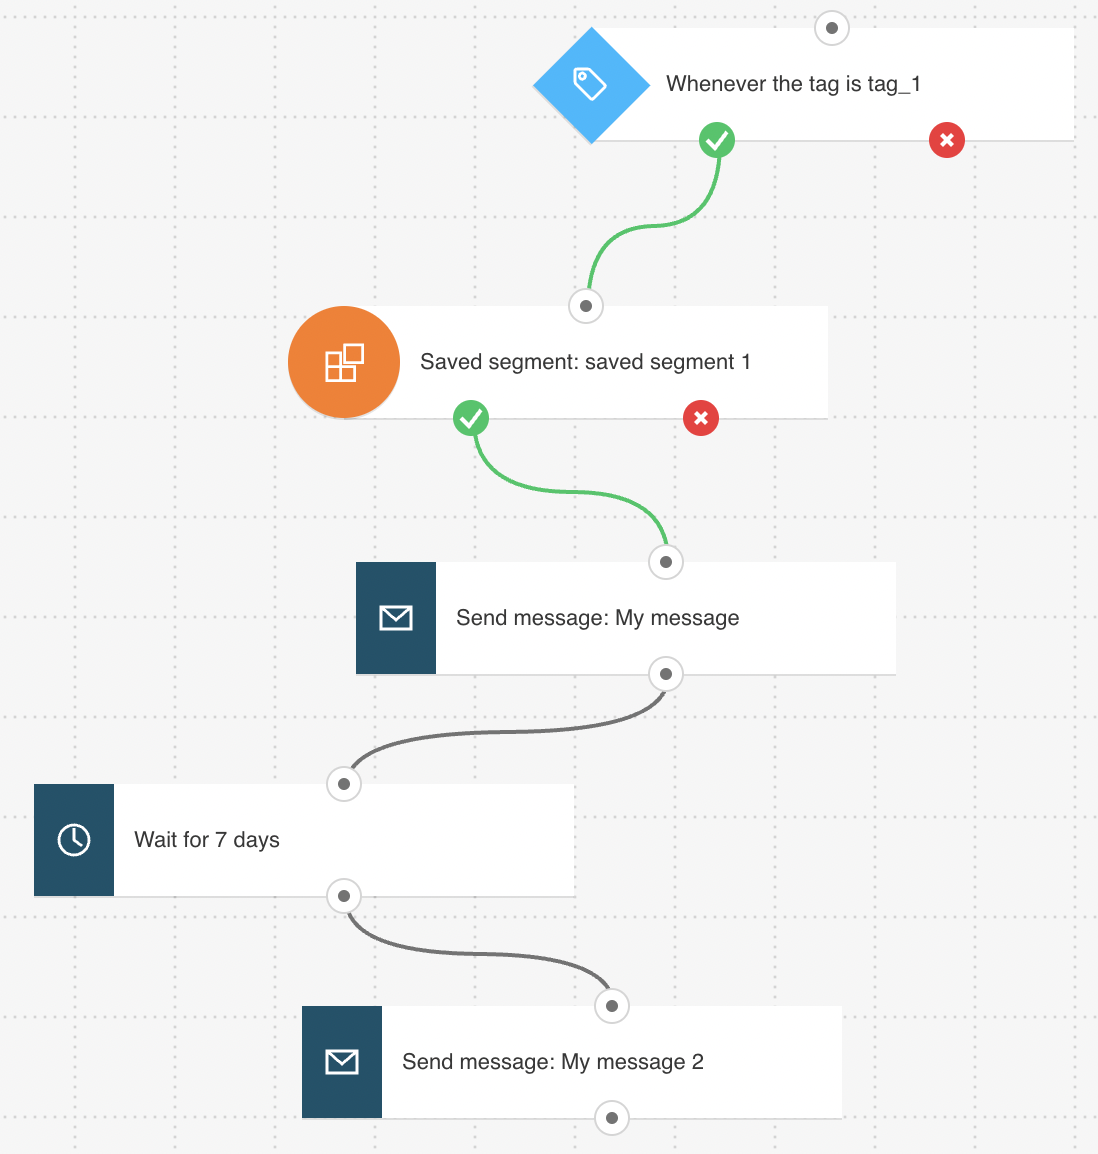
Configuring the workflow
The workflow start date should be set to 1 day after the webinar date. All greyed out elements need to be configured. Click an element to open its Properties tab. Note: The Wait element has been preset to the recommended delay.
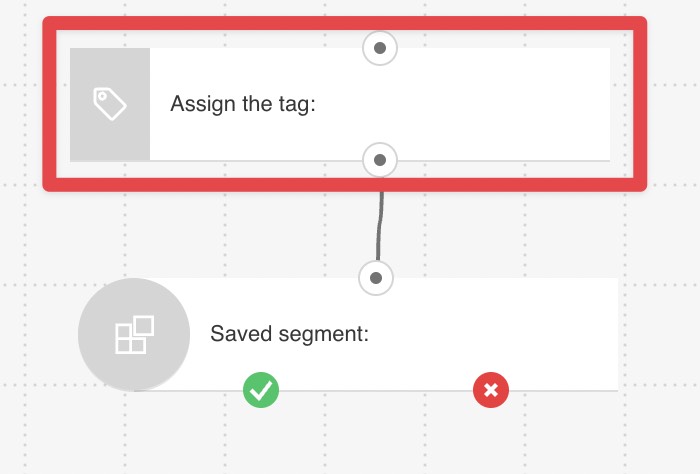
- In the If tag element, select the tag triggering the workflow. The workflow could start using the tag that was applied in the Webinar promotion workflow – for example “invitation sent” or it can be assigned by you.
Note: In Properties, the switch that enables adding contacts who had that tag before the workflow is published set to ON. Keep the time settings set to Never.
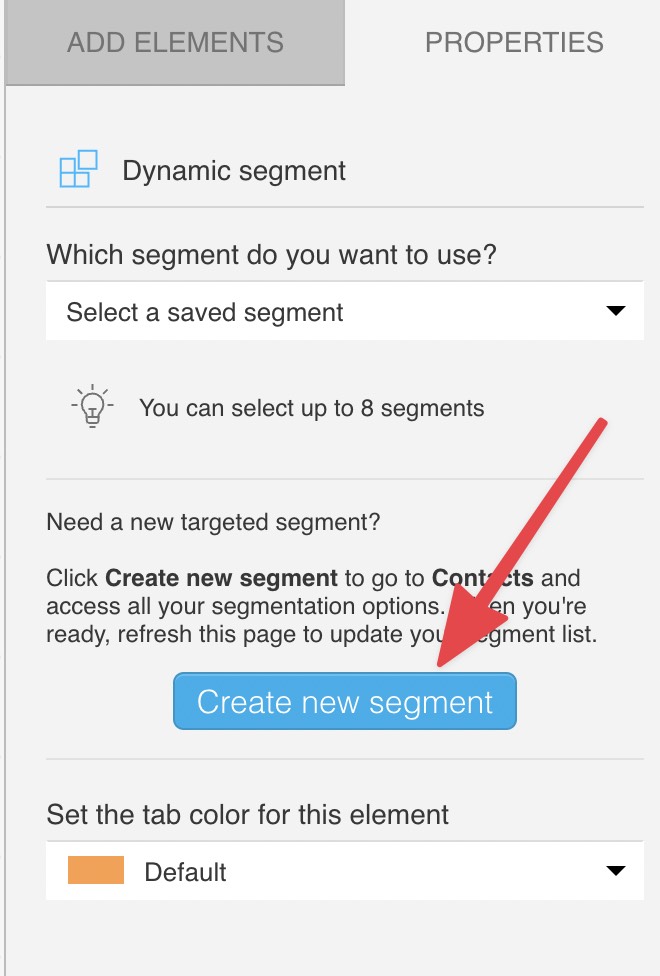
- In the Dynamic segment filter, select your saved segment
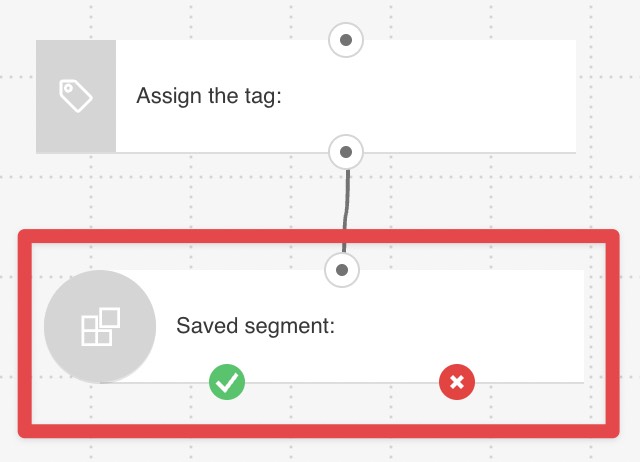
You need to use the segment you created before. In order to create the segment, first you need to use advanced search. Go to Contacts -> Show all contacts -> Advanced search and then, click on Add condition. The conditions should be set to: “contact actions -> webinars -> participated -> registrants and contact actions -> webinars -> not participated -> attendee.” This way you can be certain you’re tracking everyone who has registered. Then, click on Create segment in order to be able to use it in the Dynamic segment filter.
If you need a new targeted segment, you can also click on Create new segment in the element Properties:
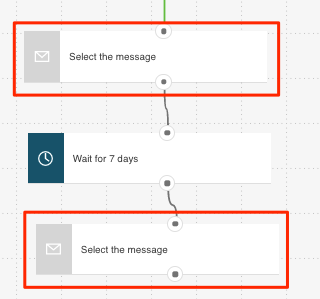
- In the Send message actions, select the messages you want to send.
- Click Publish when you’re done setting up the template or Save and exit if you want to finish editing the template later (it will appear as a draft on the Manage workflows page).


