How to add CTA buttons to a webinar?
CTA (Call‑to‑Action) buttons let you prompt webinar attendees to take action at the right moment – for example, visit a sales page, register for another event, or sign up for your newsletter. In GetResponse webinars their setup is quick and intuitive.
What is a CTA button
A CTA button is a clickable message displayed to participants during a webinar. It can appear as:
- a bar (banner) at the top of the webinar room, or
- a pop‑up message in the chat.
Each CTA includes a title, button text, and a link that redirects attendees to a specific page (for example, a landing page, product page, or your store).
CTAs help you:
- guide participants to the next step without leaving the webinar,
- increase conversions at peak engagement moments,
- smoothly connect free webinars with paid offers.
How to add a CTA button during a webinar
- In your webinar room, from the left‑side menu click Call‑to‑Action.
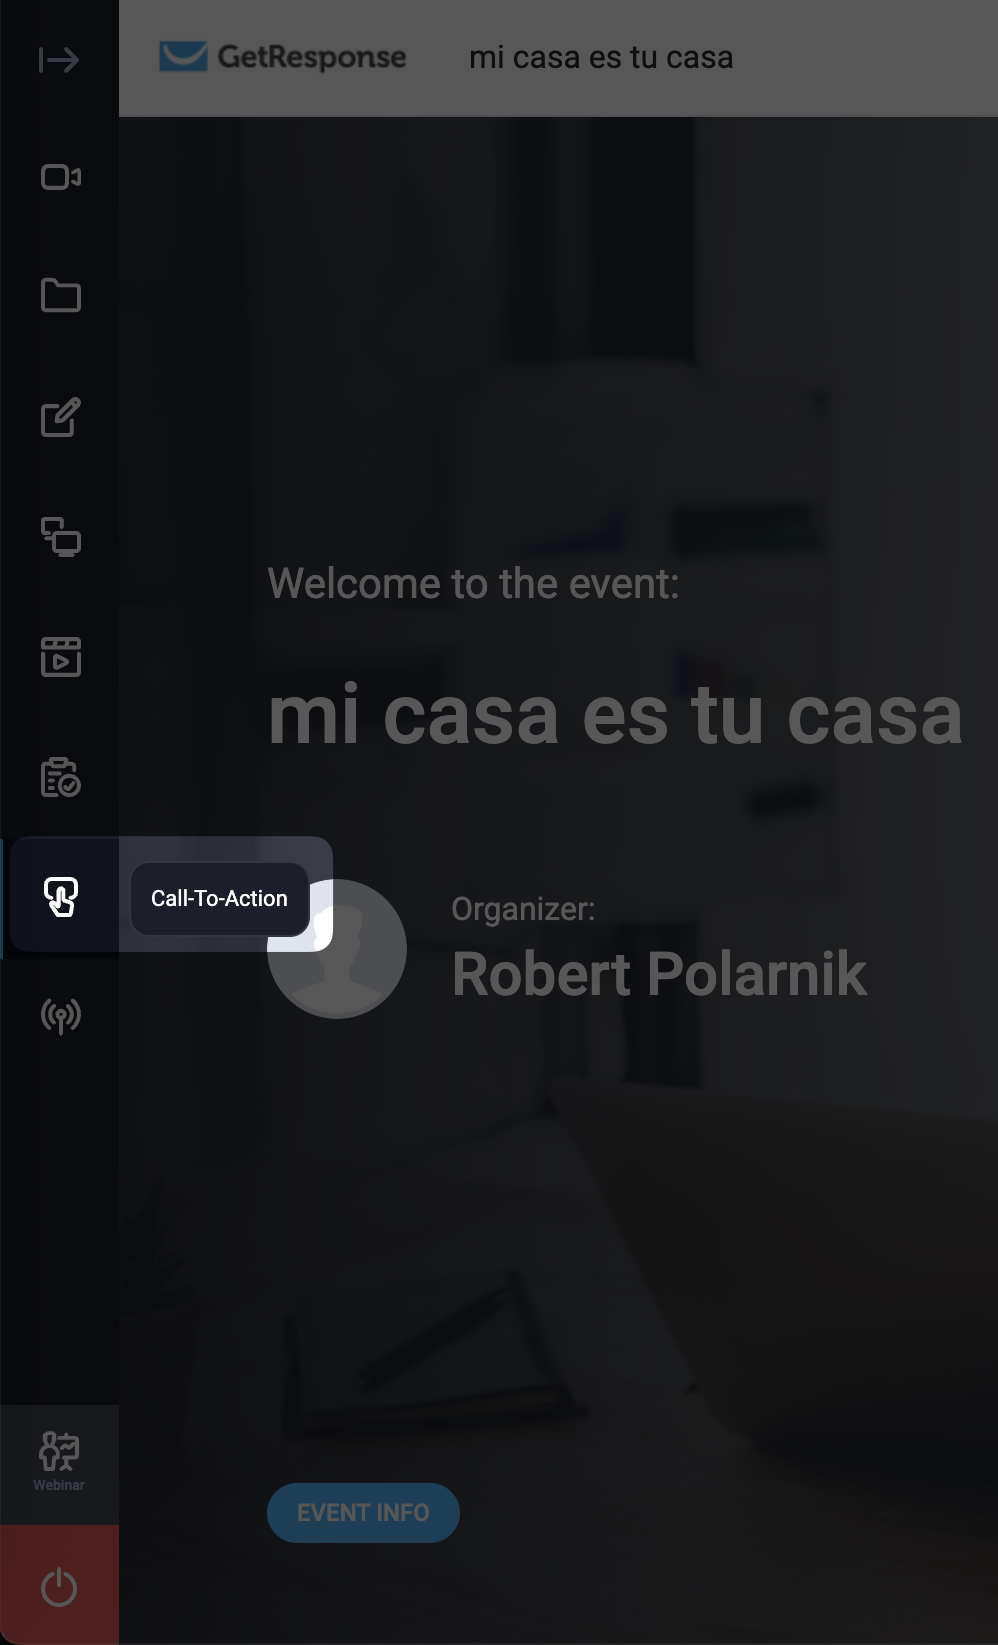
This opens the CTA Wizard, where you can select existing CTAs (under My CTA) or create a new one.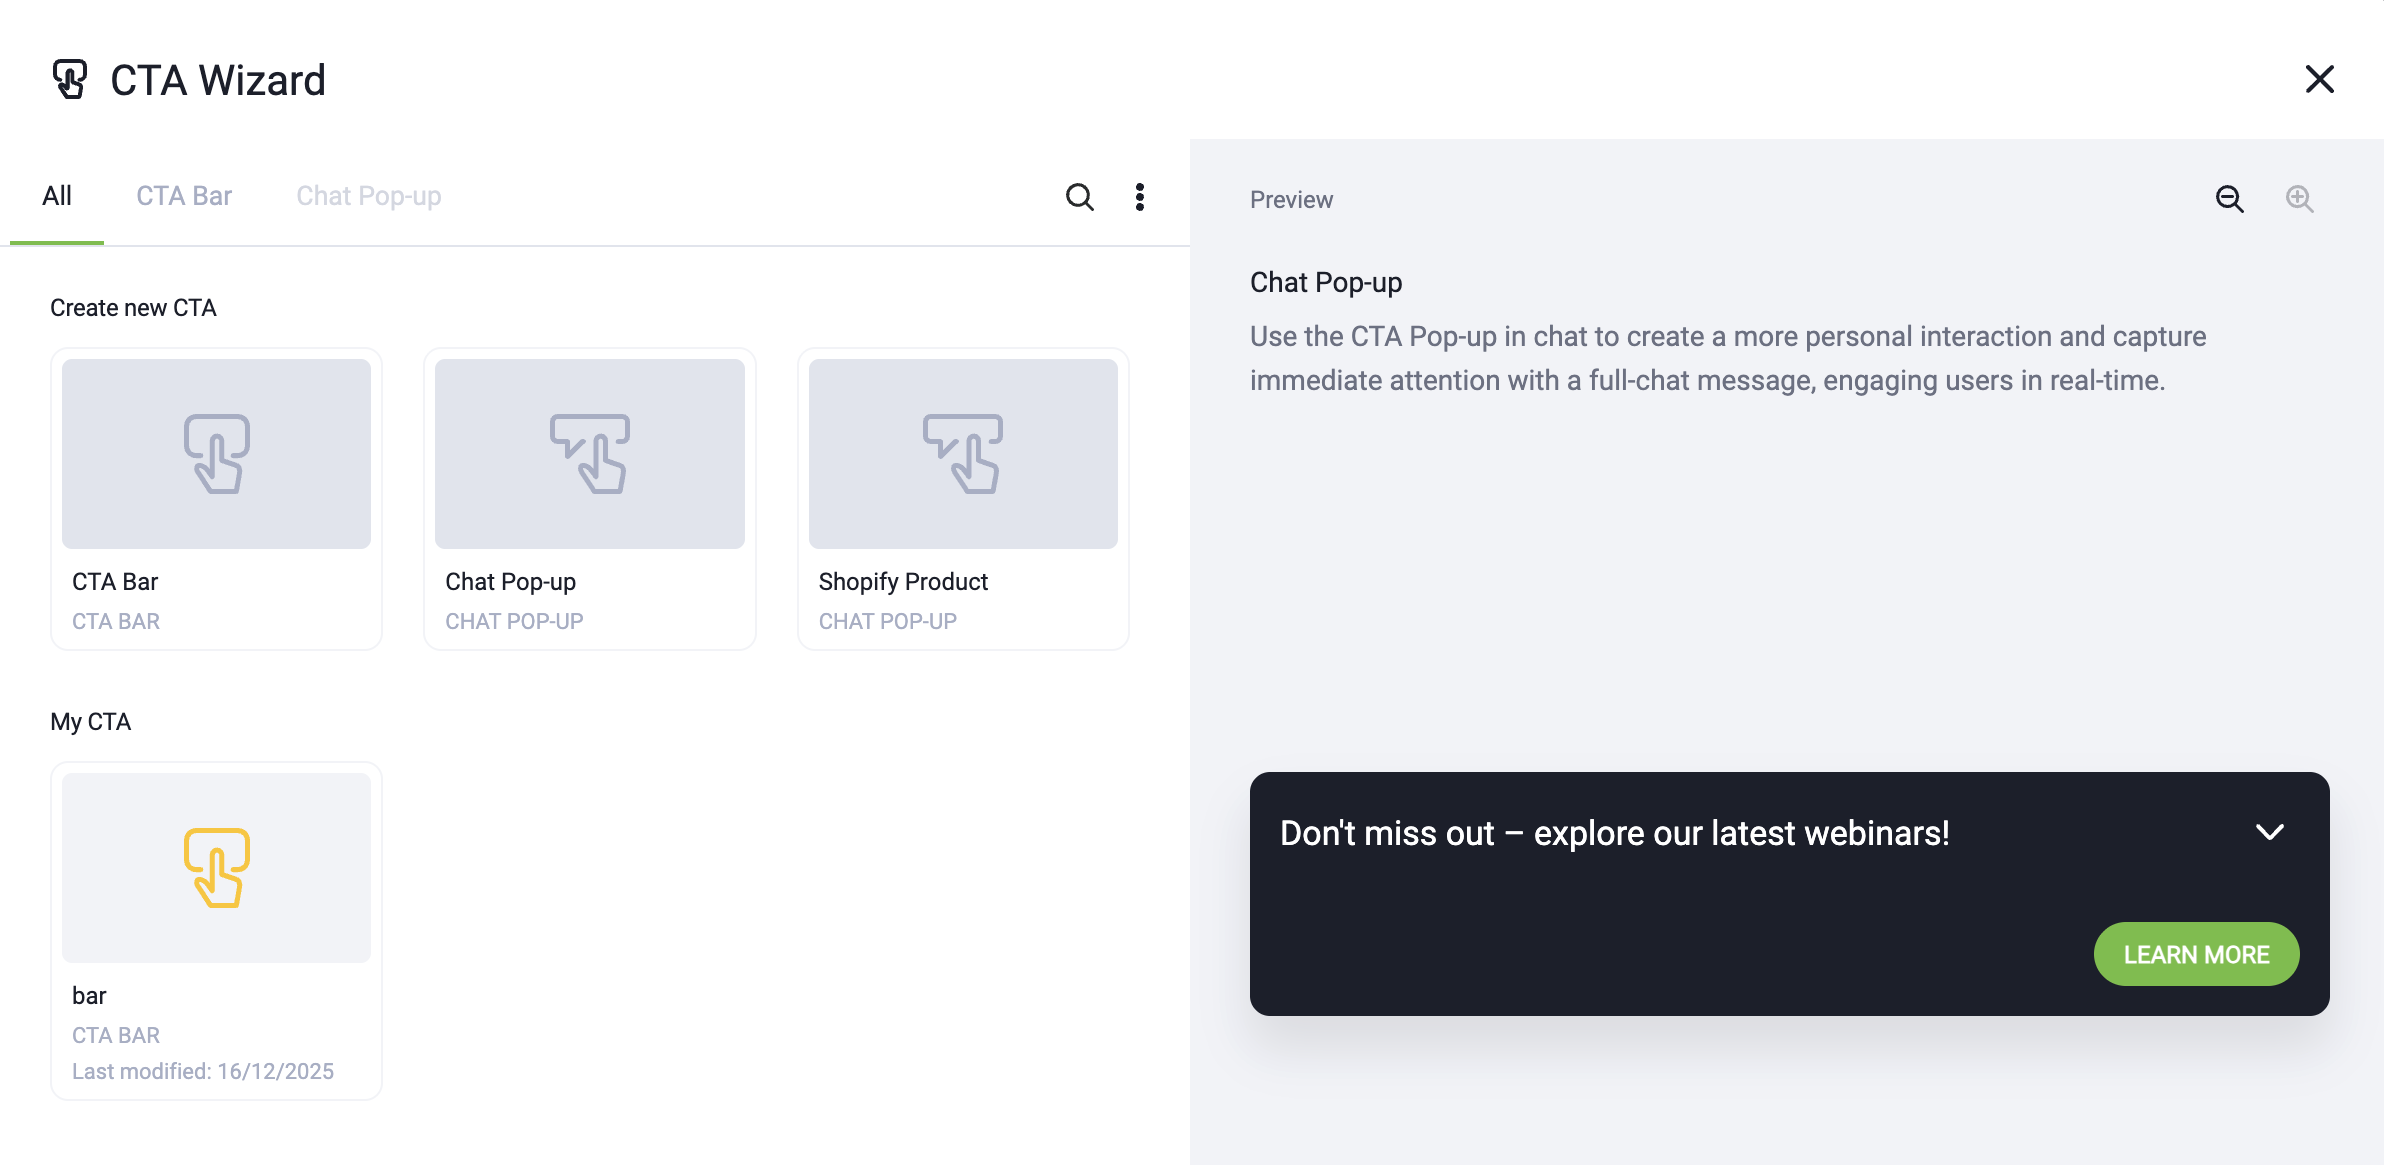
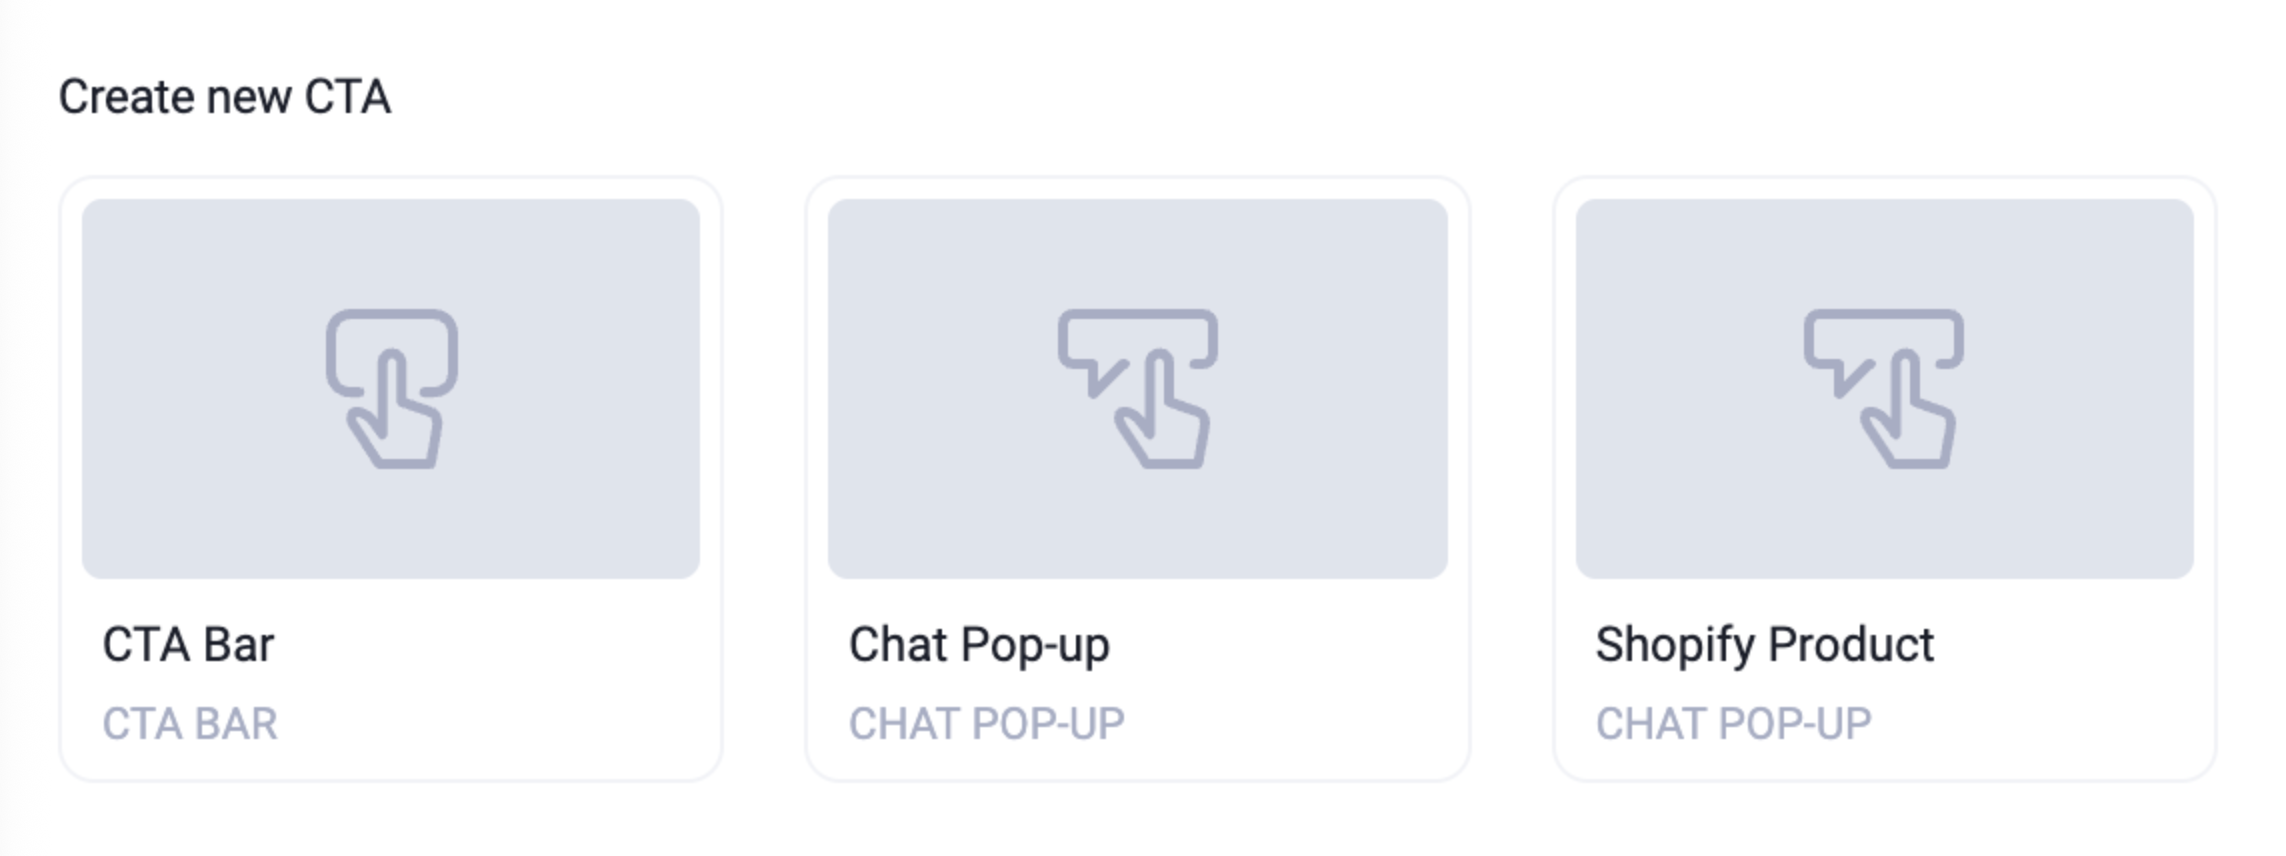
- Under Create new CTA, decide how the CTA should appear to participants by selecting the CTA format:
- CTA Bar (displayed at the top of the screen)
- Chat Pop-up (shown inside the chat)
- Shopify Product (also displayed as a pop-up inside the chat window, but linked to a product page from any Shopify store – integration with Shopify isn’t required)
All formats are configured in the same way. You will see a live preview while editing.
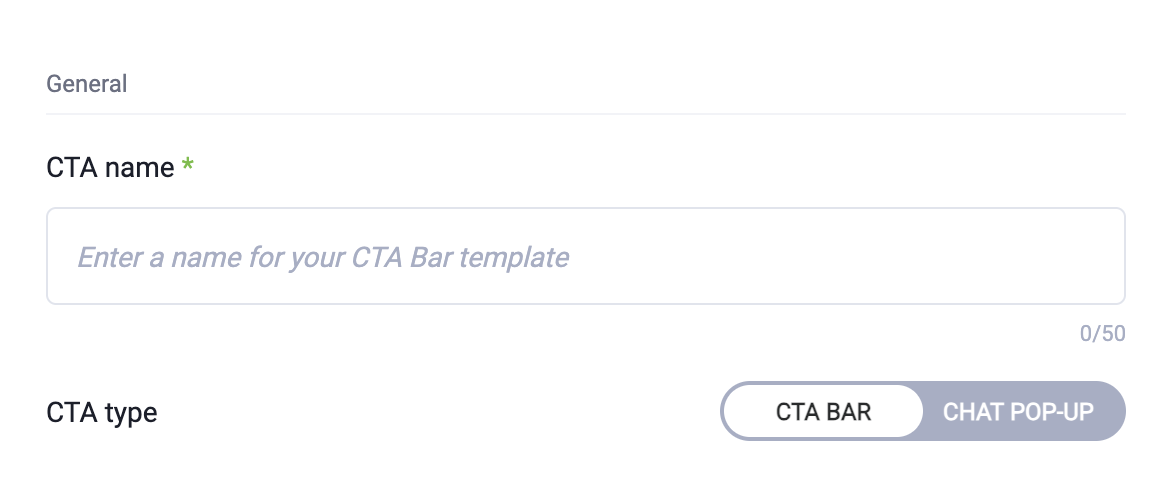
- In General section:
- enter the CTA name – visible internally for your bar/pop-up template
- select the CTA type – you can switch between CTA Bar and Chat Pop-up
- In Text section:
- enter the Title (up to 75 characters) – displayed above or beside your CTA button
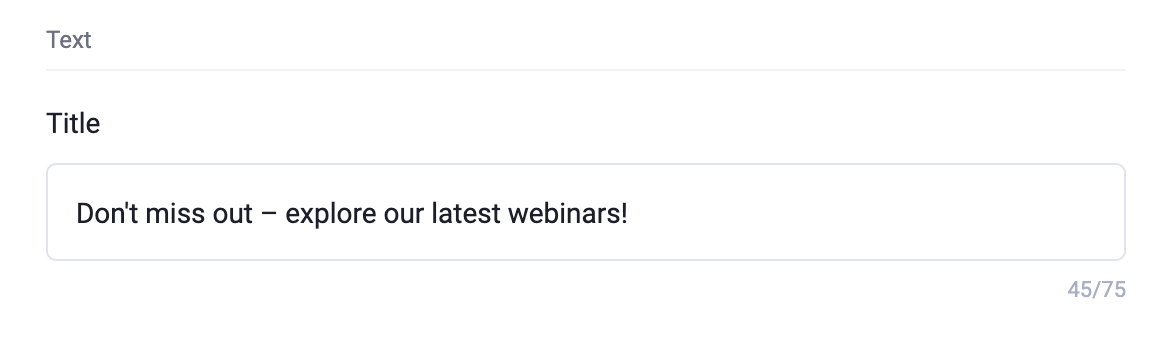
- enter the Title (up to 75 characters) – displayed above or beside your CTA button
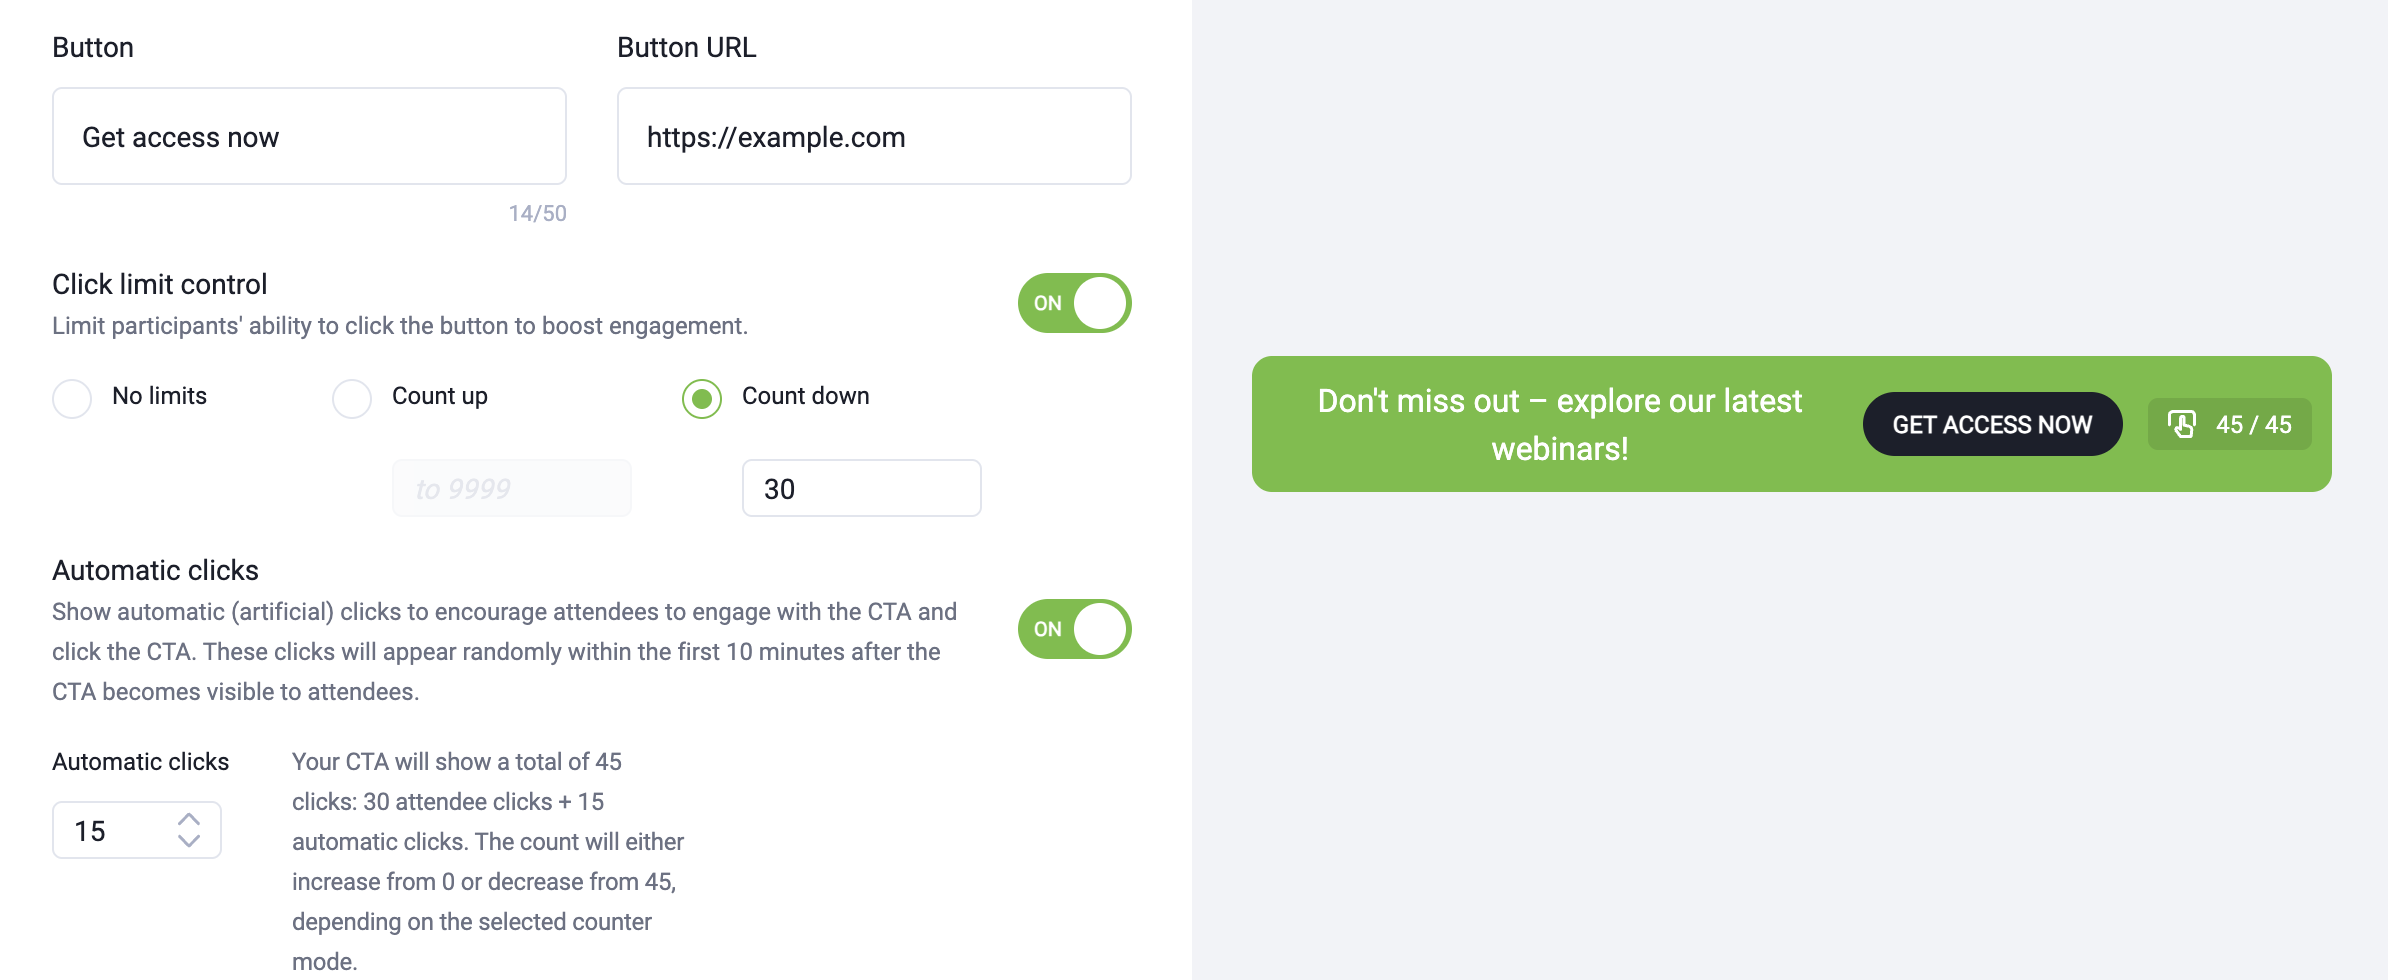
- In Button section:
- enter Button text (up to 50 characters, visible on the button), for example: Register now, Get the offer
- in Button URL (the destination link), paste the URL that participants will be redirected to after clicking the button. This can be:
- a GetResponse landing page, or website
- a paid webinar registration page
- an online store or checkout page
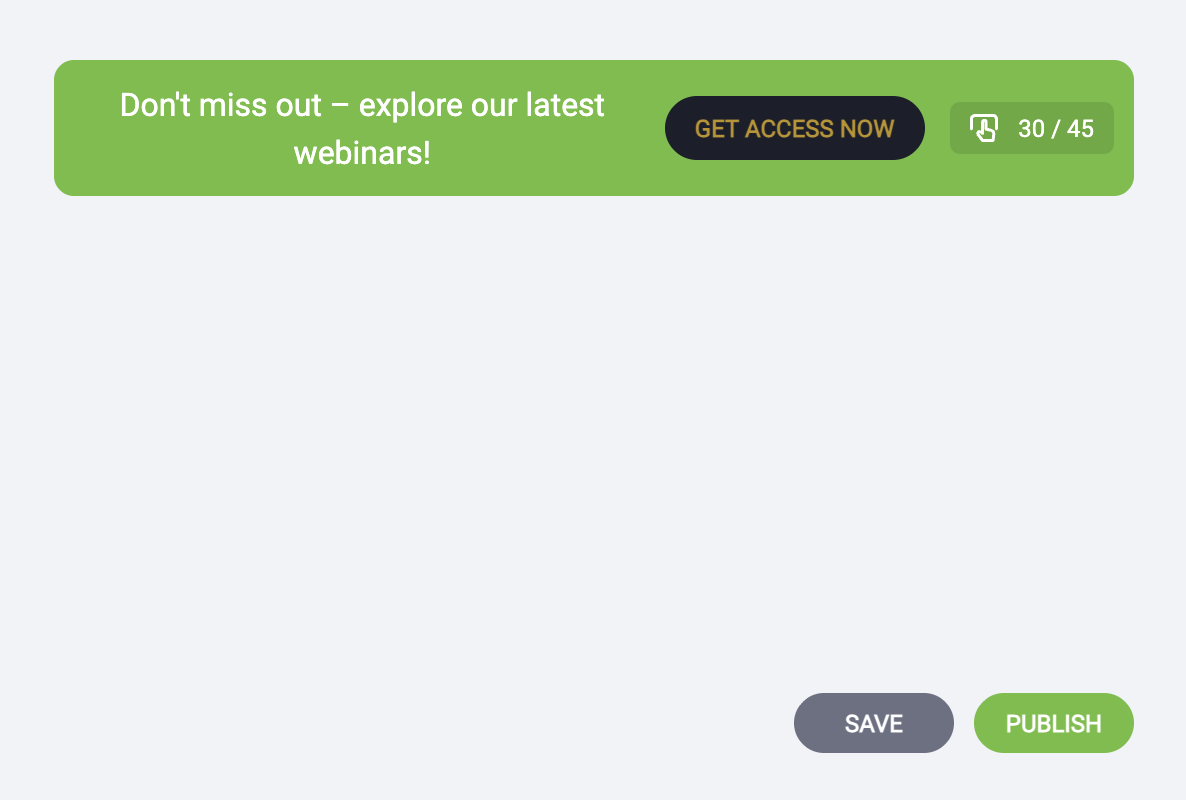
- You can enable Click limit control using the ON/OFF slider beside it to create urgency (for example: Only 5 spots left). Click limit control has three options:
- No limits – showing the clicks without any limit
- Count up – displays a live counter that increases with each click, up to the set limit
- Count down – displays a live counter that decreases from a set limit with each click
- When Click limit control is enabled, you can also enable Automatic clicks using the ON/OFF slider. This generates simulated (non-real) clicks to create early activity and encourage attendees to engage with the CTA. These artificial clicks are added on top of the configured click limit – for example, if the limit is set to 45 clicks, the counter will show 45 real attendee clicks + extra clicks based on the amount you configure. The artificial clicks are distributed randomly within the first 10 minutes after the CTA becomes visible.
- In Images section, you can Add images to be displayed in your CTA Bar/Chat Pop-up. After uploading the images, you will be able to enter Image URL, allowing it to link directly to your product.
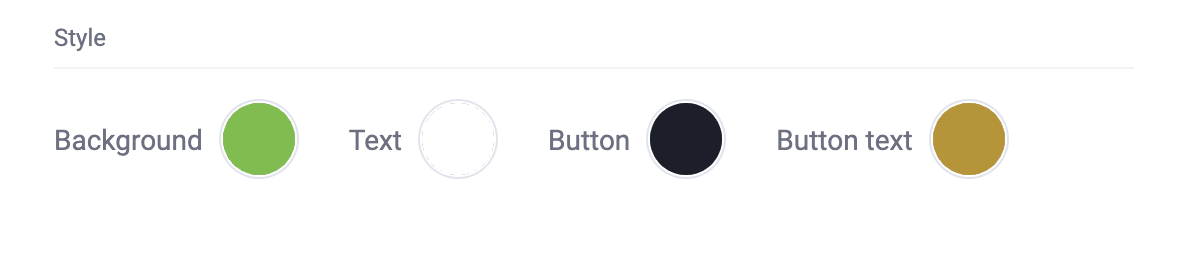
- In Style section, select the colors of Background, Text, Button, and Button text.
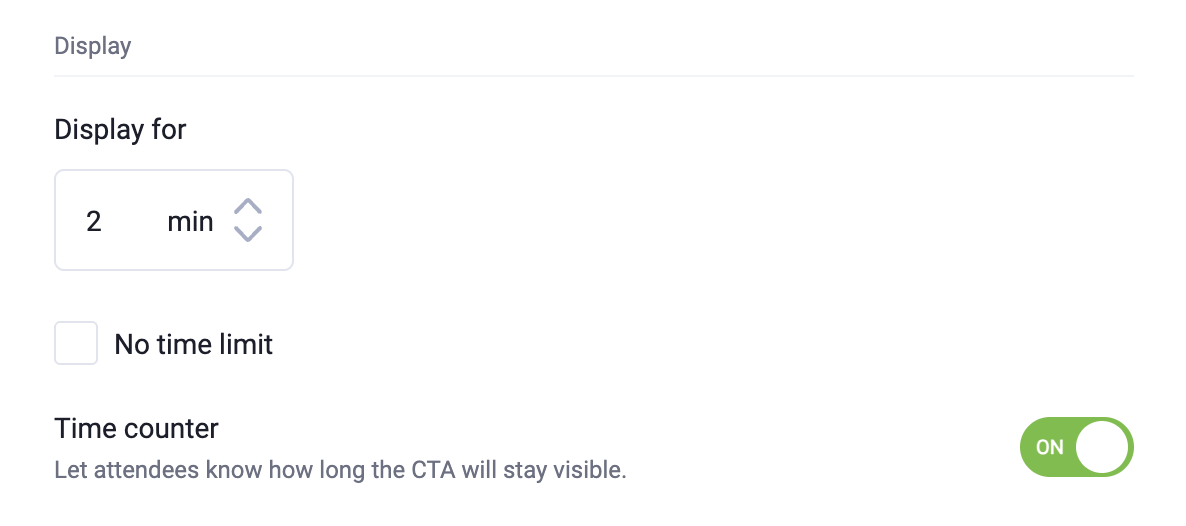
- In Display section, the No time limit option is enabled by default, which means your CTA will be visible all the time. You can uncheck this option and set how long to display it for, and also decide whether you want to inform participants about the duration for which the CTA will be visible.
- When ready, click SAVE to keep it as your template and/or PUBLISH to display it immediately.
It is not possible to check who clicked the button or image.
It is not possible to manage CTA bars or Chat Pop-ups outside the webinar room, but all saved CTAs can be activated later during another live events.
Best practices for using CTAs in webinars
- Show CTAs when engagement is highest (for example, after presenting an offer).
- Use clear, action‑oriented button text.
- Link CTAs directly to the next logical step (signup, purchase, registration).
- Prepare multiple CTAs in advance for different moments of the webinar.
CTA buttons help you turn webinar engagement into real results – registrations, leads, and sales – without interrupting the experience for your audience.


