
How to integrate Shopify and GetResponse?
Before you begin
Make sure that the GetResponse plugin in your Shopify account is not already installed. To work properly, it must be installed as part of the process outlined below.
We recommend creating a separate contact list dedicated to this integration and not using it for any other purposes. This will help prevent potential contact synchronization issues.
Integrate your Shopify account
To connect to Shopify:
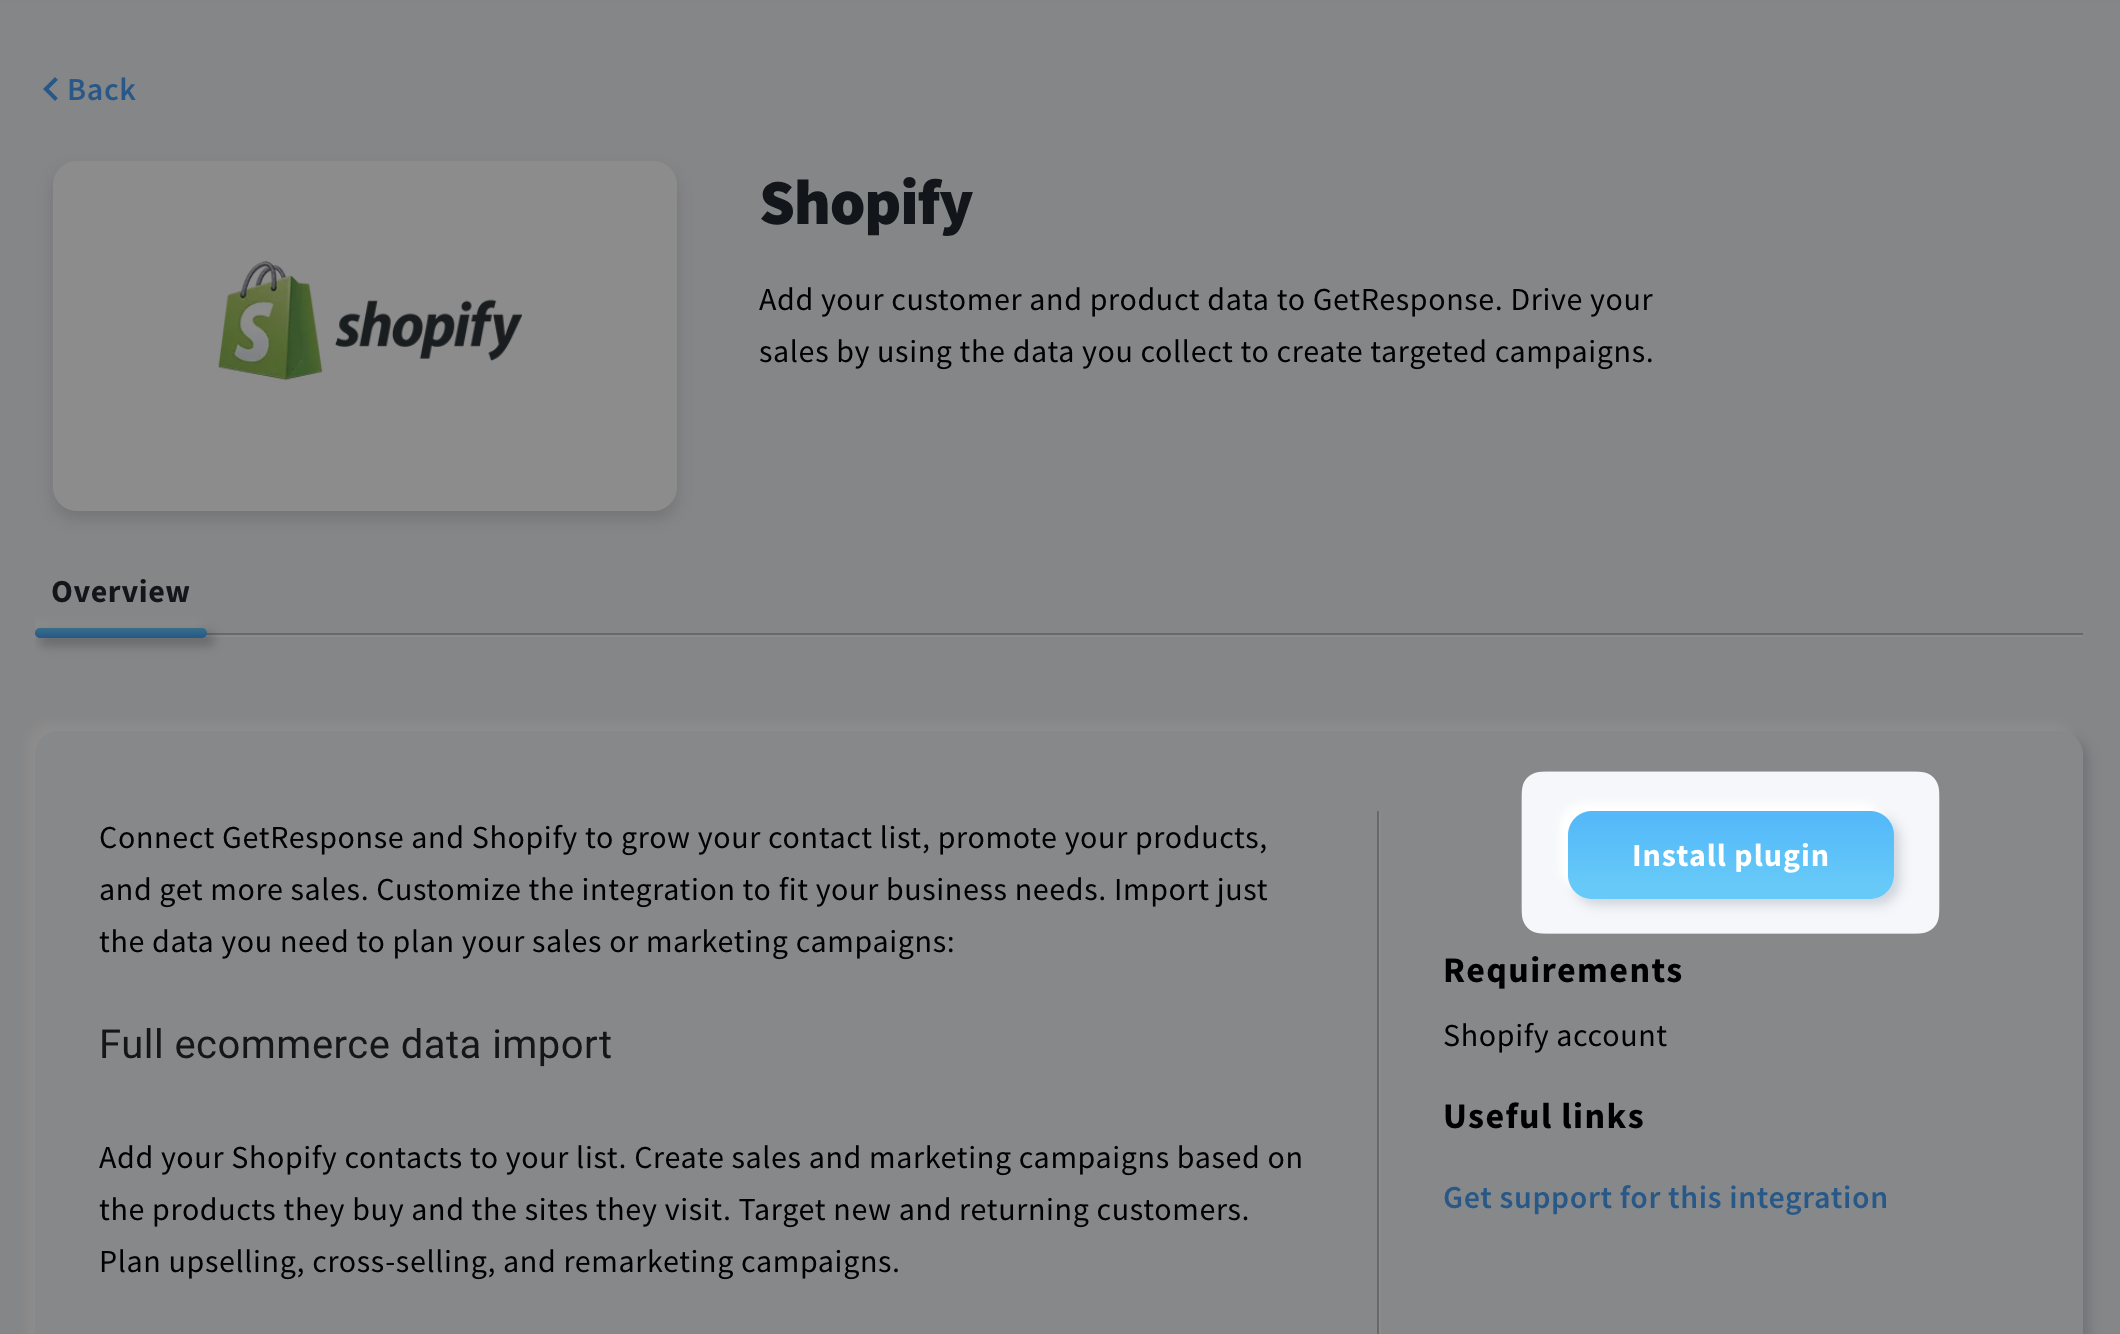
- Go to Integrations and API.
- Hover over Shopify integration and click Details.
- Click Install plugin.
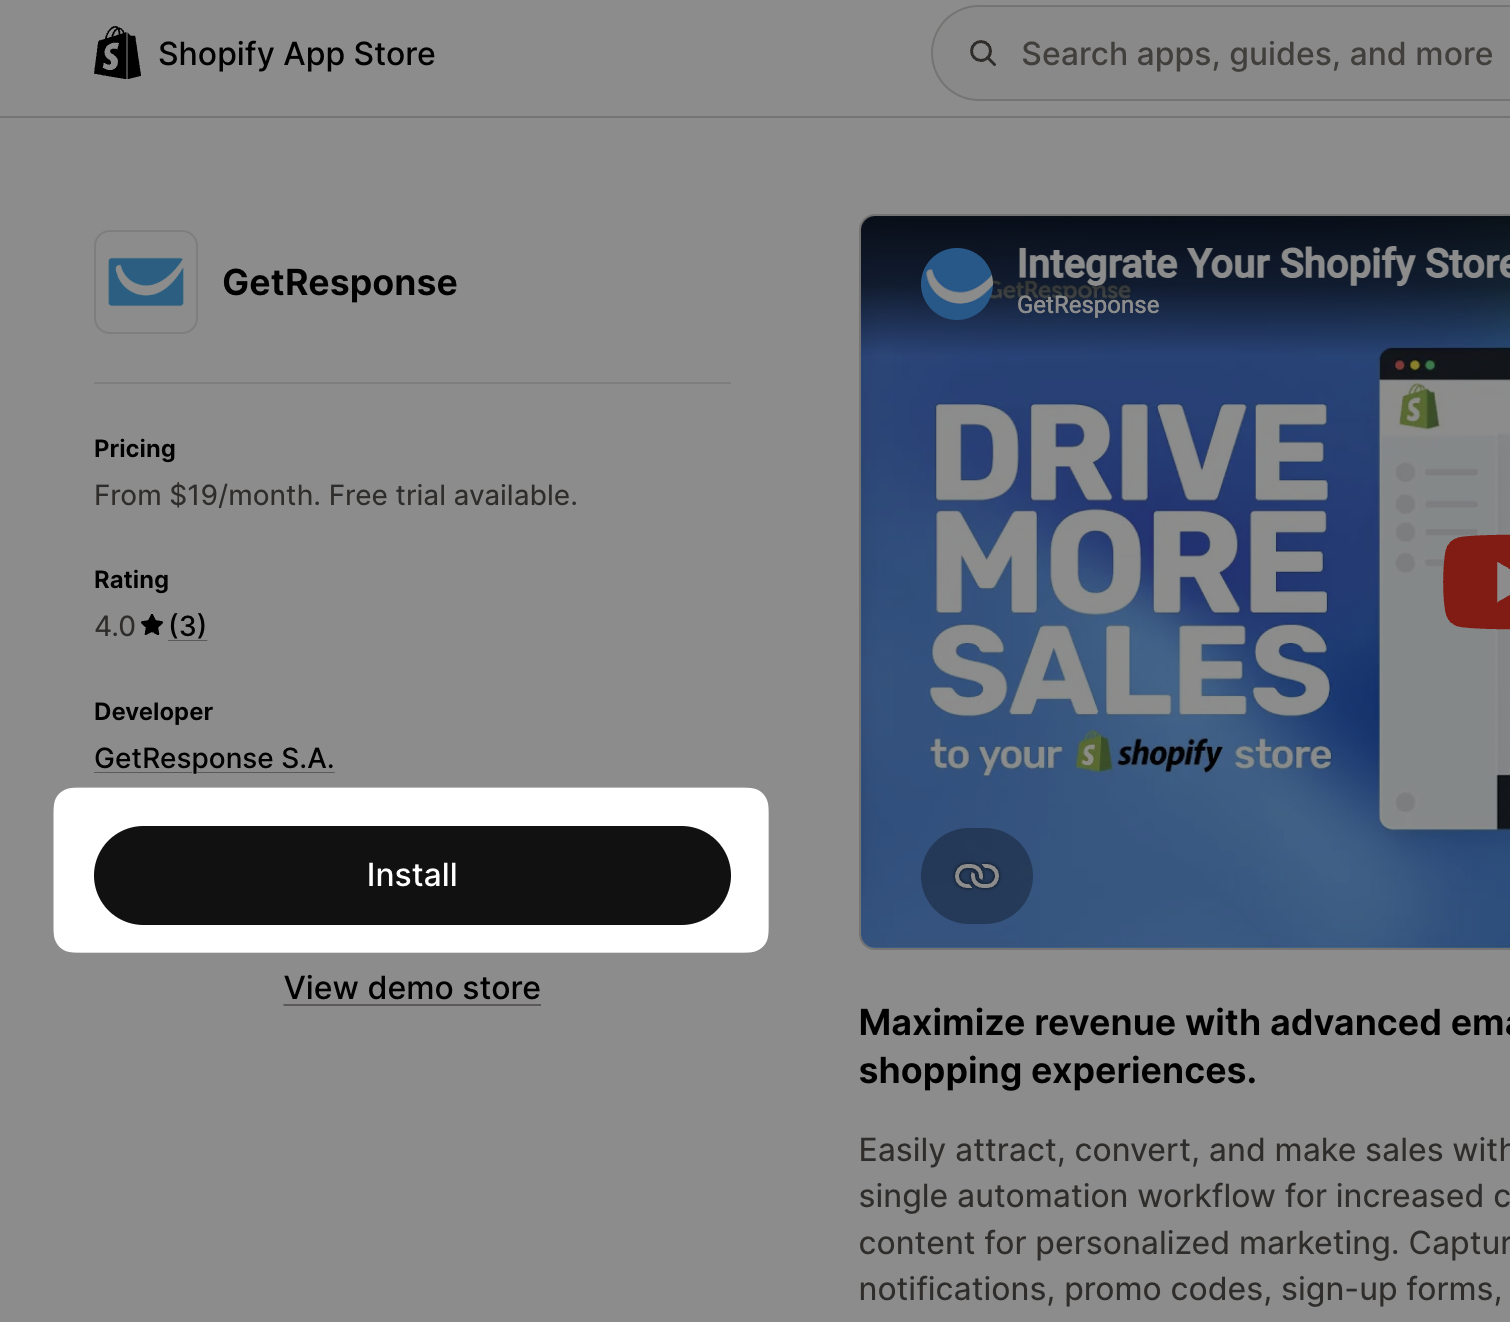
- You will be redirected to your Shopify account. If you’re not logged in, log in and click Install to proceed.
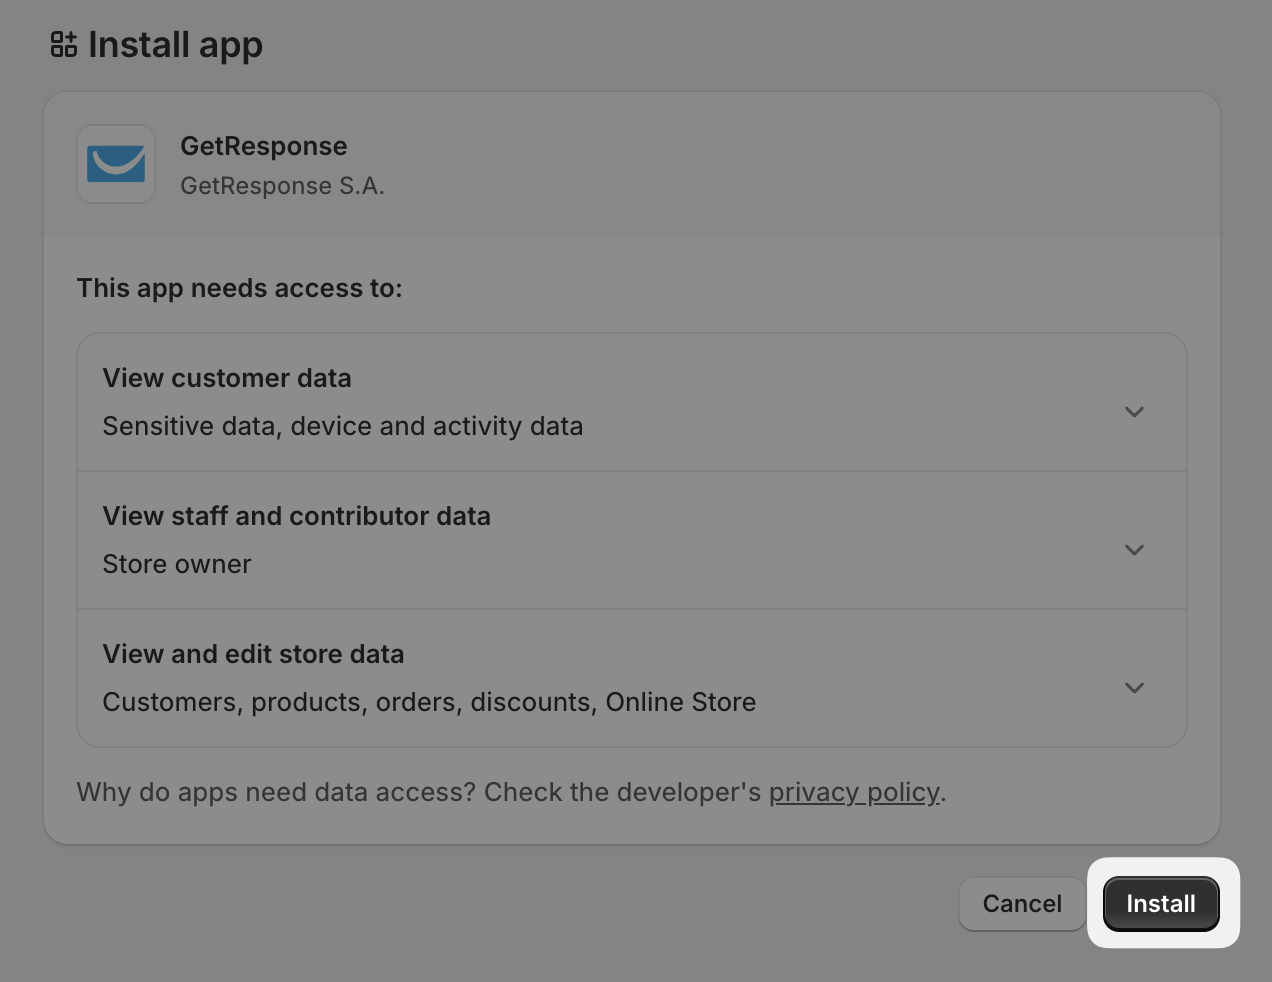
- On the next screen, you can learn about permissions. Click Install when ready.
What to import
After installing the plugin, you will be redirected back to GetResponse to a page where you can configure the imports.
Start by selecting the import type. You have three to choose from.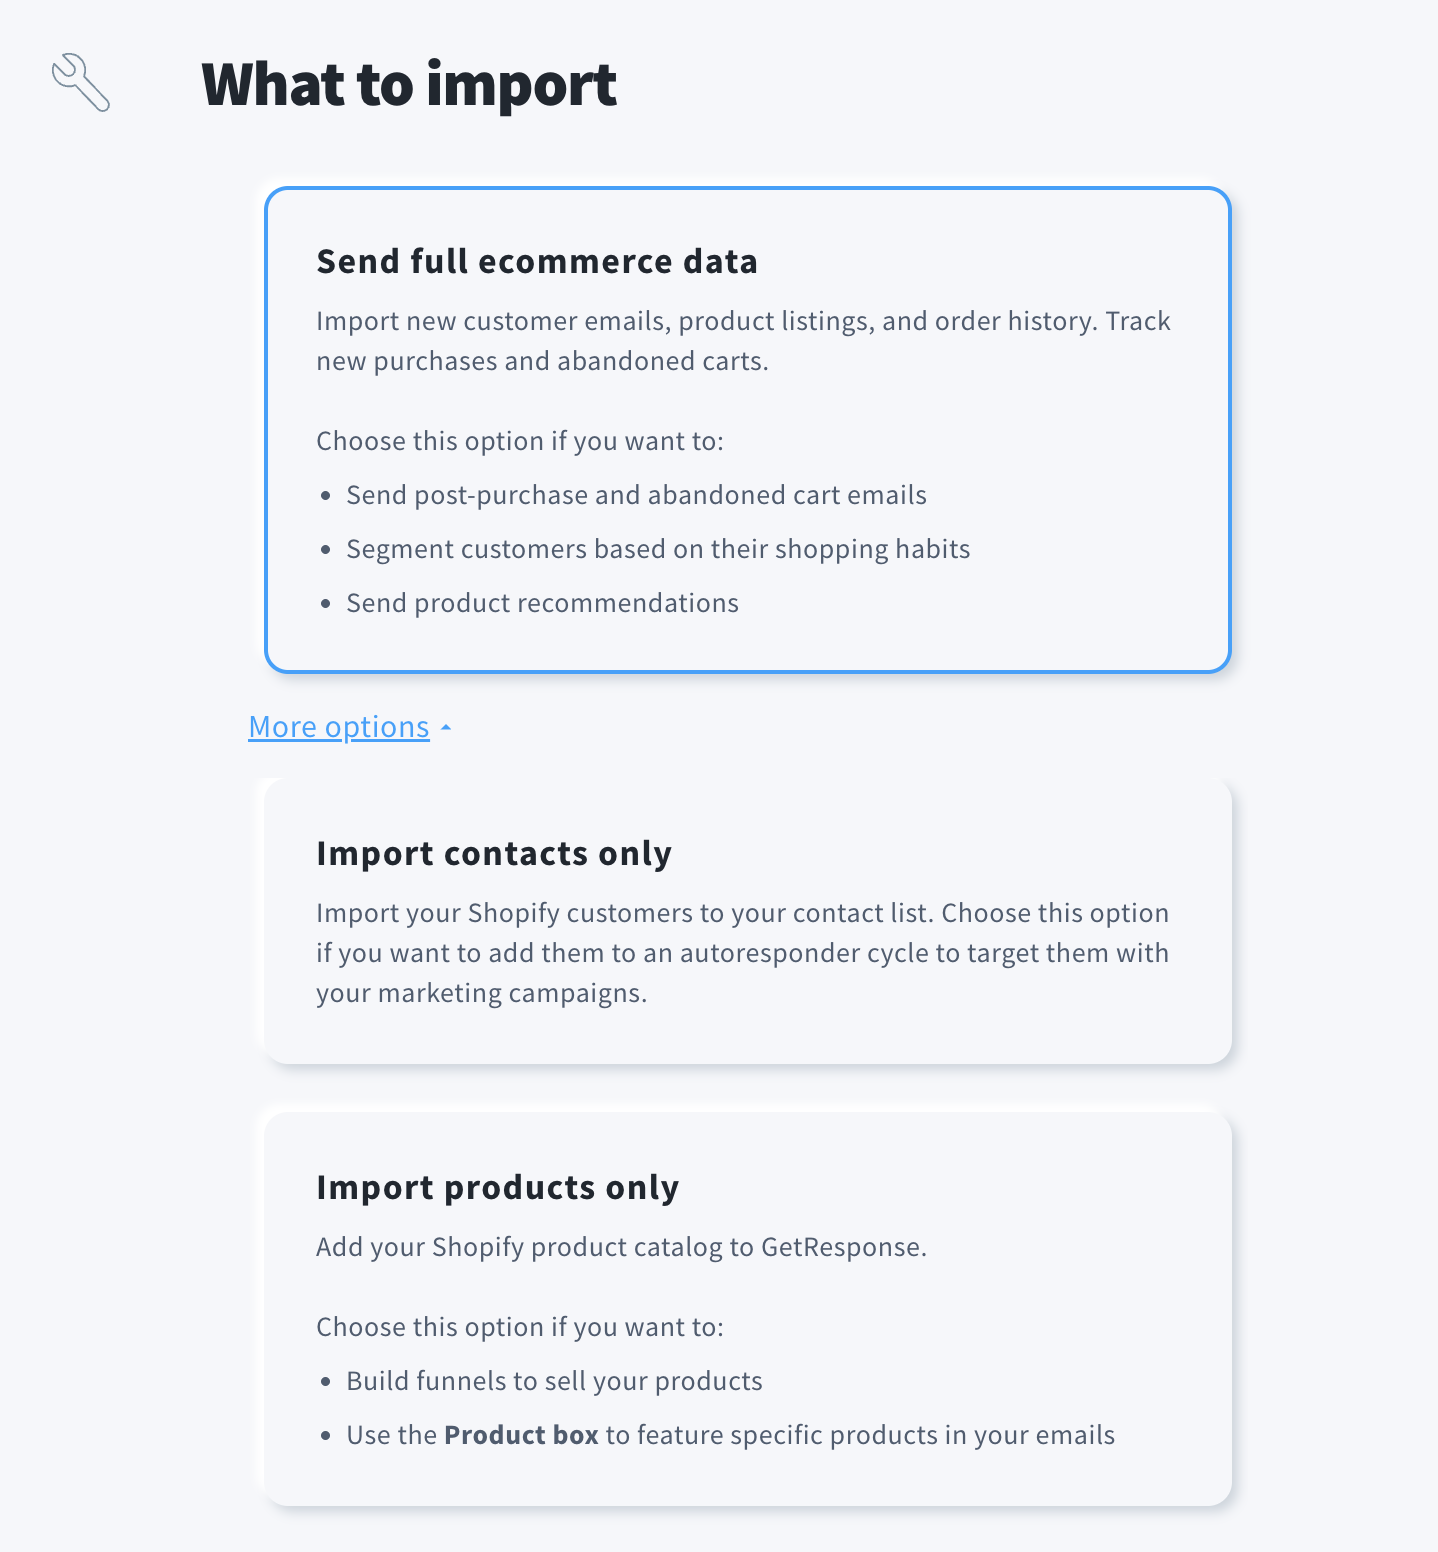
Send full ecommerce data imports new customer emails and product listings. It allows you to track new purchases and abandoned carts.
Choose this option if you want to:
- Send post-purchase and abandoned cart emails.
- Segment customers based on their shopping habits.
- Send product recommendations.
Import contacts only imports your Shopify customers to your contact list. Choose this option if you want to add them to your list and use them for marketing without ecommerce history.
Import products only adds your Shopify product catalogue to GetResponse. Choose this option if you want to use Conversion funnel to sell your products or use the Product box to feature specific products in your emails.
Note: We do not recommend any other configurations than Send full ecommerce data.
It allows you to take full advantage of GetResponse’s capabilities, including the product box, statistics, promotional codes etc.
After selecting the import type, decide about import frequency. You can import data:
- Once a day – imports will occur every 24 hours.
- As soon as data is updated in Shopify – after initial import, data will be synced live.
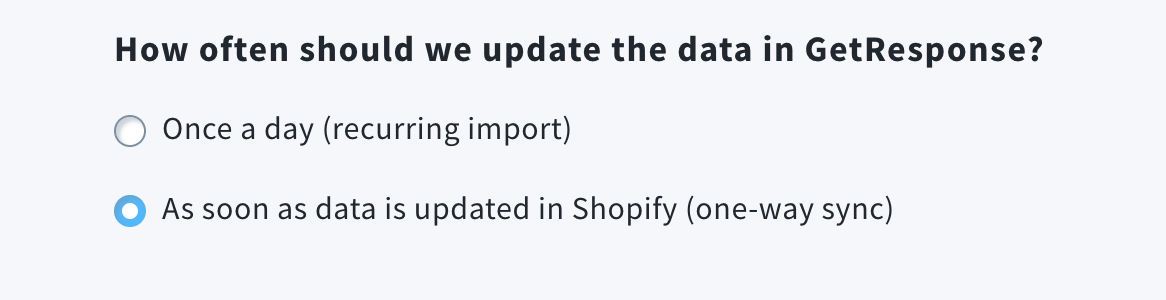
Note: Only As soon as data is updated in Shopify (one-way sync) allows us to always have the most up-to-date data.
How to import contacts
If you’re importing contacts, decide Where to add Shopify contacts. We recommend creating a separate contact list dedicated to this integration and not using it for any other purposes. This will help prevent potential contact synchronization issues.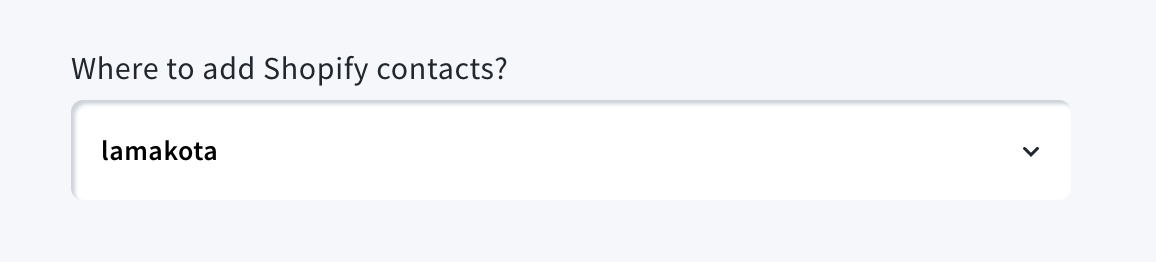
Choose Which customers do you want to import – those with marketing consent given in Shopify or without it. When selecting the marketing consent, your customers can unsubscribe from the marketing lists and this is the recommended setting.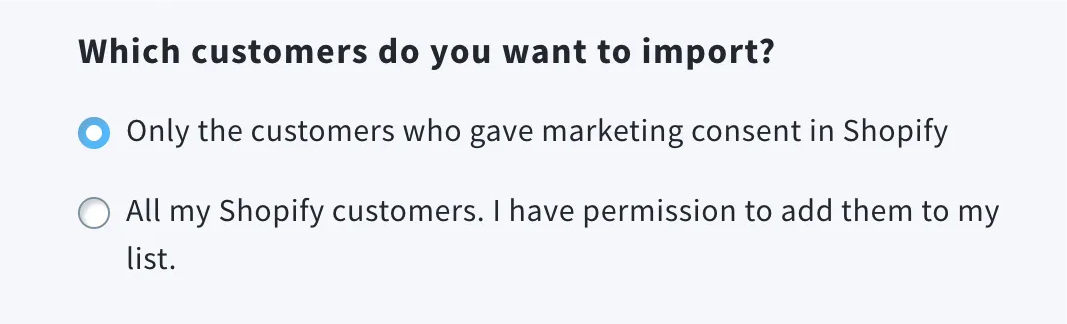
The Email Marketing Consent is not the same as the GetResponse Consent field. These are separate mechanisms, and enabling consent in an integration will not map to the consent field within GetResponse.
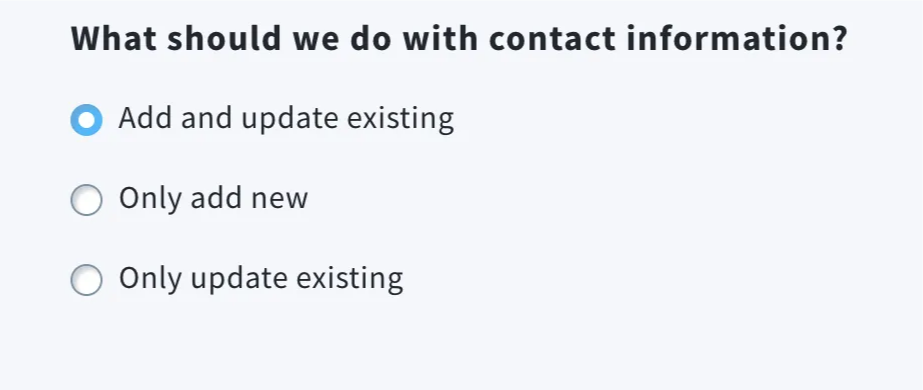
Select What should we do with contact information:
- Add and update existing – choose this to add new contacts and update (overwrite) information for existing contacts.
We do recommend that option so the data in both places is up-to-date. - Only add new – use this to add new contacts only, without updating information for existing contacts.
- Only update existing – choose this to only update information for existing contacts.
What happens to contacts in GetResponse when they unsubscribe from Shopify?
When contacts unsubscribe from Shopify, they won’t be deleted from corresponding list in GetResponse automatically with one exception – if your subscriber has selected the marketing consent option and they withdraw their consent in Shopify, then we remove that contact from GetResponse.
What happens to contacts in Shopify when they unsubscribe from GetResponse?
When contacts unsubscribe from GetResponse, they won’t be deleted from corresponding list in Shopify, but their marketing consent in Shopify will be removed.
How to import products
Products are imported when the Send full ecommerce data option or Import products only is selected.
We only import simple and variant products.
Product listings will be available under Ecommerce tools.
In this section, you can select if you want to Import existing order history for your Shopify customers. By default, Shopify allows us to import history from the last 60 days, after that time orders in Shopify are archived.
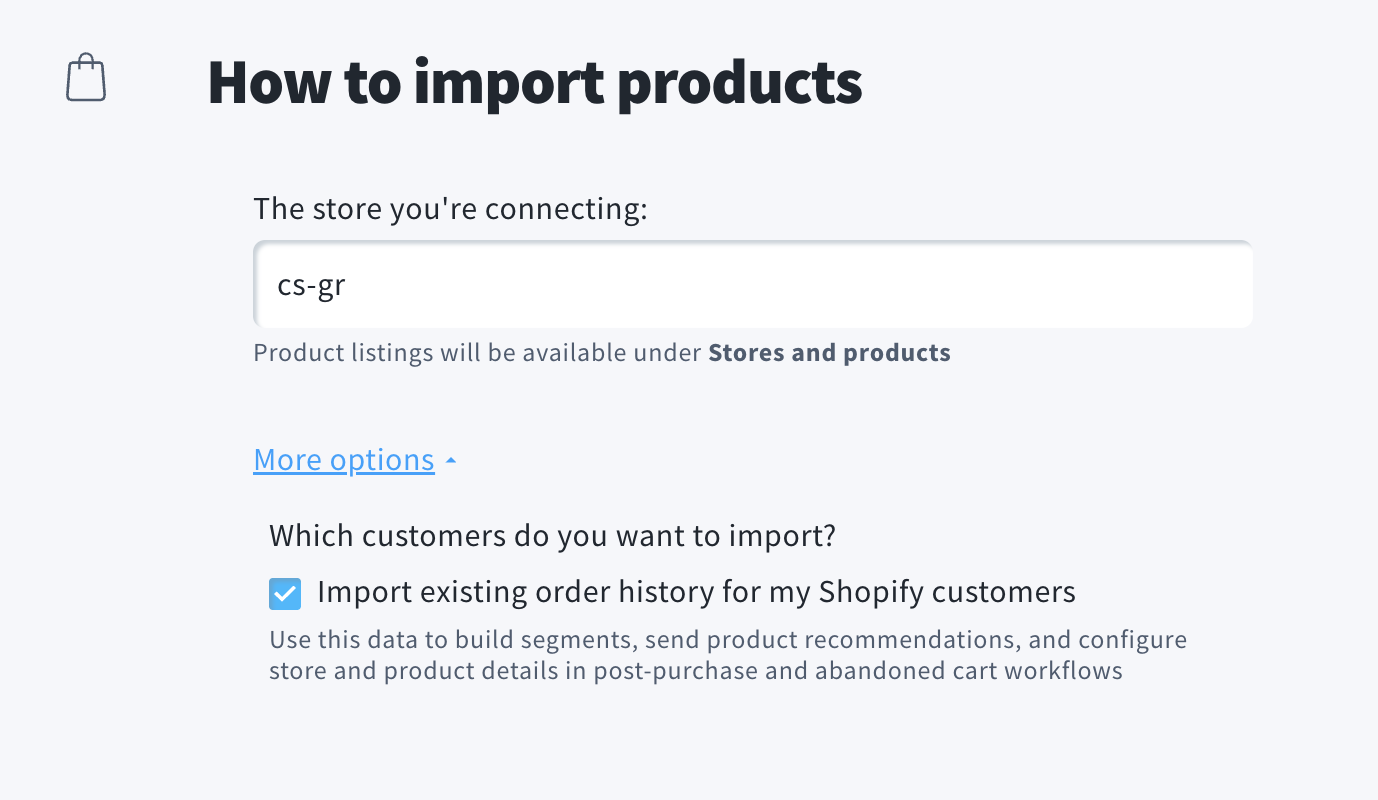
Additionally, when products are imported, they are imported with collection data. Collection is equivalent to a category in Shopify. You can use that information to group similar products, products from the same series, or products currently on sale when creating segments, automation conditions, or recommendations. Collection will be displayed as category in those elements.
Note: Due to technical limitations of Shopify, data is not updated immediately. Once every 24h, we check all collections-related changes and update the data in GetResponse.
After deciding about all options mentioned above, click Next to proceed to the next step.
Custom fields mapping
During import you can map the following Shopify custom fields with GetResponse custom fields of your choice:
- firstName
- lastName
- phone
- marketingConsent
- smsConsent
- company
- address1
- address2
- city
- zip
- country
- province
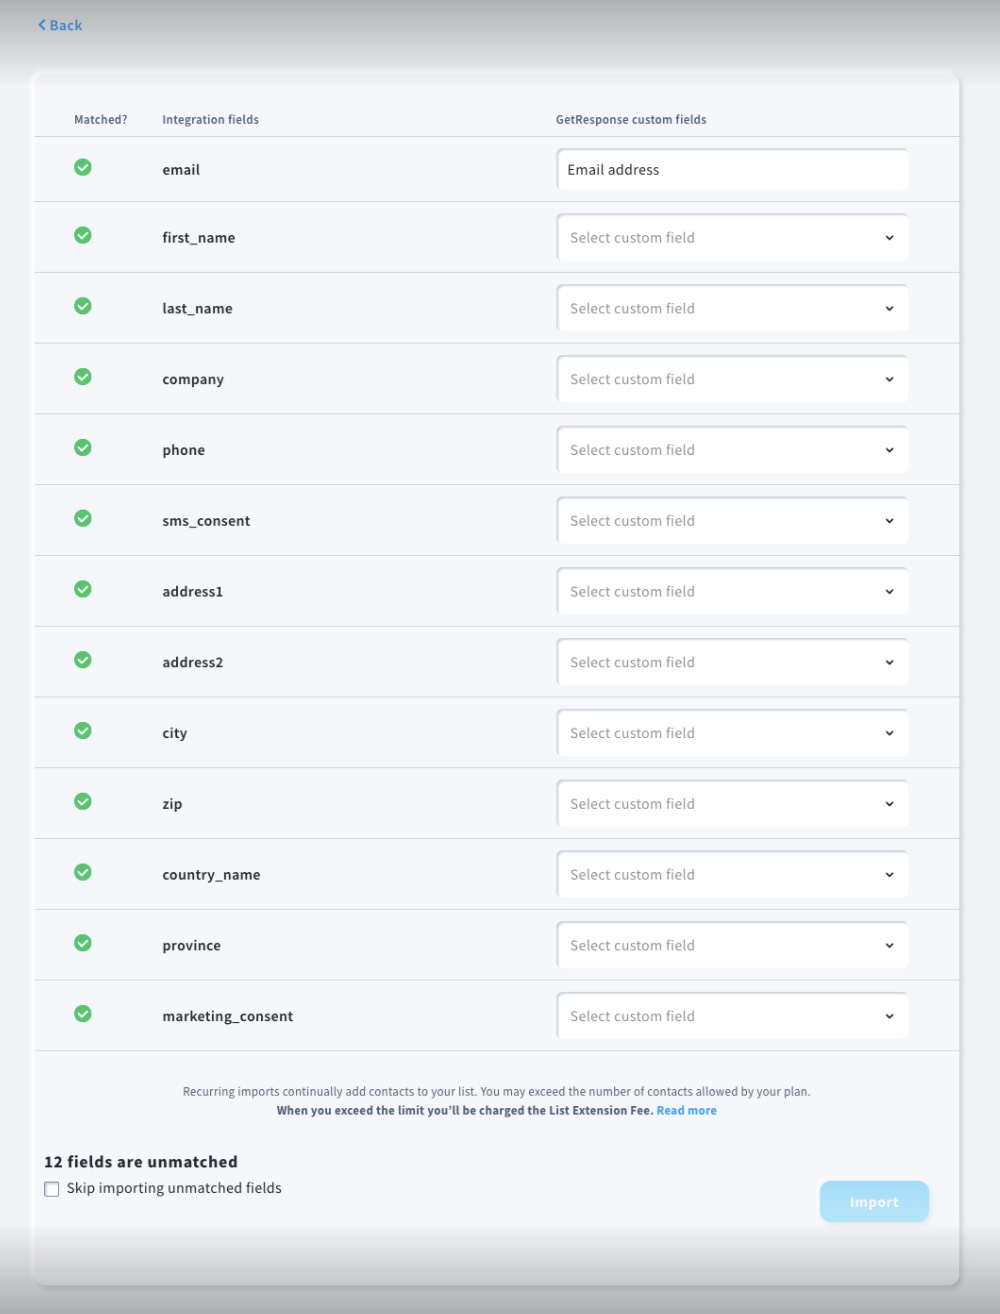
Everything with a green checkmark can be mapped automatically. If you don’t manually select any fields, Shopify fields will be mapped to the default custom fields in GetResponse. The first_name and last_name fields will also be combined into a single name field.
If you don’t want some specific fields to be imported, select Skip, and don’t import next to those fields.
To continue, select the Skip importing unmatched fields and click on the Import button to proceed.
Tags sychronization
In addition to custom fields, you can synchronize contact tags from Shopify to GetResponse. This one-way synchronization (from Shopify to GetResponse) runs automatically, helping you leverage your store’s data for better customer segmentation and targeted marketing campaigns without any manual hassle.
Unlike custom fields, which must be predefined and mapped before importing, tags are created automatically. If a specific tag from Shopify does not exist in your GetResponse account yet, we will automatically create it and assign it to the contact.
GetResponse instantly reacts to Shopify’s customer.tags_added and customer.tags_removed webhooks. Whenever a tag is assigned to or removed from a contact in Shopify, the change is immediately reflected in GetResponse.
Tags are being assigned automatically during imports, but not removed (which is why webhooks are required to handle tag removals).
Web Connect
After the import, we strongly recommend to enable the Web Connect snippet in Shopify. Here’s how:
- In Shopify integration in GetResponse, go to Manage integration > Web Connect snippet, and click Enable Web Connect in Shopify.
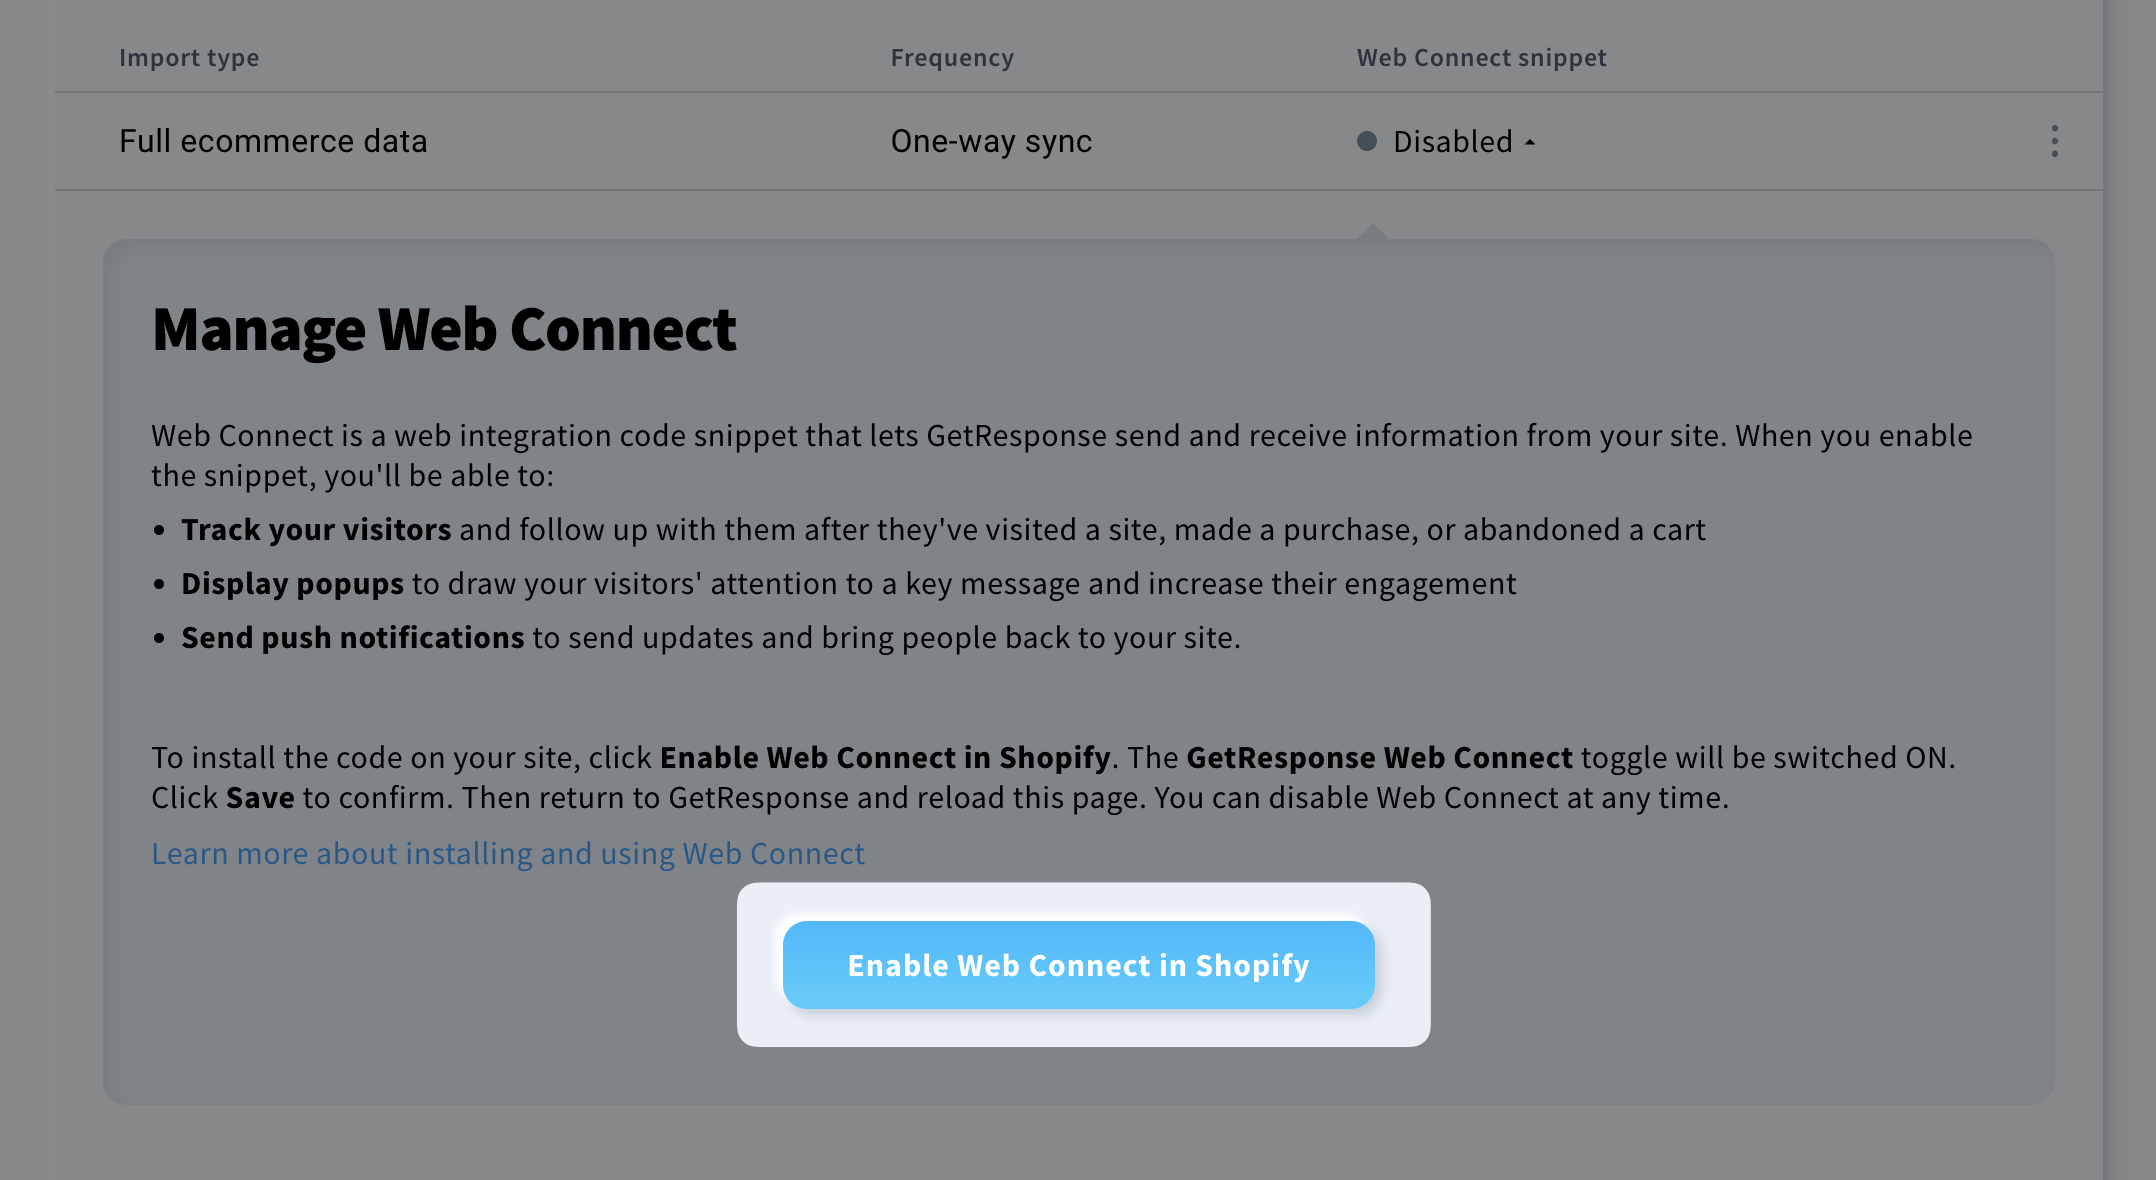
- You will be redirected to your Shopify account. Use the slider beside GetResponse Web Connect to enable it and click Save in the top right of the screen.
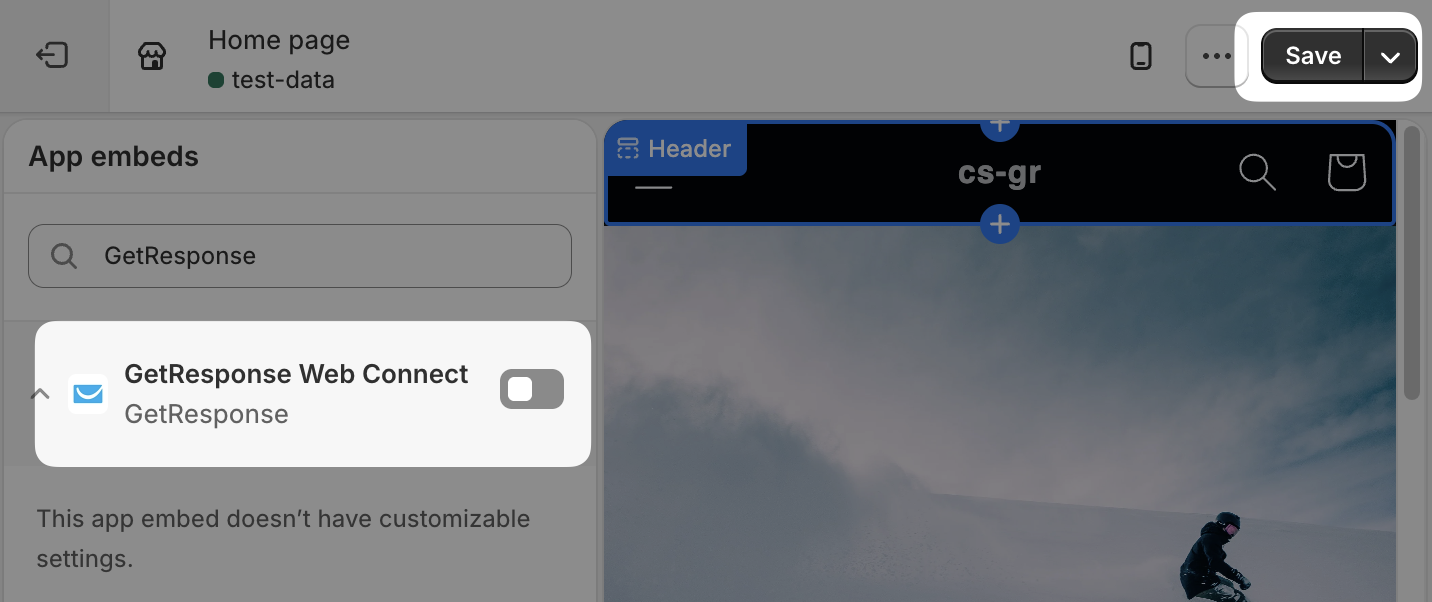
- Go back to GetResponse. After refreshing the screen the snippet should be enabled (it may take up to a few minutes).
Once you enable Web Connect, we’ll start collecting the URLs of the pages people visit and more.
The information about the sites your customers visit is passed to GetResponse. It will help you trigger automation workflows for your customers once they visit a specific product page or pages. Go to our Help Center resources to find out how to build workflows that:


