How to create a paid webinar funnel?
Webinar funnel will help you maintain a relationship with your audience by promoting webinars. It’s also a list building tool and an opportunity to engage with your audience.
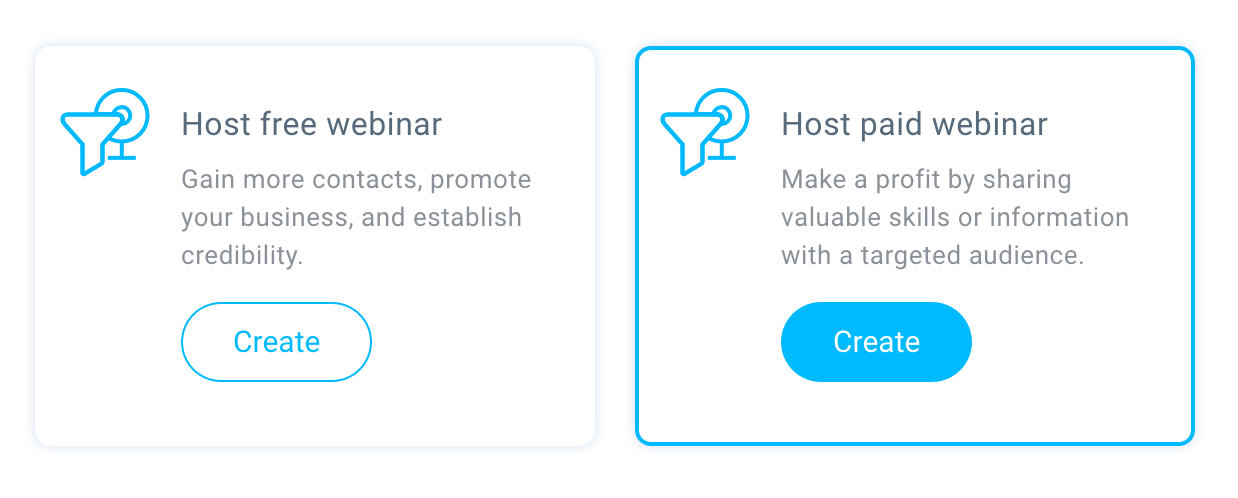
There are 2 types of webinars that you can create in the funnel:
To create a paid webinar, go to Conversion funnel > Create funnel.
Creating a paid webinar funnel
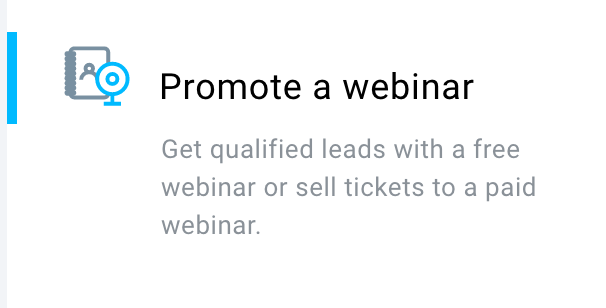
1.Select Promote a webinar from the options.
2. Then click Create under Host paid webinar.
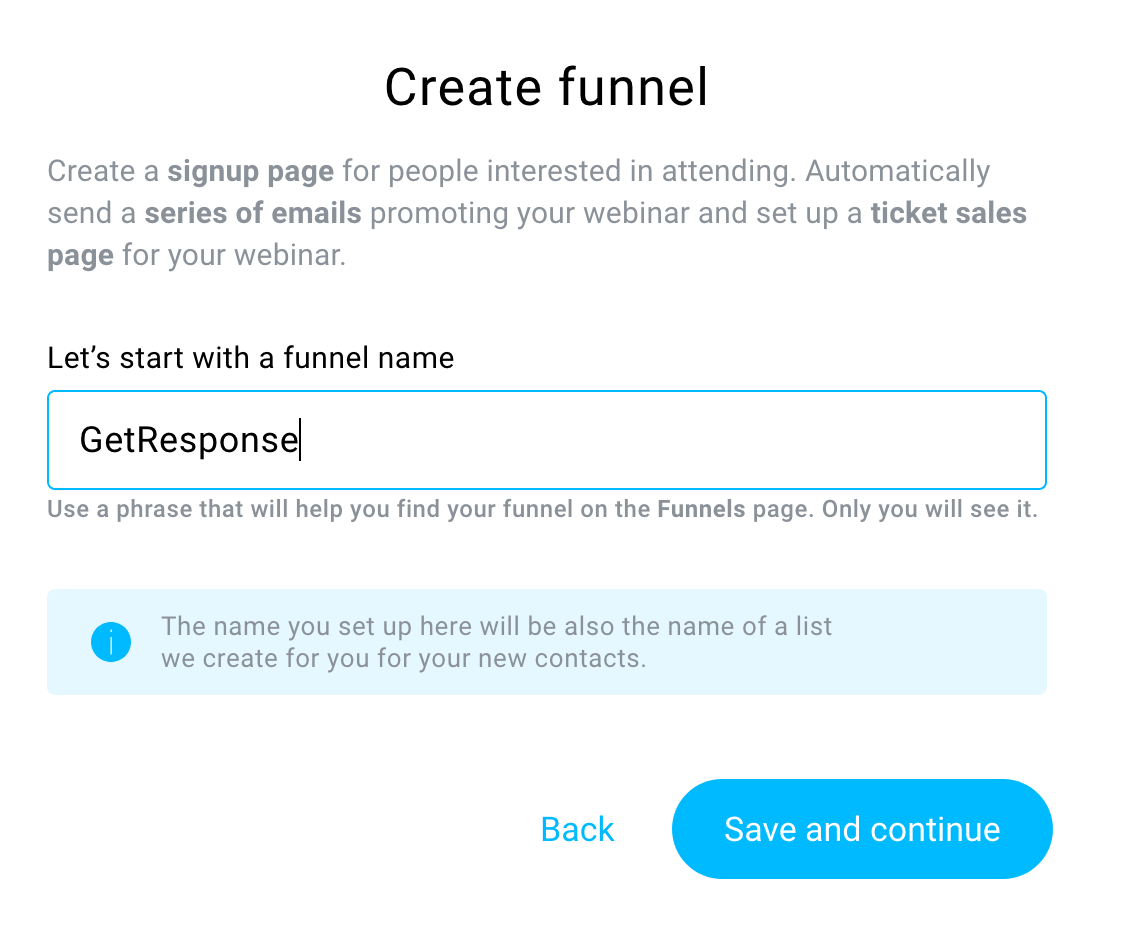
3. You will see a pop up asking for a funnel name. Type in the name of your funnel and GetResponse will automatically create a new list for that. The name should have at least 4 characters. Click Save and continue. This will take you to the webinar settings page.
4. First, give your webinar a title. The title should have at least 3 characters and it should catch attention. Do not include HTML code or any merge words there.

5. To set up Basic settings, click on Add details.
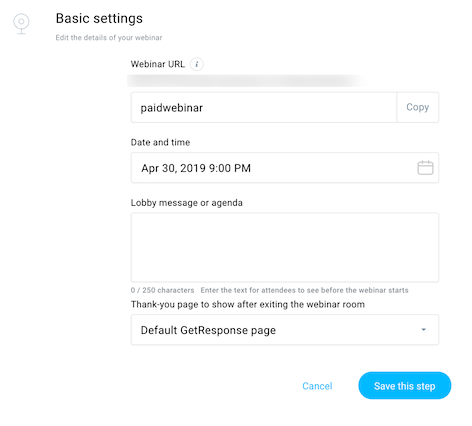
The webinar URL is generated out of webinar title, but you can change it manually. You can choose to copy the link of the webinar and share it.
6. Choose the date and time, put the message for the lobby and set the thank you page. Thank-you page will show up after the webinar is finished.
7. Click Save this step and open Registration and subscription settings by clicking Edit settings.
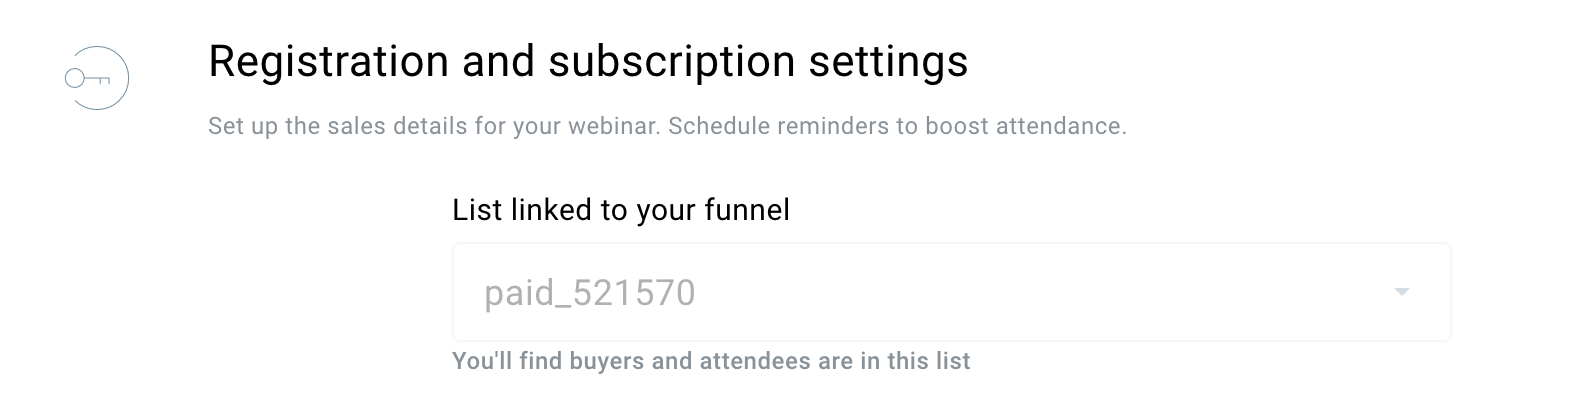
8. Contact will be added to your funnel list. Choose if you want to send reminders. Reminders are linked to the funnel list. Registration is always turned off for paid webinars, so there’s no option to edit it.
9. Then choose the store to which your webinar should be added. You can create a store using create another store link:
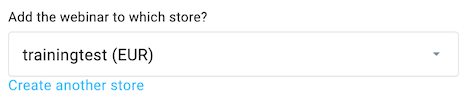
It will ask you to provide the store name and its currency. Each store can only have one currency assigned.
10. Next, set a price for your webinar. You also need to upload an image to represent your webinar.
11. Click Save this step to close this section.
12. Click on Create to save the settings of your webinar.
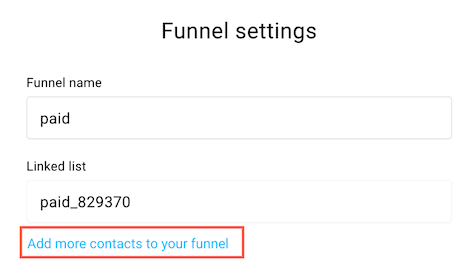
13. After you click Create, you will be transferred to the funnel settings where you’ll be able to change the funnel name and see the funnel list name. You’ll have the option to add more contacts to your funnel for example by copying or moving them from one of your existing lists.
Configuring payment processor
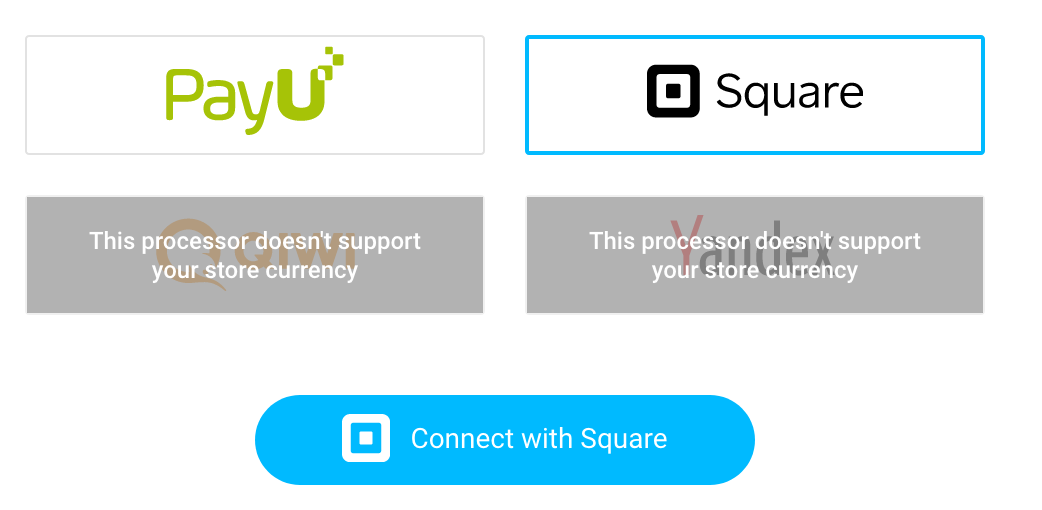
The next step is to choose the payment processor for your transactions. We offer 4 options:
PayPal
1. To connect with PayPal, click on PayPal logo and then Connect with PayPal. You will see a PayPal window open up.
2. Log in by typing in your email address and click on Next.
3. Type your PayPal password and click Log in.
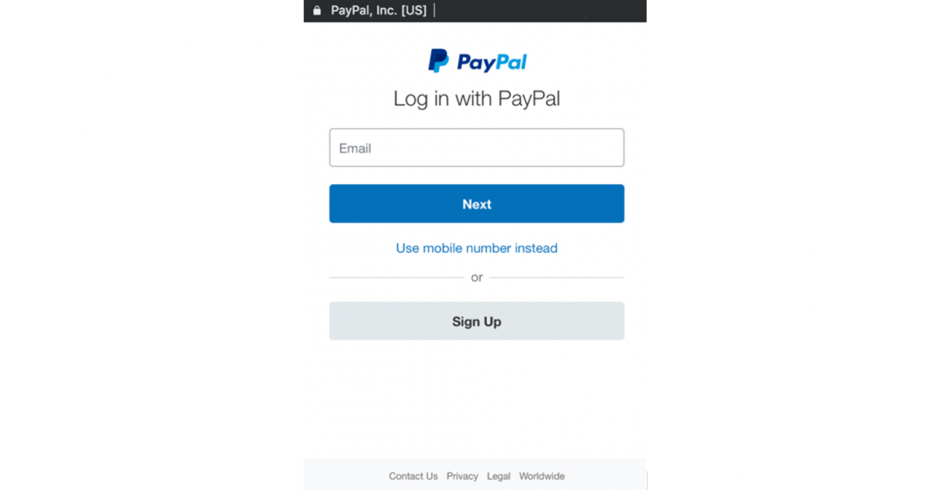
Note that this has to be a Business account.
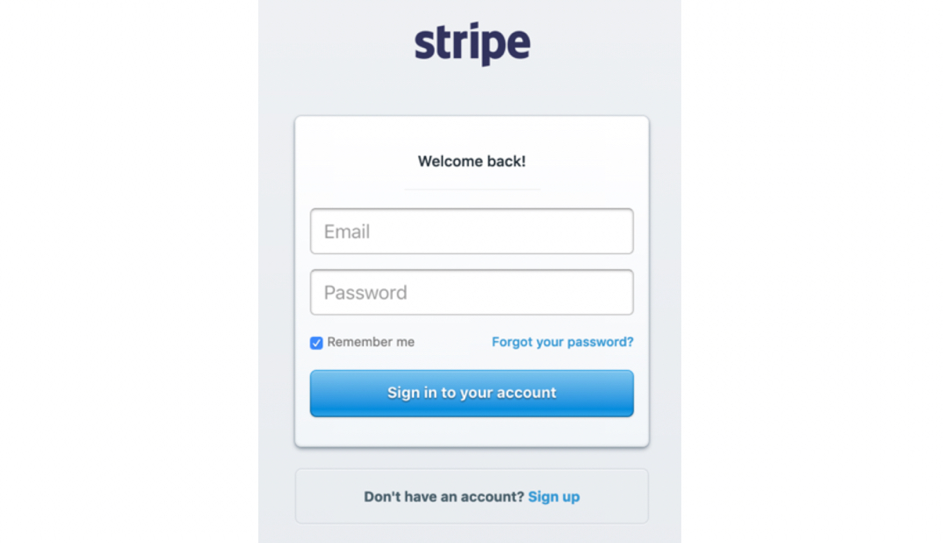
Stripe
1. To connect with Stripe, click on Stripe logo and then click on Connect with Stripe.
2. Choose Sign in with Stripe to connect.
3. Type your Stripe email address and password and click Sign in to your account.

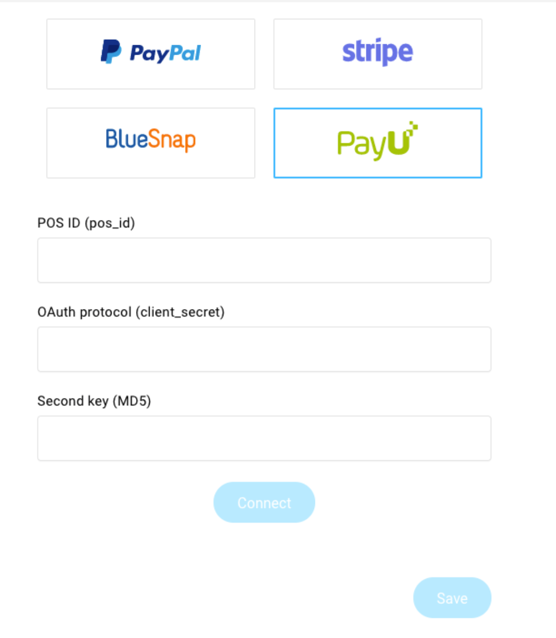
PayU
1. To connect with PayU, click on PayU logo.
2. Type the POS ID (pos_id), OAuth protocol (client_secret) and Second key (MD5). (The MD5 is in your PayU account. To get there, log into PayU and go to My Shops > Shop details > Point of sales and generate the configuration keys).
3. Click Connect
Square
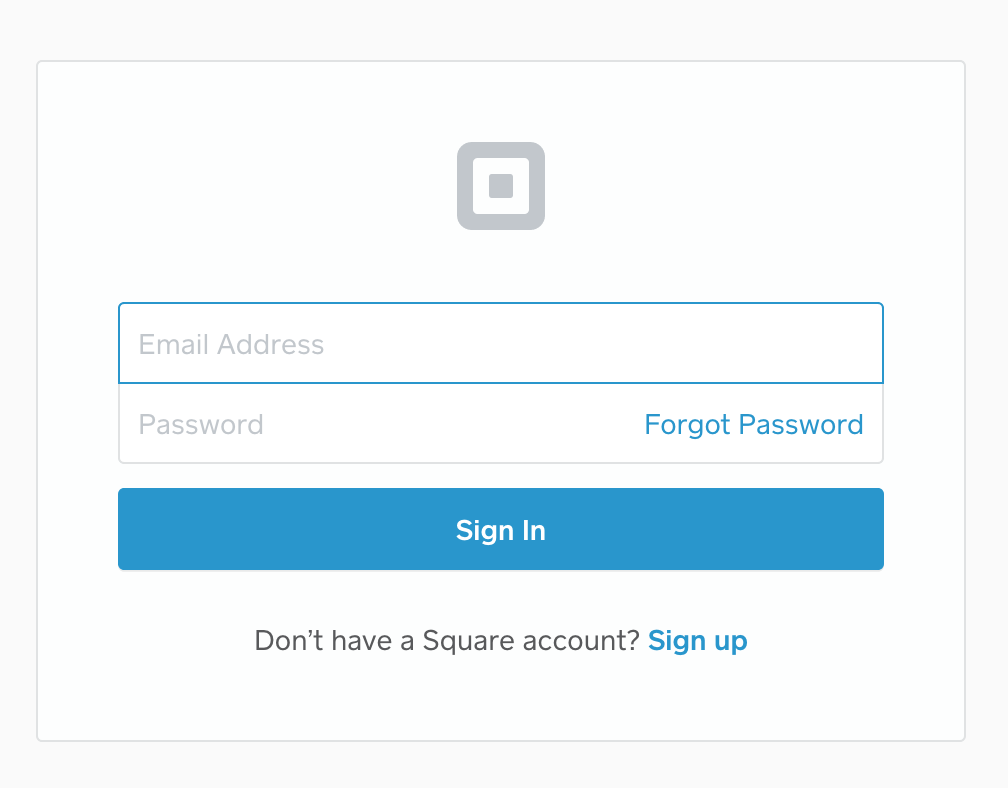
1. To connect with Square click on the Square logo and click Connect with Square.
2. Provide your login credentials to authorise GetResponse.
After you connect with a given processor, click Save.
Setting up funnel stages
You will be transferred to the funnel page, where you complete the following stages to set up your funnel.
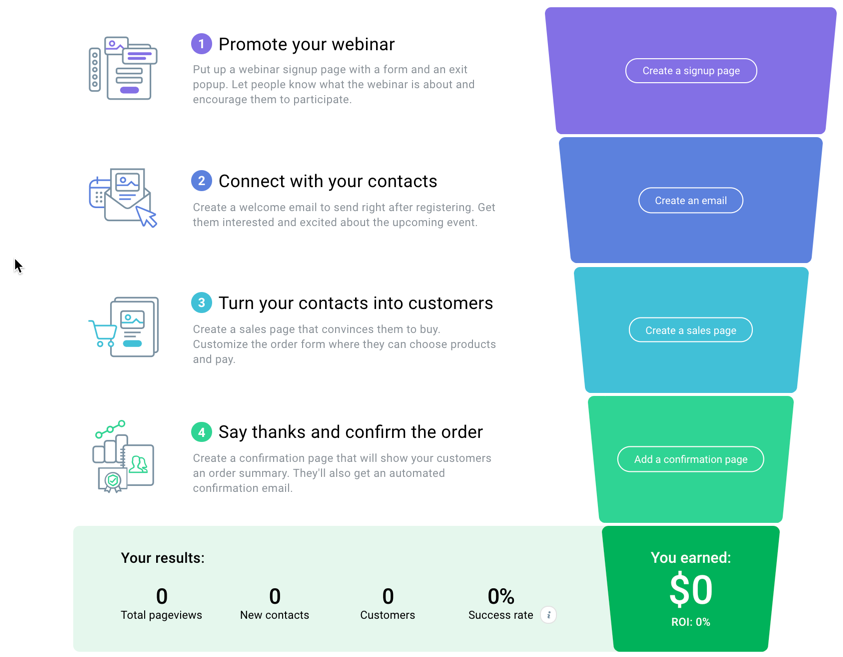
Promote your webinar
Put up a webinar sign up page with a form and an exit popup. Let people know what the webinar is about and encourage them to participate. You can do that by creating a landing page.
1. To collect new leads, click on Create a signup page. This will take you to the Landing page creator.

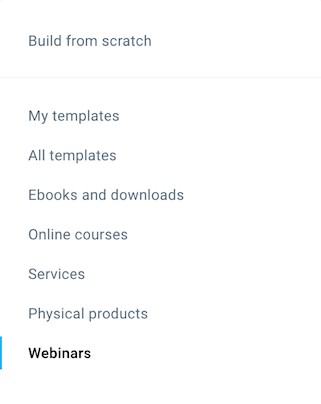
2. You’ll be transferred to a page where you can choose your template. Templates are grouped in categories, so select one for the webinars:
3. Then, give your page a name and click Next step. This will open the landing page editor.
4. Adjust the template to your needs. The template for the signup page will include a static form and an exit pop up page to collect signups for your list. You can have up to 10 variants of your page for A/B testing.
5. When you’re ready with how the page looks like, click Next step and this will open your page settings.
6. You can adjust your page name, set its description, the page URL as well as the thank you page. You can also configure Analytics & Remarketing and AdWords conversion tracking.
7. Once you’re done, click Publish to continue setting up your funnel.
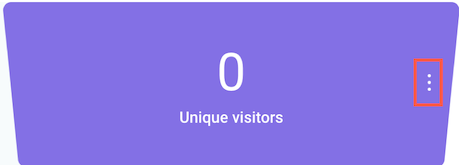
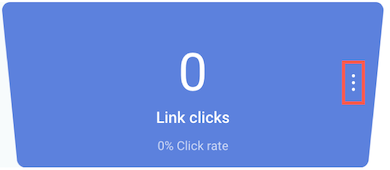
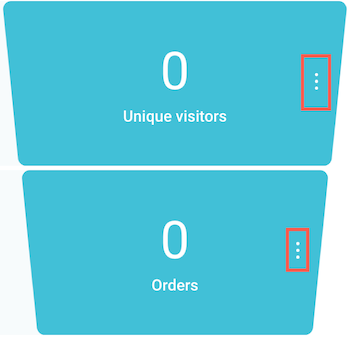
You can add more pages, edit, manage, or delete them from the Action menu (vertical ellipsis) on the side.
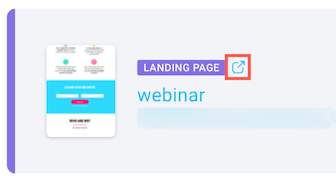
You will be able to see your page link under the webinar name and open the page using the preview icon.
(optional) Setting up a Facebook ad
After setting up your first funnel page, you can create a Facebook ad for it.
To do that, click on “Create an ad”. You will be redirected to the ad editor.

All linked ads will appear on the top of the funnel. If ads are active, we will show overall clicks and reach.
Note: The ad will be linked to the first page of the funnel and cannot be changed. The ad can only be created for the first page of the funnel.
For more information on Facebook ads, please visit this page.
Connect with your contacts
Add an autoresponder message to welcome new subscribers.
1. To do it, click Create an email.

2. You’ll be redirected to Autoresponder settings where you need to set up your message name, its subject line as well as from field and reply-to addresses. You can also configure Distribution settings.

3. When you’re ready, click Next step. You’ll be able to choose a template that is corresponding to your sign up page template if you switch the category to Webinars.
4. This message is meant to welcome your subscribers and also direct them to your sales page where they can purchase access to your webinar. The templates for paid webinars will by default display the webinar details and a link to your sales page.
5. Adjust the template to your needs and click Next step to continue building the funnel.
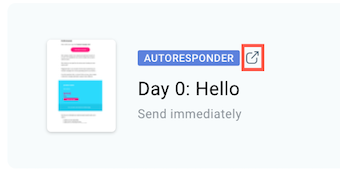
Note: The first message is set up to be sent on the day people join your list. You can change it by going to Autoresponders. You can set up more than 1 autoresponder. You can have up to 64 messages in the cycle in total.
To manage the autoresponders, edit or delete them, add more, or show contacts hover over the Action menu (vertical ellipsis).
To preview how your message looks like, use the preview icon.
Turn your contacts into customers
The next step is to create a sales page and an order form that will prompt your contacts to purchase the access to your webinar.
1. Click Create a sales page to continue.

2. You’ll be taken to the template screen. Go to Webinars and choose the template that corresponds with your previous template choice. The template will include a landing page and an order form.
3. After choosing the template, enter your name for the sales page and click Next step.
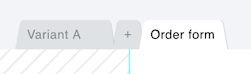
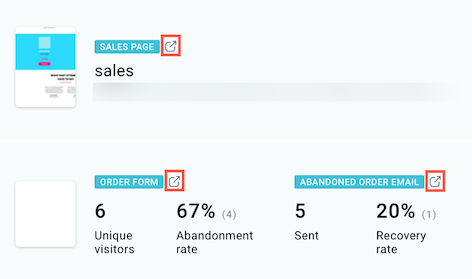
4. The sales page template will include a summary of the product you’re selling and a link to the order form. You can edit the order form and add new fields if you switch to the order form tab:
5. The order form will have different fields depending on the payment processor you chose.
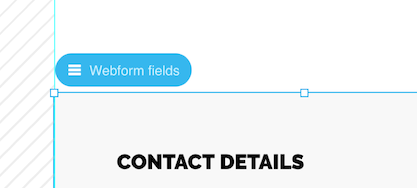
6. To edit the fields on the form double-click on them. If you click on an empty place within your form, you will be able to add new fields or remove some using the Webform fields button:
7. Click Next step when you’re ready with the sales page and the order form.
8. This will open your page settings. You can adjust your page name, set its description, and see the page URL. You can also configure Analytics & Remarketing and AdWords conversion tracking.
9. Once you’re done, click Publish to continue setting up your funnel.
Note: We will remind your customers when they abandon the order form that they haven’t completed the purchase. An automation workflow is created automatically for your order page. The abandoned cart email is sent 30 minutes after the order form is left.
If you want to edit the Abandoned cart email, hover the mouse over actions button (vertical ellipsis) and click on Edit email:

If someone purchases a webinar, we will display a confirmation page with an access button to the webinar. The person will also get an email with a link to that confirmation page.
You can manage the sales page, order and abandoned cart email form using the Action menu on the sides.
To preview your sales page, order form or abandoned cart email, use the preview icons:
Order – We include all initiated orders as orders on the funnel page, even if the order has not been completed. For example, you can see 5 order attempts but no completed orders, which means 5 people have not completed their order properly. For transactions with a credit card, we assume the order has been placed even if the status of the payment is pending. These orders don’t have to transform into a completed order if they are not fulfilled properly.
Abandoned order – We create an abandoned order workflow in the account when the sales page and the order form are created. On the order form page, we verify if the transaction has been completed. If not, the workflow sends an email with the reminder of the abandoned products 30 minutes after someone’s transaction has not been finished.
Say thanks and confirm the order
Create a confirmation page that will show your customers their order summary.
1. Click Add a confirmation page.

2. Choose a template that corresponds to your previous template choice.
3. Add a name for your confirmation page.
4. On the confirmation page, we will show a confirmation of what your customers have bought. You can edit the template to suit your needs and click Next step.
5. The page to configure confirmation page settings will open. You can adjust your page name, set its description, and see the page URL. You can also configure Analytics & Remarketing and AdWords conversion tracking.
6. Once you’re done, click Publish to finish setting up your funnel.
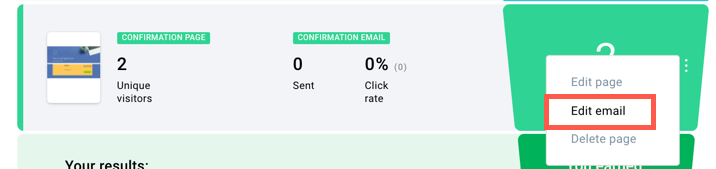
When you’re back to the funnel page, you can edit your confirmation page, confirmation email, or delete the page using the Actions menu (vertical ellipsis):
To preview the confirmation email, use the preview icon:
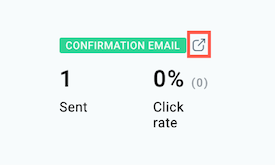
If you want to edit the Confirmation email, hover the mouse over actions button (vertical ellipsis) and click on Edit email:
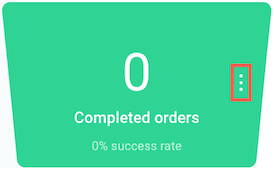
Once all the steps are set up, in the funnel you will be able to see how many people completed the funnel and purchased access to your paid webinar.
Revenue – We calculate revenue based on the amount you earn from the Conversion funnel.
ROI (Return On Investment) is calculated according to this formula:
(Income – expenses)/ income*100.
Expenses in this formula mean the cost of your GetResponse account.


