How to create a free webinar funnel?
Webinar funnel will help you maintain a relationship with your audience by promoting webinars. It’s also a list building tool and an opportunity to engage with your audience.
There are 2 types of webinars that you can create in the funnel:
- Free webinar.
- Paid webinar.
To create a free webinar, go to Conversion funnel > Create funnel.
Creating a free webinar funnel
- Select Promote a webinar from the options.
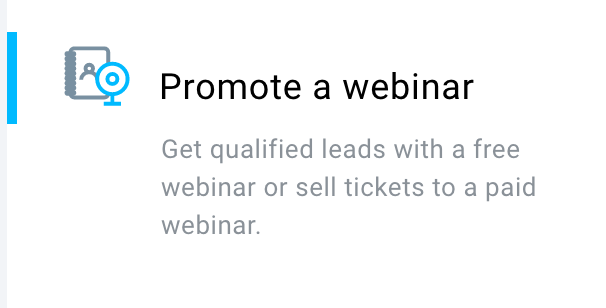
- Then click Create under Host free webinar.

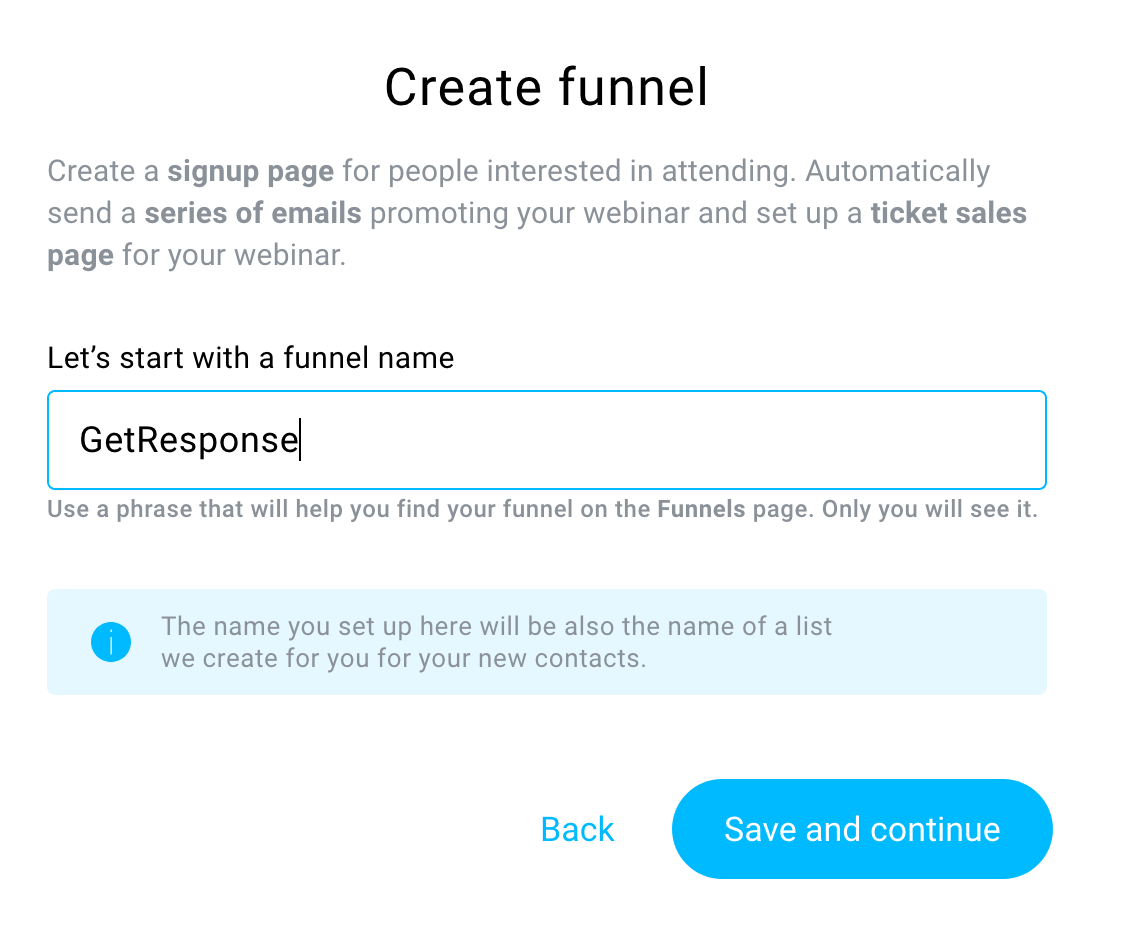
- You will see a pop up asking for a funnel name. Type in the name of your funnel and GetResponse will automatically create a new list for that. The name should have at least 4 characters. Click Save and continue. This will take you to the webinar settings page.
- First, give your webinar a title. The title should have at least 3 characters and it should catch attention. Do not include HTML code or any merge words there. You can also generate title with AI.

- To set up Basic settings, click on Add details.

The webinar URL is generated out of webinar title, but you can change it manually. You can choose to copy the link of the webinar and share it.
- Choose the date and time, put the message for the lobby and set the thank you page. Thank-you page will show up after the webinar is finished.
- Click Save this step and then click on Edit settings to open Registration and subscription settings.

Your contacts will be saved in your default funnel list. To ensure accurate tracking of funnel statistics, registration for a free funnel is always required. This setting can’t be changed.
- You can add Consent fields to the registration form or decide to send reminders to the registrants.
- When you’re ready with these settings, click Save this step.
- To set up Lobby and webinar room appearance, click Edit settings.
- You can add your Custom background image.

- Click on Create to finish the first part of the set up.
Setting up funnel stages
After you click Create, you will be transferred to the funnel page, where you complete following stages to set up your funnel.
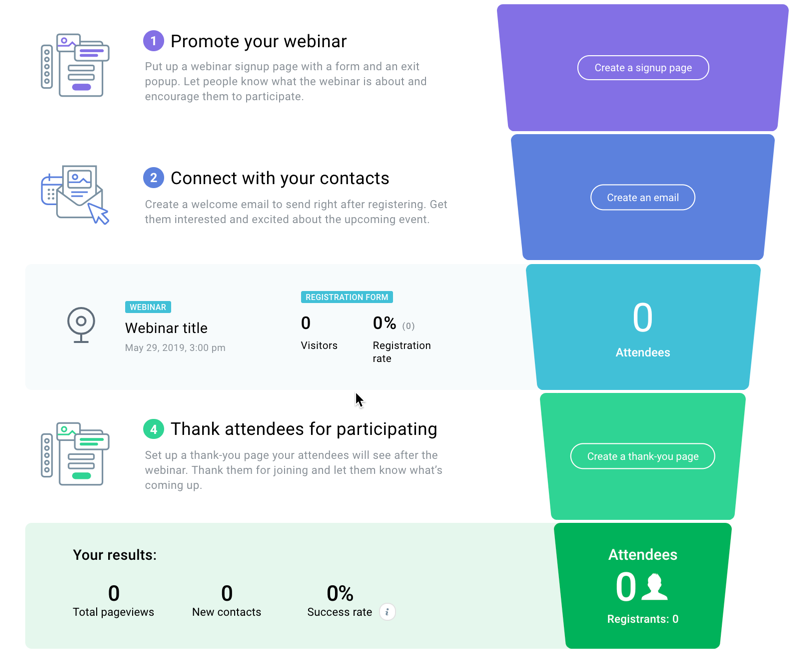
Promote your webinar
Put up a webinar landing page with a form and an exit popup. Let people know what the webinar is about and encourage them to participate.
1. To collect new leads, click on Create a signup page. This will take you to the Landing page creator.

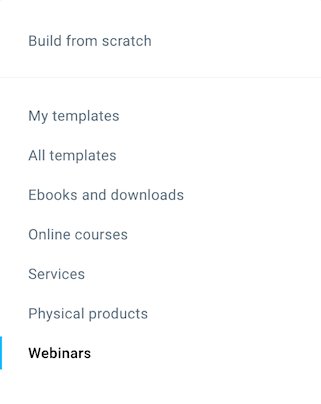
2. You need to select a template. Templates are grouped in categories, so select one for the webinars:
3. Provide a name for your page.
4. Once you’re ready, click Next step and you will be redirected to the landing page editor.
5. Adjust the template to your needs. The template for the signup page will include a static form and an exit pop up page to collect signups for your list. You can have up to 10 variants of the page for A/B testing.
6. When you’re ready with how the page looks like, click Next step and this will open your page settings.
7. You can adjust your page name, set its description, the page URL as well as the thank you page. You can also configure Analytics & Remarketing and AdWords conversion tracking.
8. Once you’re done, click Publish to continue setting up your funnel.
Note: After registering, your subscriber will get a webinar registration confirmation email.
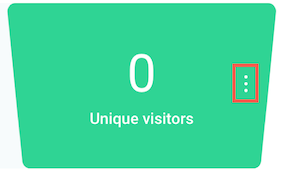
You can add more pages, edit, manage, or delete them from the Action menu (vertical ellipsis) on the side.

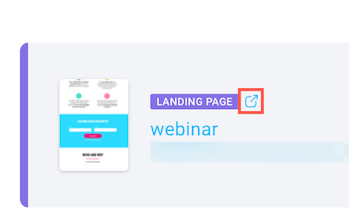
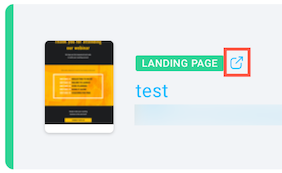
You will be able to see your page link under your webinar name and open the page using the preview icon.
(optional) Setting up a Facebook ad
After setting up your first funnel page, you can create a Facebook ad for it.
To do that, click on “Create an ad”. You will be redirected to the ad editor.

All linked ads will appear on the top of the funnel. If ads are active, we will show overall clicks and reach.
Note: The ad will be linked to the first page of the funnel and cannot be changed. The ad can only be created for the first page of the funnel.
For more information on Facebook ads, please visit this page.
Connect with your contacts
Create a welcome email to send right after registering. Get them interested and excited about the upcoming event.
1. To start, click Create an email.

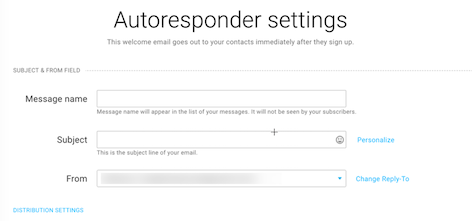
2. You’ll be redirected to Autoresponder settings where you need to set up your message name, its subject line as well as from field and reply-to addresses. You can also configure Distribution settings.
3. When you’re ready, click Next step. You’ll be able to choose a template that is corresponding to your sign up page template if you switch the category to Webinars.
4. Adjust the message template to your needs and click Next step to continue building the funnel.
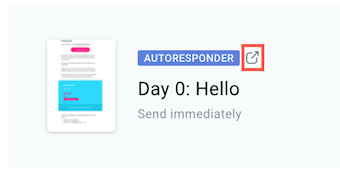
Note: The first message is set up to be sent on the day people join your list. You can change it by going to Autoresponders. You can set up more than 1 autoresponder. In total, you can have up to 64 messages in the cycle.
To manage the autoresponders, edit or delete them, add more, or show contacts hover over the Action menu (vertical ellipsis).

To preview how your message looks like, use the preview icon.
Thank attendees for participating
Set up a thank-you page your attendees will see after the webinar. Thank them for joining and let them know what’s coming up.
1. To start click Create a thank-you page.

2. Choose a template that corresponds to your previous template choice.
3. Add a name for your thank-you page.
4. The thank you page is a good place to sum up shortly your webinar and give attendees a way to contact you. You can edit the template to suit your needs and click Next step.
5. A page to configure landing page settings will open. You can adjust your page name, set its description and the page URL. 6. You can also configure Analytics & Remarketing and AdWords conversion tracking.
7. Once you’re done, click Publish to finish setting up your funnel.
You can edit, delete, and manage pages as well as add new pages using the Action menu (vertical ellipsis).
To see the preview of the page, use the preview icon.
Once everything is set up, you will be able to see how many people have gone through the funnel to join your free webinar.


