How to add a countdown timer to a message?
A countdown timer adds a sense of urgency and excitement to your message. It encourages readers to act now rather than later, increases engagement, and makes time-sensitive offers clearer and more compelling. By showing that time is limited, a countdown helps turn attention into action.
Here’s an example of what a countdown timer in GetResponse might look like: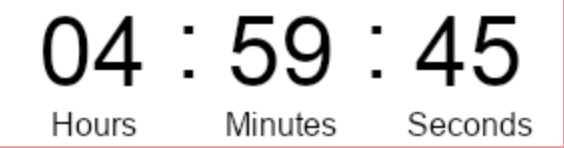
The language of the labels depends on the language of the list linked to your message. You can change the language in the list settings: Can I change the language for my list and confirmation message?
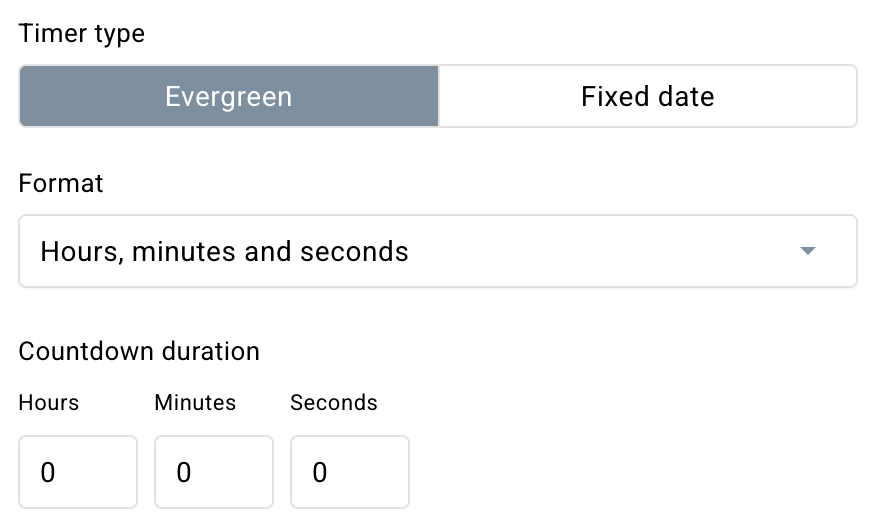
In GetResponse, you can add two types of countdown timers to your messages: Evergreen and Fixed date.
An Evergreen timer is personalized for each recipient and starts counting down from the moment they open the message. A Fixed date timer counts down to a specific, predefined date and time that is the same for all recipients.
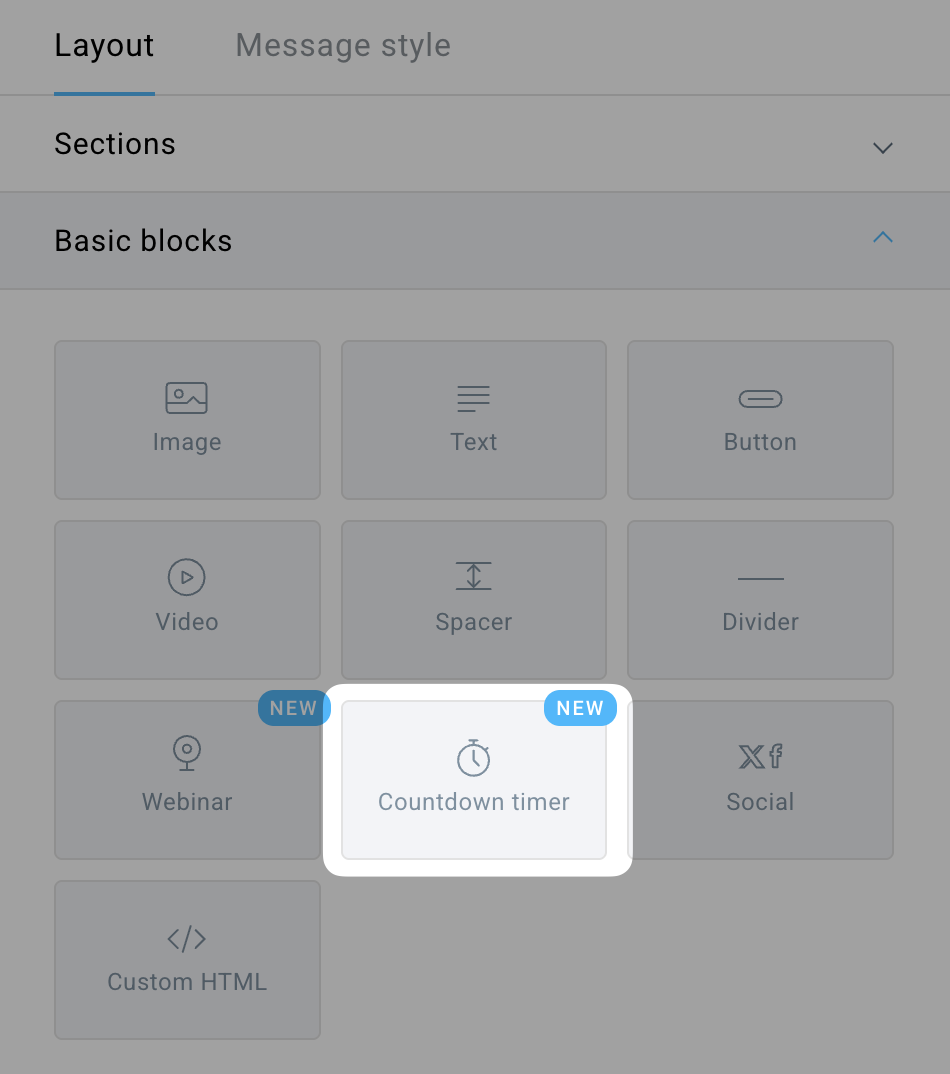
How to add a timer
- Place the Countdown timer block wherever you want in the body of your message.
- In the panel on the right, choose the timer type – select either Evergreen or Fixed date depending on your campaign needs.
- For an Evergreen timer, choose the display format for the countdown (hours-minutes-seconds, days-hours-minutes, or days-hours-minutes-seconds). Then, set the Countdown duration – this defines how long the timer should run for each recipient.
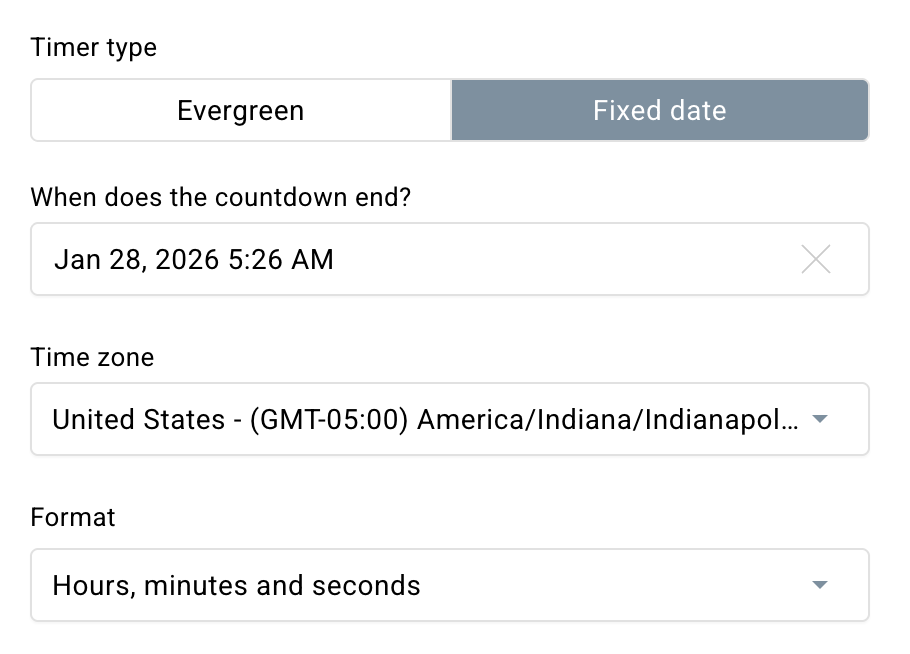
- For a Fixed date timer, select the end date for the countdown, choose the time zone, and pick the display format for the countdown (hours-minutes-seconds, days-hours-minutes, or days-hours-minutes-seconds).
- For an Evergreen timer, choose the display format for the countdown (hours-minutes-seconds, days-hours-minutes, or days-hours-minutes-seconds). Then, set the Countdown duration – this defines how long the timer should run for each recipient.
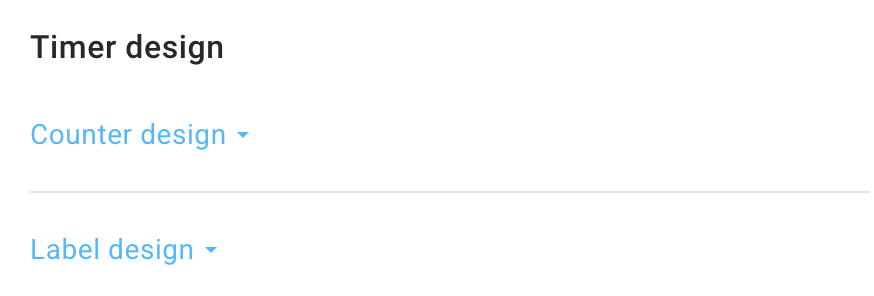
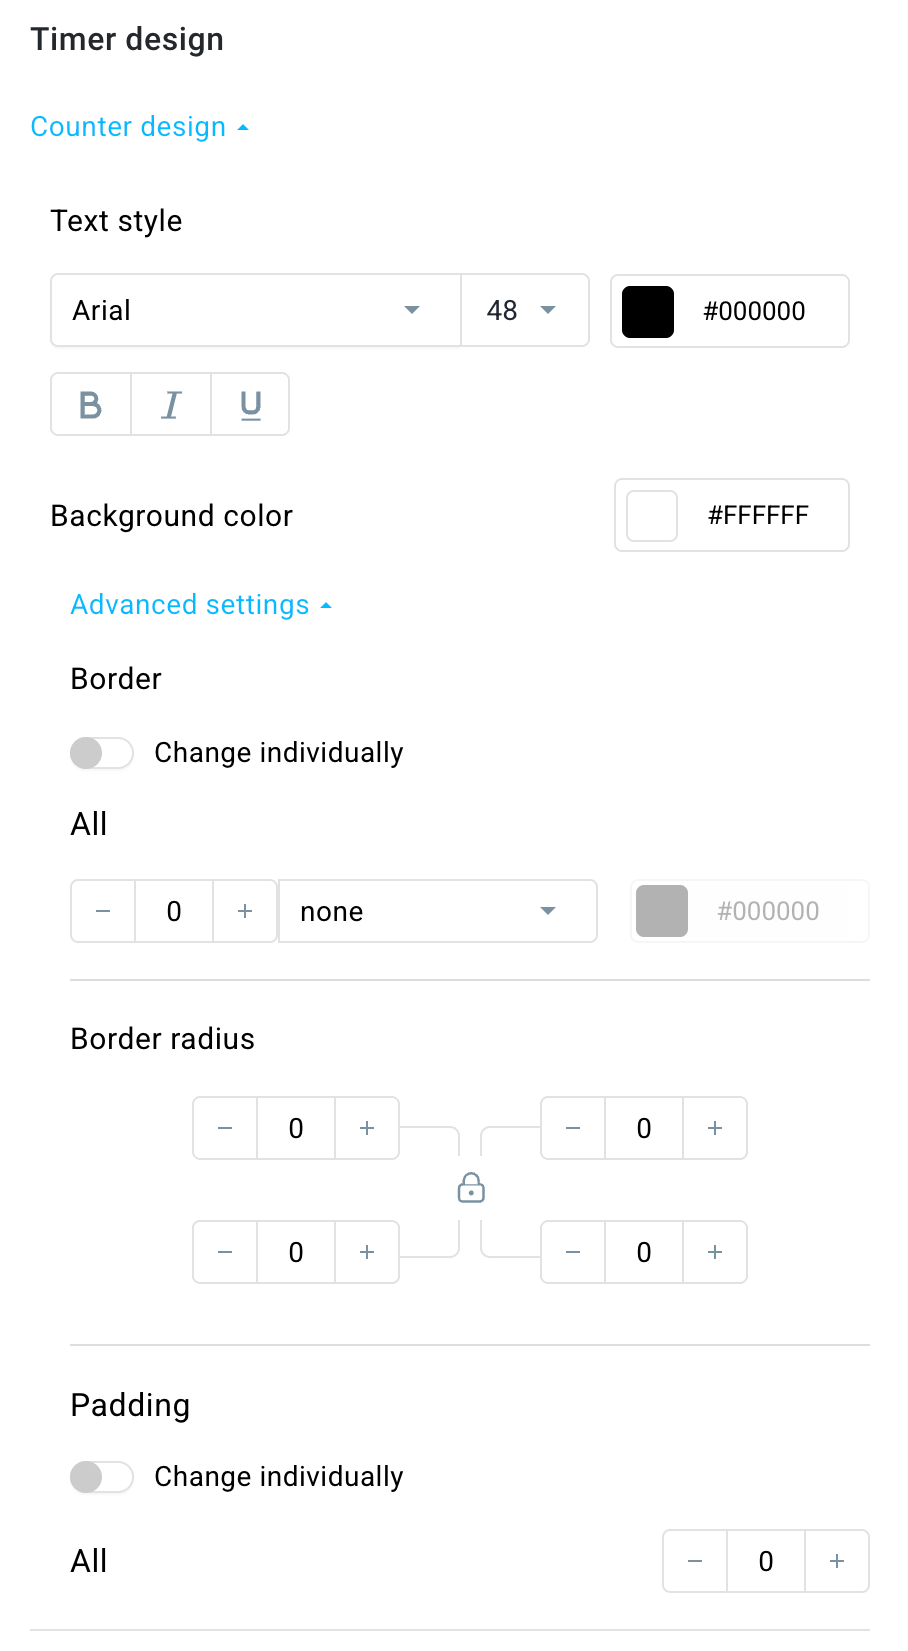
- In Timer design, you can change how the timer will look.
- In the Counter design section, you can adjust the font, font size, and font color, as well as enhance the text by making it bold, italic, or underlined. In Advanced settings, you can also modify the background color, borders, border radius, and padding.
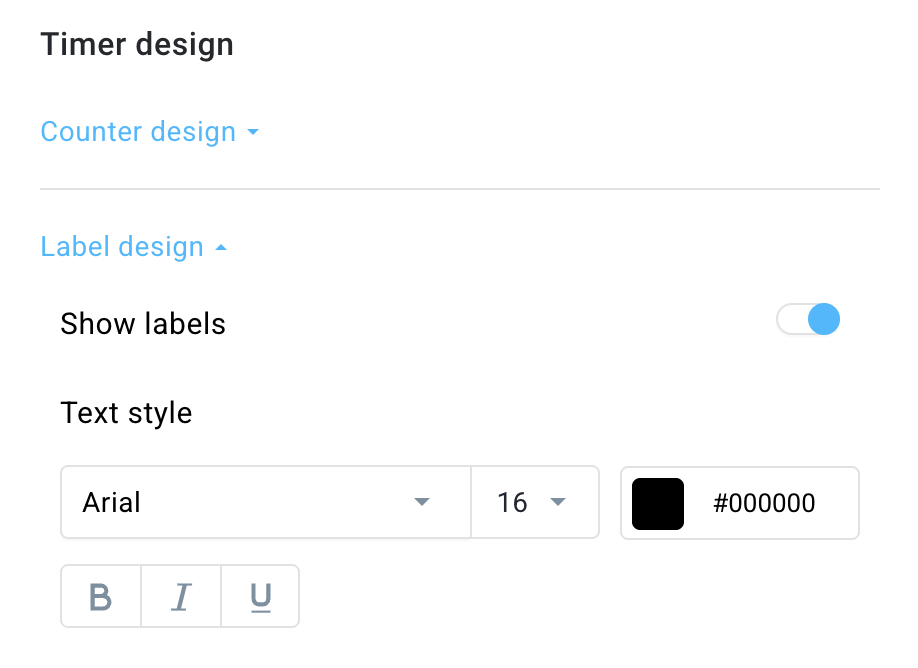
- In Label design, you can enable or disable the display of labels, and choose their font, size, color, and style (bold, italic, or underlined).
- In the Counter design section, you can adjust the font, font size, and font color, as well as enhance the text by making it bold, italic, or underlined. In Advanced settings, you can also modify the background color, borders, border radius, and padding.


