How to create a webinar? Video
To create a webinar, follow these steps:
1. Go to Webinars.
2. On the Manage webinars page, click the Create webinar button.
Editing webinar settings
Start by adding a name to your webinar. The name needs to have at least 3 characters and not more than 70. Note that the name is visible to all participants.
The webinar settings visible next are divided into 2 sections: Basic settings and Registration and subscription settings.
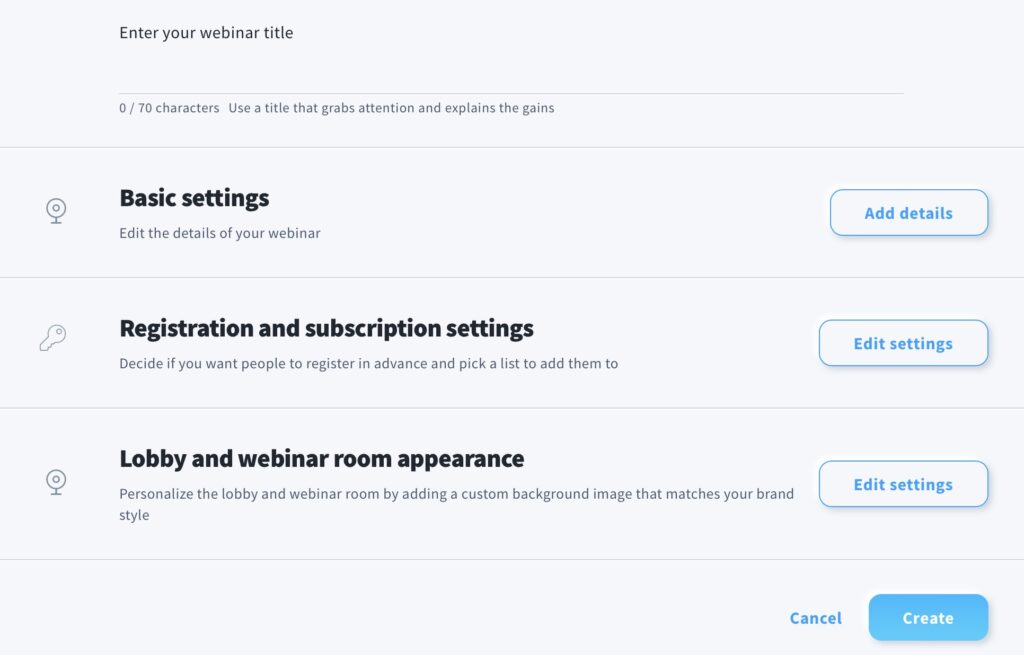
Click on Add details in Basic settings to start setting up your event.
- You will be able to see your webinar title in the Webinar URL section. The name of your webinar becomes a part of your webinar URL. You can edit it in the field or copy the link using the Copy button. Your webinar URL needs to be in lowercase letters.
- Choose when the webinar starts (your account settings determine your time zone).
- Set webinar duration.
- (Optional) You can select Automatically record on start webinar and Automatically create an on-demand webinar when the event ends.
- Customize the lobby with a message of up to 250 characters. If attendees click the invitation link before the event starts, they wait in an online lobby. This is also a good place to enter your meeting agenda.
- (Optional) If you don’t want to use the default thank-you page, expand the thank-you page list to select one of your landing pages or another page as a thank-you page.
Click Save this step once you’re ready with this section.
Then click on Edit settings to expand Registration and subscription settings.
- Choose the from field from which webinar related messages (reminders and registration confirmation) should be sent.
- Choose the target list to which attendees (when registration disabled) or registrants should be added (when registration enabled). If there’s an autoresponder linked to the list you selected, you can also add them to a specific day in the autoresponder cycle.
- Select if you want webinar registration to be enabled. With the registration on, people will be added to your list upon registering to your event. After signing up, they automatically get an email with details on how to join the event. Additionally, they will be automatically included in the statistics.
- With registration enabled, you can decide if you want to send reminders about the event to your registrants. When you turn reminders on, from the dropdown you can select when exactly you’d like to send the reminders. You can also select the template for your reminders.
- See if you want to protect your webinar with a password. If you enable the option, you will be able to set the password of up to 30 characters necessary for your attendees to enter the webinar room. You can send them the password in a separate message or share it in any other way, it won’t be included in webinar registration confirmations, nor the reminders.
- Next, decide if you want to include Consent fields in your webinar registration. Click on Add Consent fields to your registration form to expand it and view the Consent fields in your account. Select which fields you’d like to add. If you want to make any of the fields required, move the Require switch to ON. Everyone who signs up will be able to give their consent to your marketing or data processing policies before they’re added to the contact list you’ve selected.
Click Save this step and then Create to finish up creating your webinar.
On the page that opens you can decide what you want to do next:
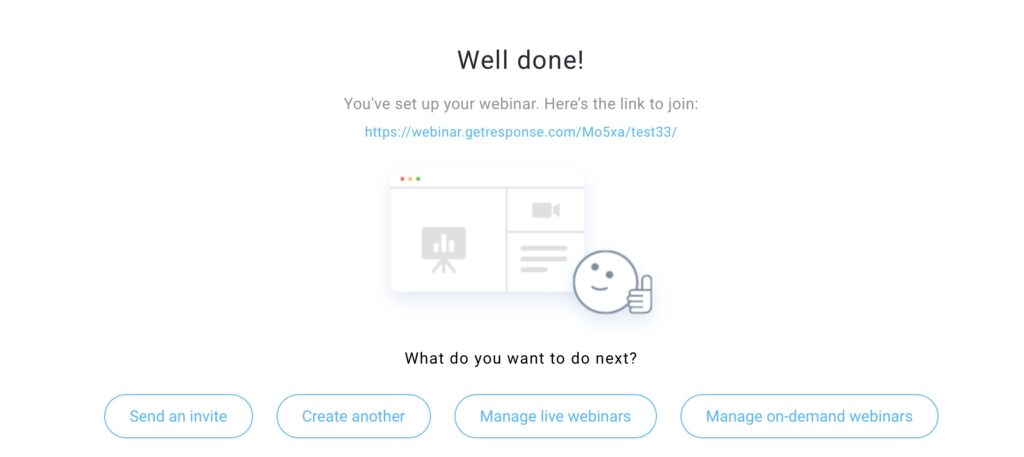
Select Send an invitation to create an invitation email for your existing contacts.
Creating webinar invitation
The first step to creating an invitation is to configure the message settings. Here’s how to do it:
- Select the Linked list. This is the list where you’ll find the statistics for the message.
- Set the message name. It’s visible only to you and will appear on the message list.
- Enter a subject line for your invitation.
- (Optional) Select a new From email address if you don’t want to use the default address.
- (Optional) Click on Change Reply-To if you want to set up a different reply-to address.
- Click Distribution settings if you want to enable tracking, A/B testing, or post your invitation to a social media site.
- Click the Next step button.
Now it’s time to pick and edit the message template. To do it, follow the steps below.
- The message template gallery opens to webinar invitation templates by default. Click to select the template you want to use. Every template is fully customizable and mobile responsive.
- The template is automatically filled with your webinar information. You can change the call to action text by double-clicking the button and entering new text.
- Edit the webinar invitation message as you wish.
- Click the Next step button.
In the next step,
- Choose who should receive the invitation. You can exclude and suppress certain contacts if you wish.
- Click the Next step button.
Finishing setup
In the last step, you can review the message details, choose whether to send the invitations now, schedule them with or without the Time Travel feature enabled, or send them using the Perfect Timing feature.


