How to create and send a newsletter? Video
Newsletters are the bread and butter of marketing campaigns. They are the easiest way to stay in touch with your customers—e.g. welcome new customers, inform them about upcoming promotions, or send your existing customers an invitation to join a loyalty plan or send them a special offer code.
In GetResponse, you can choose between a drag-and-drop Email Editor or HTML Editor to create your newsletter. With the drag-and-drop editor, you work with email templates and don’t need to do any coding. HTML Editor is a good choice for those who are familiar with HTML coding.
Creating and sending a newsletter
- Go to Tools > Email marketing.

- In the Newsletters tab click on the Create newsletter button.

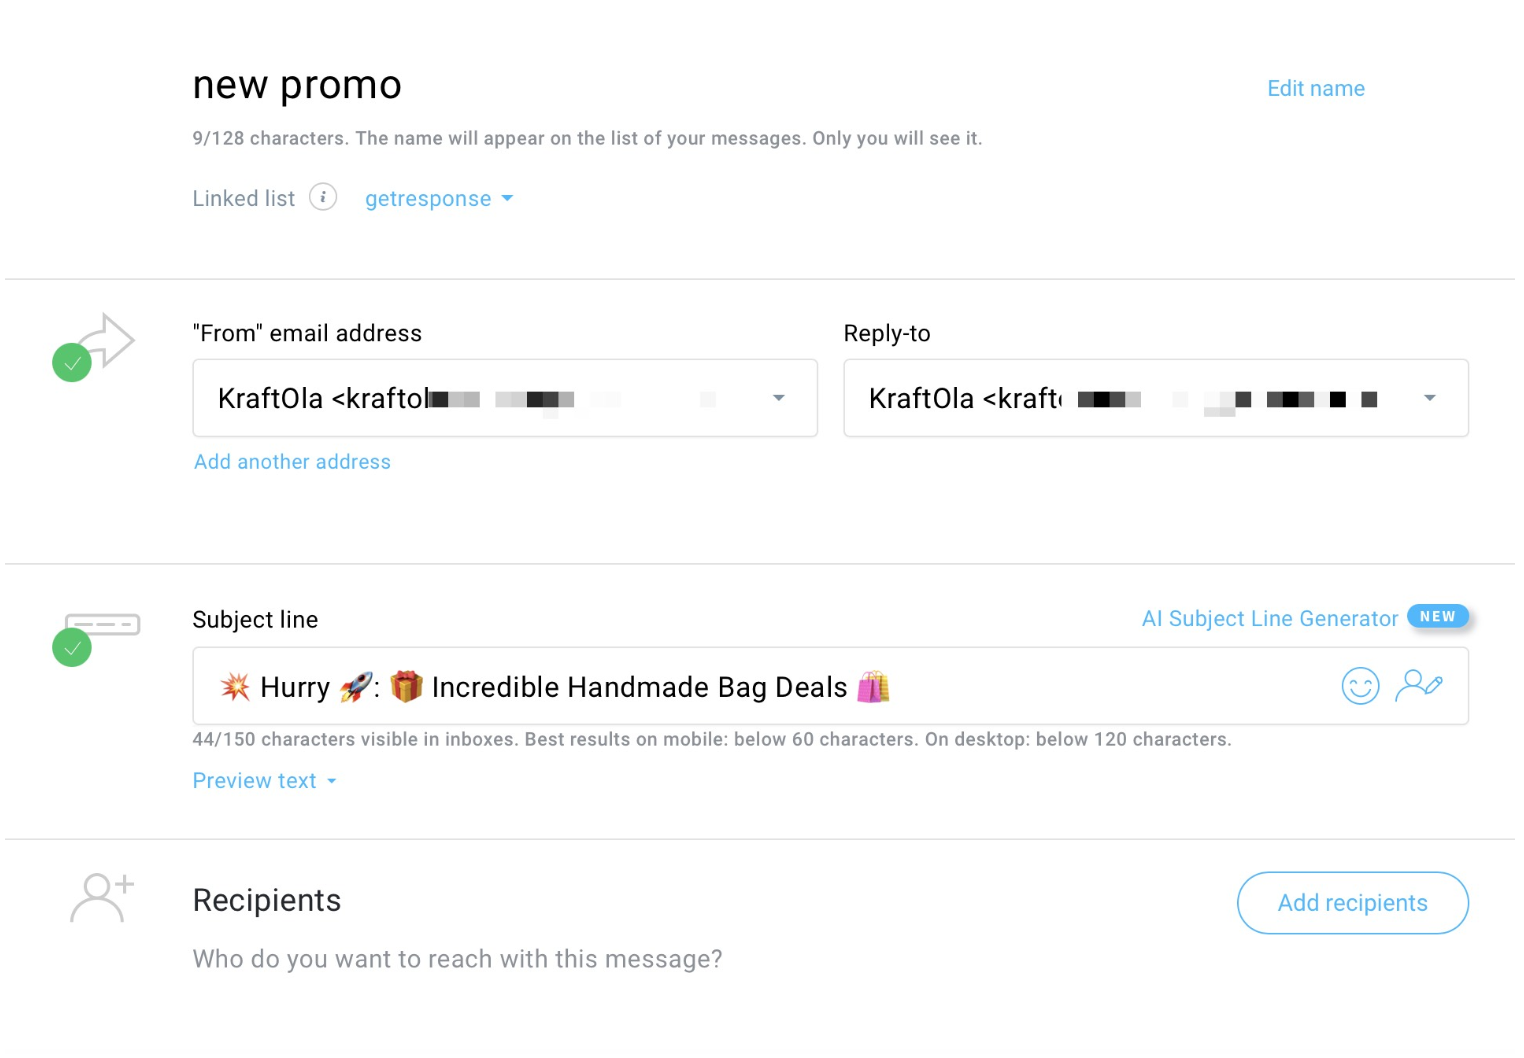
- Provide an internal name for your message.
- Select your linked list.
- Provide your message subject line. You can write your own subject or use the AI Subject Line Generator to create one for you.
- Decide if you would like to give your contacts a sneak peak into what they can expect from your message and add Preview text.
- Add recipients, who you want to send the message to.
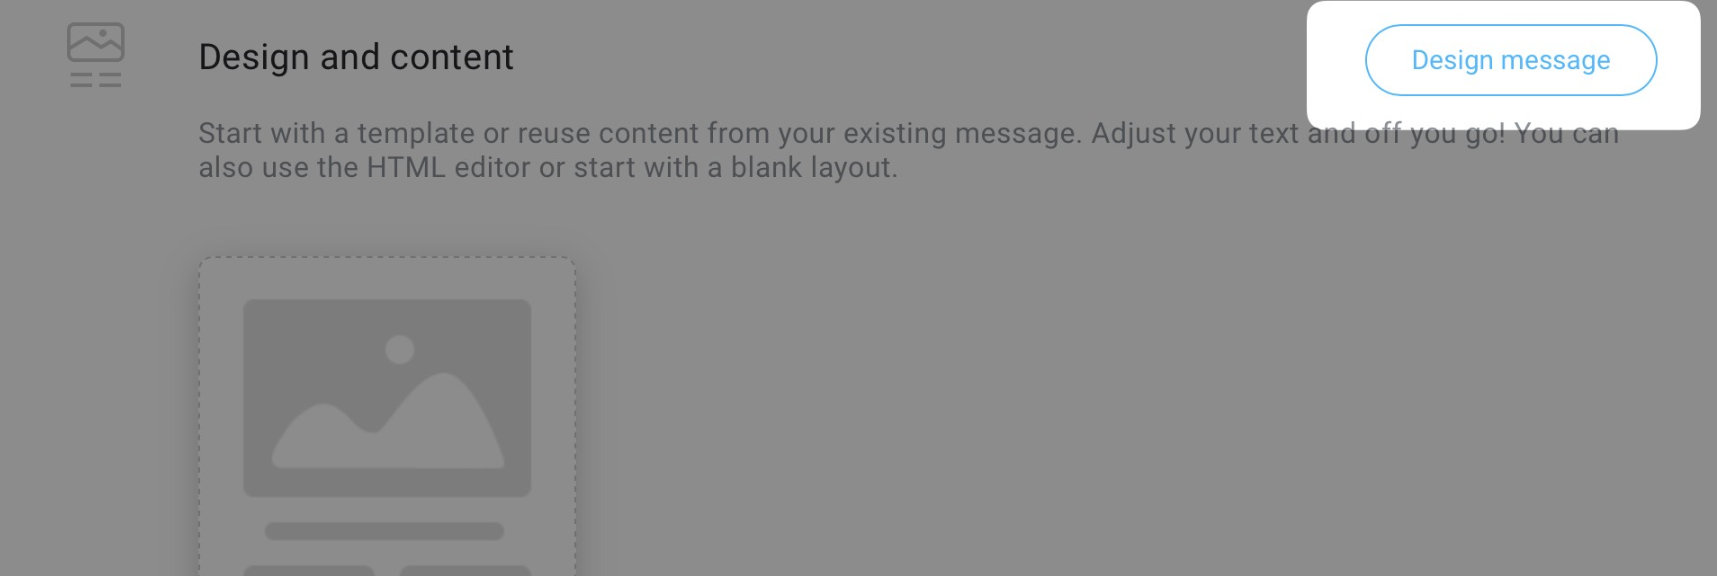
- Start designing your message by clicking Design message.
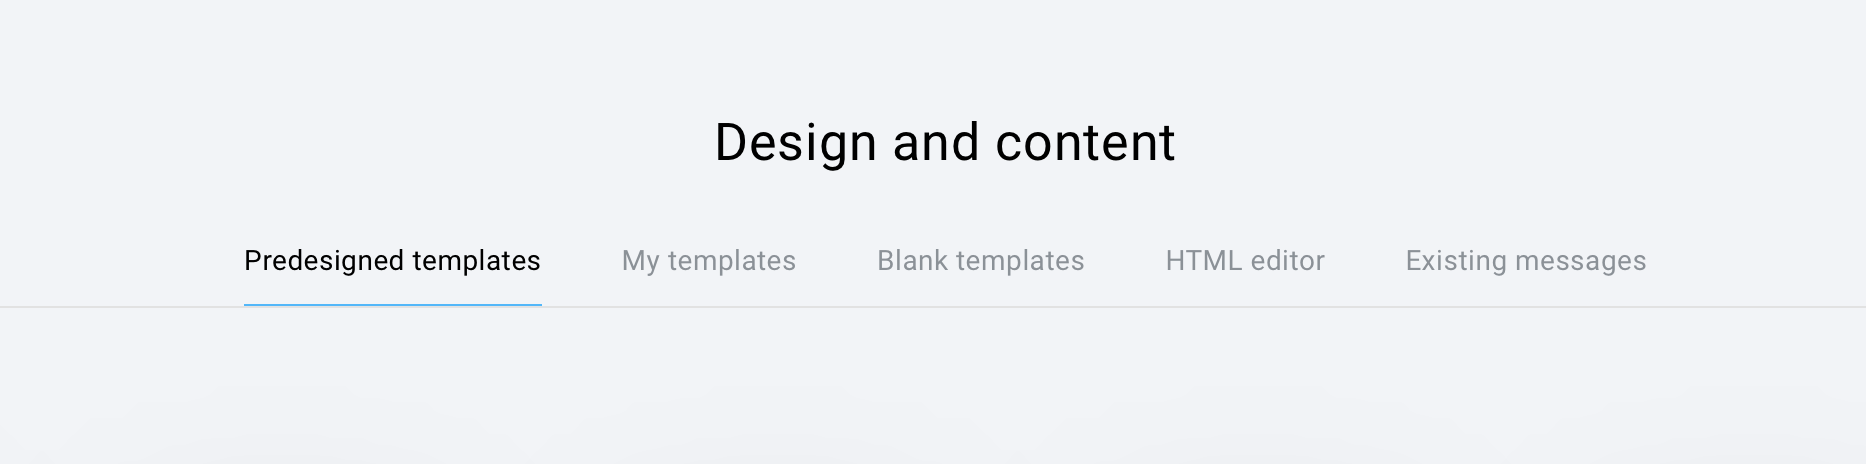
- Choose if you want to use Predesigned templates, Your templates, Blank templates, design the message using HTML editor or use an Existing message.
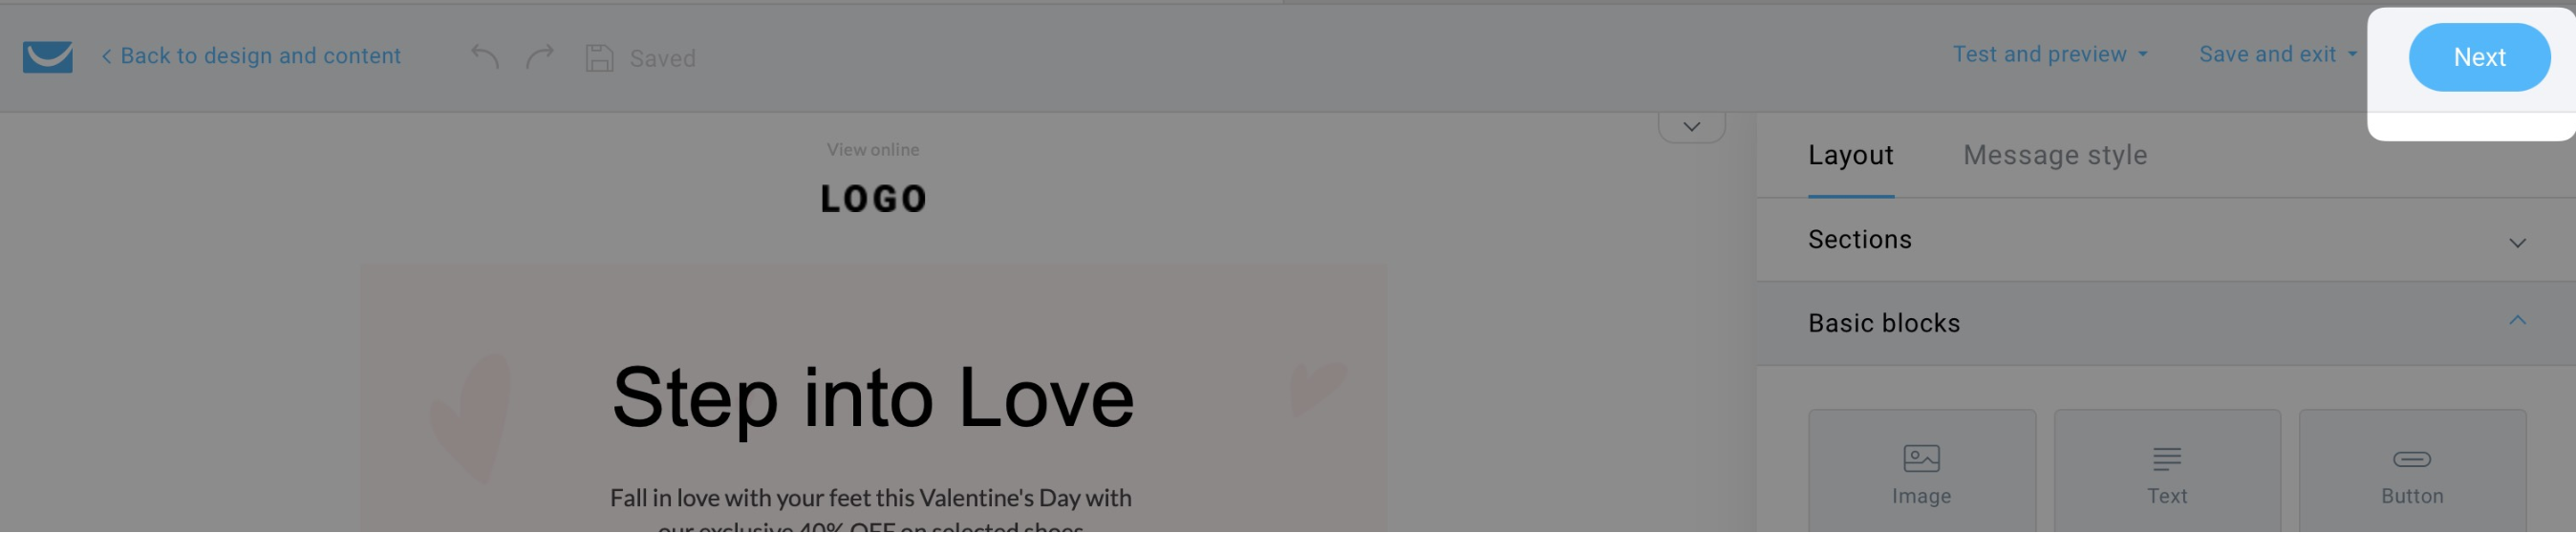
- Once you choose the template, you will be redirected to the message editor. For more on designing a newsletter, please check this section. For HTML, the editor will open where you can write your code.
- When you’re done with the message, click Next to go to the settings page.
- Choose if you want to enable Site visitor behaviour and send the message as a source to Google Analytics.
- Under Sharing, decide if you want to share the online view of the message on Facebook or X. Find out more here.
- Send the message immediately or schedule it for later.
- Choose if you want to send it with perfect timing.
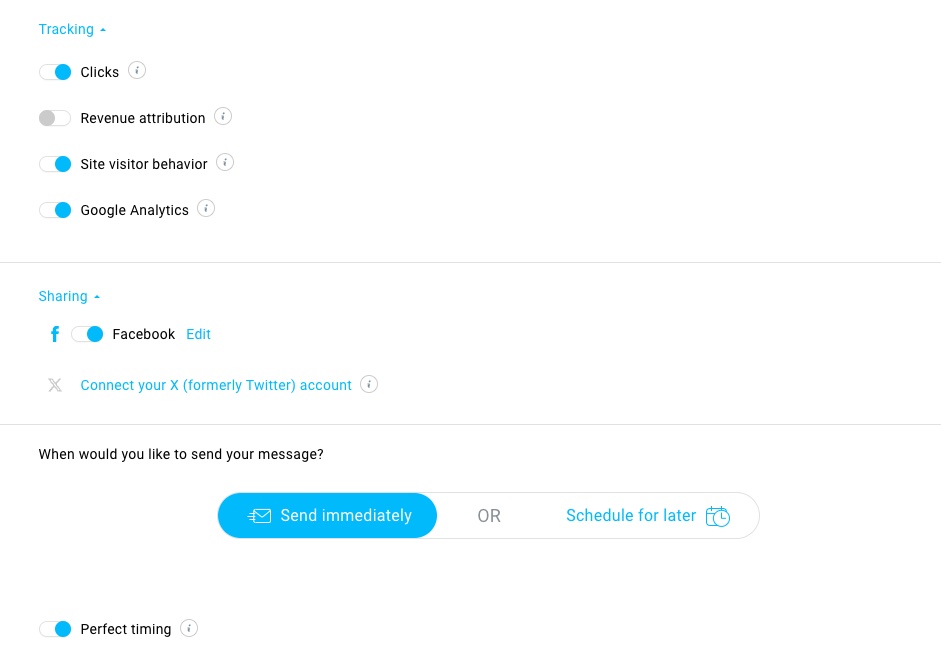
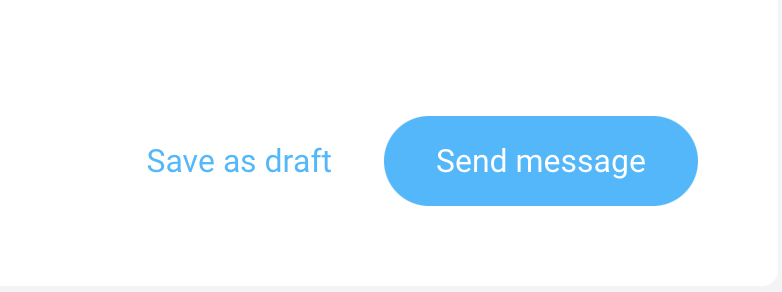
- Save the message as draft or Click Send message/Schedule.
When you want to edit a scheduled message, find it under Tools > Email Marketing and select Edit from the three dots on the right.
Legacy editor
Creating a newsletter
The following steps explain the process of creating a newsletter in Drag-and-Drop Email Editor
1. Go to Tools > Email marketing.
2. In the Newsletters tab click on the Create newsletter button.
3. Click the Drag-and-Drop Email Editor.
4. Set up the newsletter settings:
– Select a linked list. This is the list where you can find the newsletter statistics for.
– Enter your message name. It will help you to find the newsletter on the Manage newsletters page.
– Enter a subject line for your newsletter.
– Select the From email, and change the reply-to email if necessary.
– Optionally, click distribution settings and set up the analytics and social sharing options.
When done, click Next step to get to the template gallery.
5. Choose a template. Use the side menu to browse the templates by category. You can also import your template or design a template from scratch. Once you choose a predesigned template, you’ll be able to add, rearrange, and edit text and images. Use the side toolbar to add more sections, social sharing buttons. Click Next step when you’ve finished editing the newsletter.
6. Select recipients from one or more lists or segments, or select them by hand. You can also exclude contacts from the recipient list. Click Next step to move to review and scheduling.
Sending a newsletter
Review message details. Then, schedule your newsletter or send it right away. If you’d like to adjust when they receive your newsletter, turn on Perfect Timing.


