How to include abandoned cart items in a message?
You can start turning abandoned carts into completed orders by using an Abandoned cart block in a marketing automation message. The block is available in Marketer, Creator, and GetResponse MAX accounts.
The Abandoned cart block works only in automation messages in a Send message action. It has to be used together with the Abandoned cart condition in an automation workflow.
When you add the Abandoned cart block to an automation message, we create a placeholder with space for the product image, name, and price per unit. When someone doesn’t complete their purchase, we fill the placeholder with the abandoned cart information. Images in the message link to product pages by default.
You can decide where in the message you want to display the items by dragging and dropping the block anywhere in the message template. You can also customize its text and design to suit your brand.
Keep on reading to learn how to add the Abandoned cart to a message and build a workflow that sends it.
Here’s what you need to do before you start using the Abandoned cart block:
- connect your online store to GetResponse. You can use one of your plugins or Ecommerce API.
- enable sending new ecommerce data to GetResponse or export existing ecommerce data to your GetResponse account. We need this information to display the product information in the message.
Configuring the Abandoned cart block is a two-part process. First, you create an automation message draft (if you don’t have, or don’t want to edit, an existing automation message). Then, you use it in a workflow together with the Abandoned cart condition.
Adding the block to an automation message
To add the abandoned cart block to a message:
- Go to Automation >> Automation messages.
- Click Create automation message or edit an exiting one by clicking on its name.
- Click Design message or Edit message for an exiting one.
- When creating a new message, select your template and proceed to the editor.
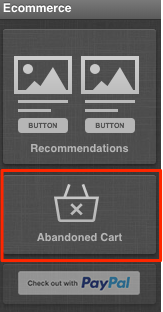
- On the menu on the right expand Ecommerce.

- Drag and drop the Abandoned cart block to where you want it to appear in the message.

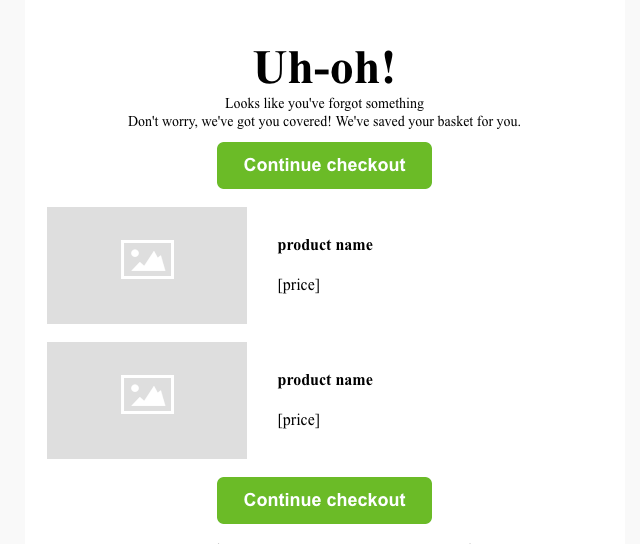
The placeholder shows two items, but the number of products displayed will automatically adjust to reflect the actual cart information when the message is sent.

Note: only one abandoned cart element can be added to a message.
Now you can edit the block to suit your brand and encourage your customers to complete their purchase. The product picture, price, and name will be automatically filled when we send the message.
Editing the abandoned cart block
Click on the abandoned cart block to start editing.
First, you can change the abandoned cart design.
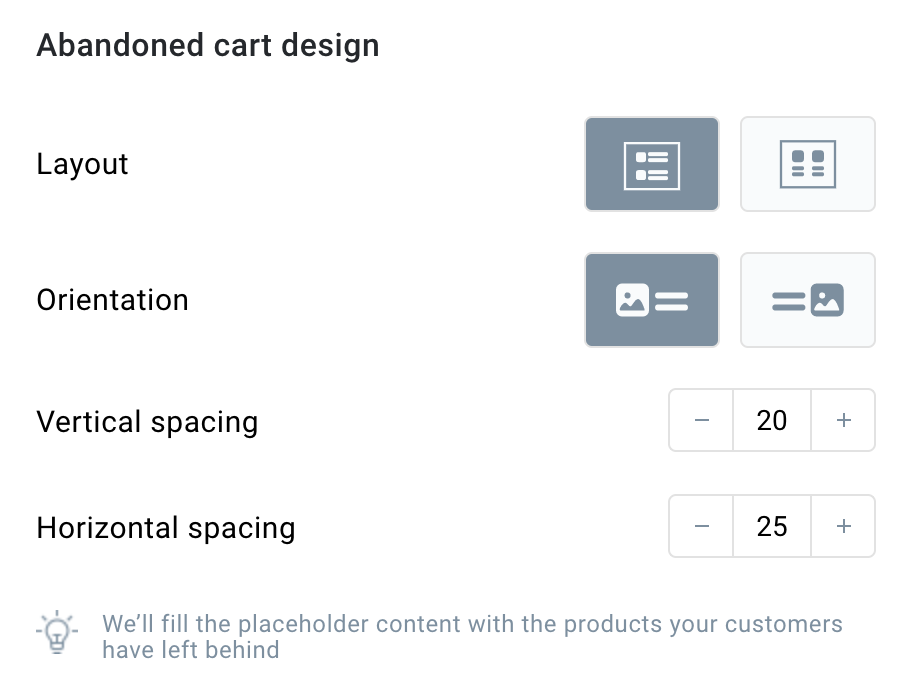
You can change:
- The layout of the element,
- The orientation,
- Vertical spacing between the products,
- Horizontal spacing between the product description and the image.
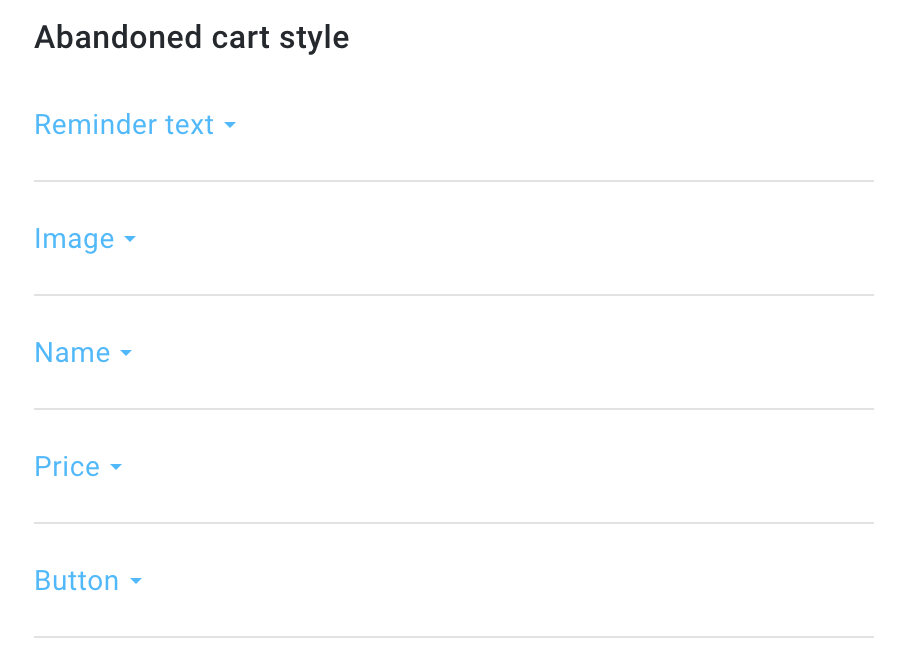
Next, you can edit each element of the abandoned cart block.
Reminder text
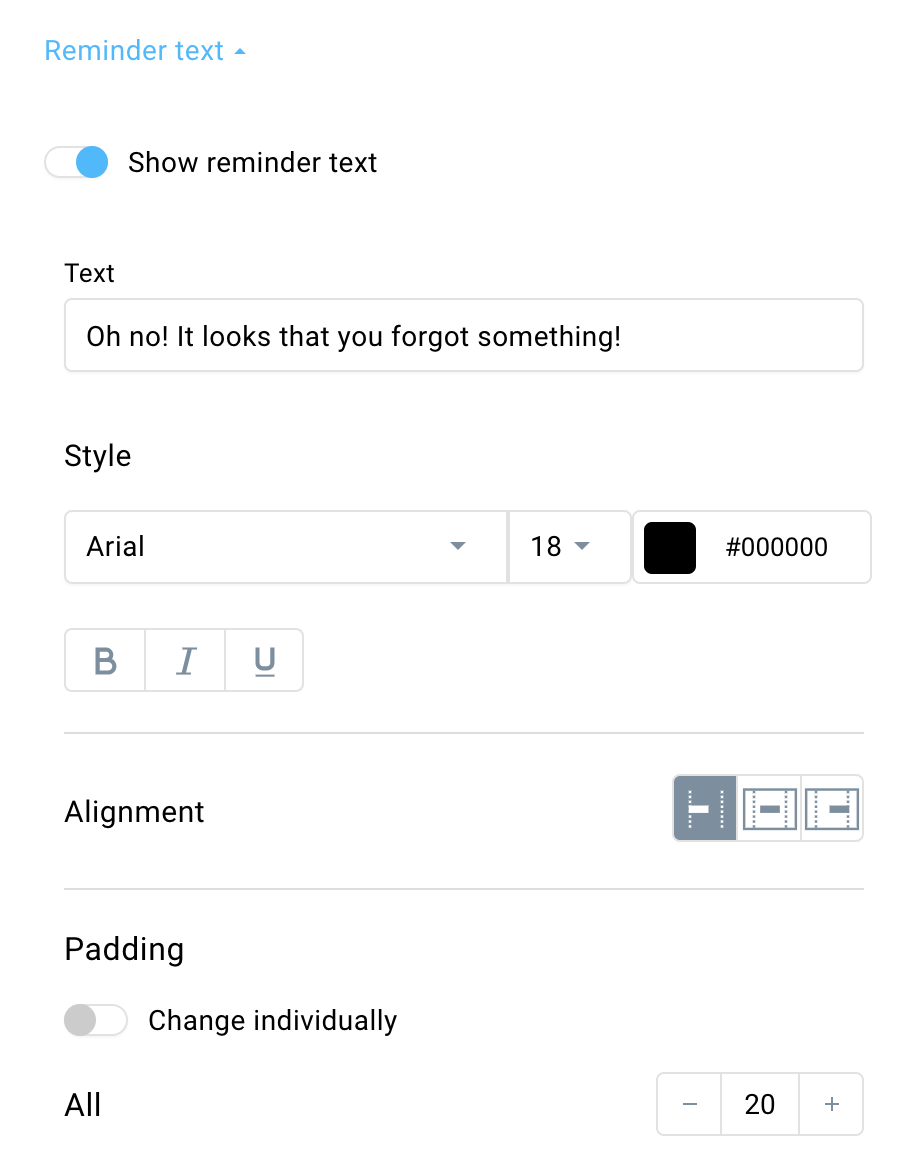
You can enable or disable the reminder text by using the switch at the top of the element settings.
If it’s enabled, you can:
– change the text that displayed at the top of the block,
– edit the text style (font, its size, color, if it’s bolded, italicized, underlined),
– choose text alignment (right, center, or left),
– choose text padding (you can also edit it individually).
Image
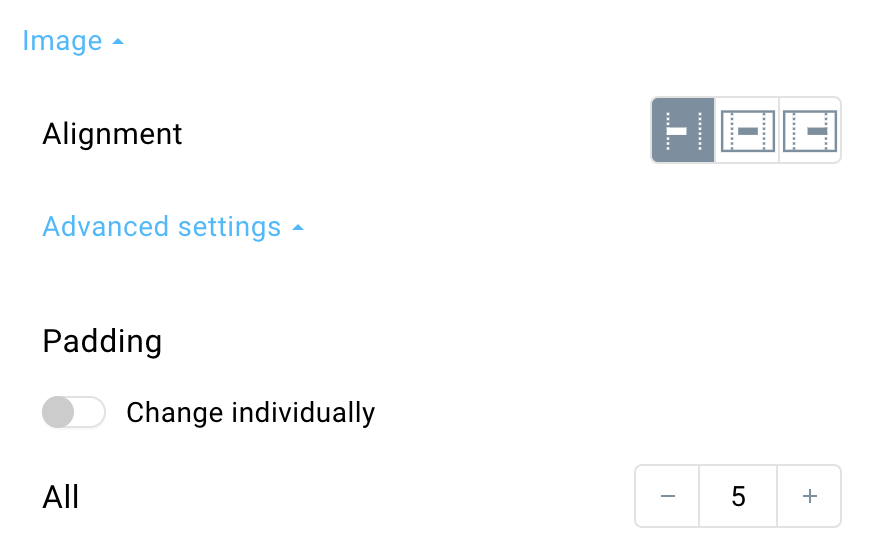
You can edit:
– image alignment,
– (under advanced settings) image padding from the rest of the elements (it can also be edited individually).
Name
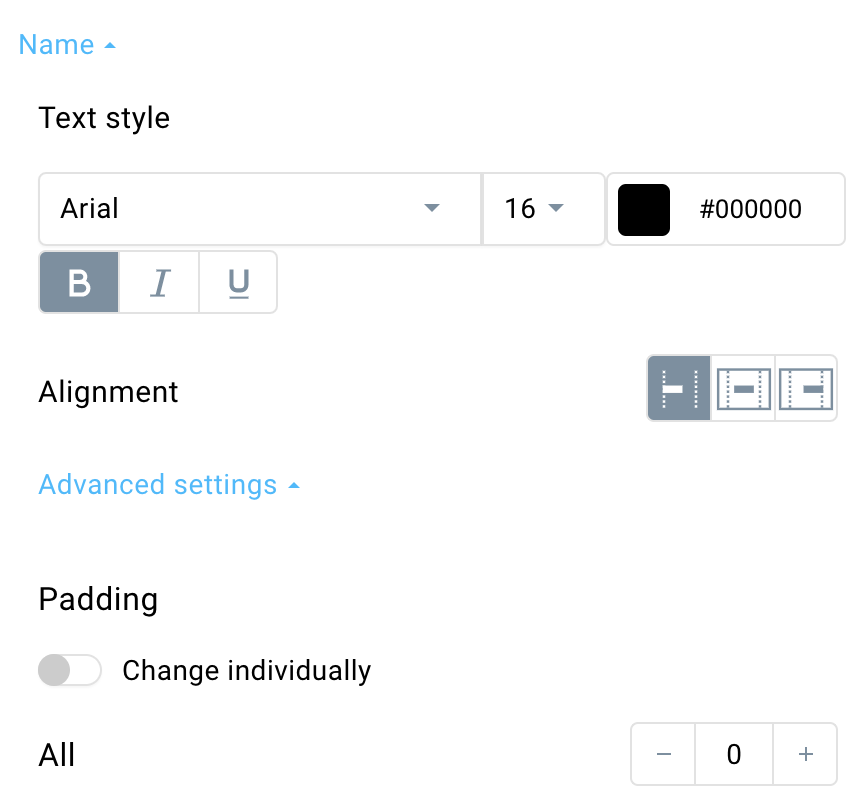
You can edit:
– text style (font, its size and color, if it’s bolded, italicized, underlined),
– (under advanced settings) the padding of the name from the rest of the elements (it can also be edited individually).
Price
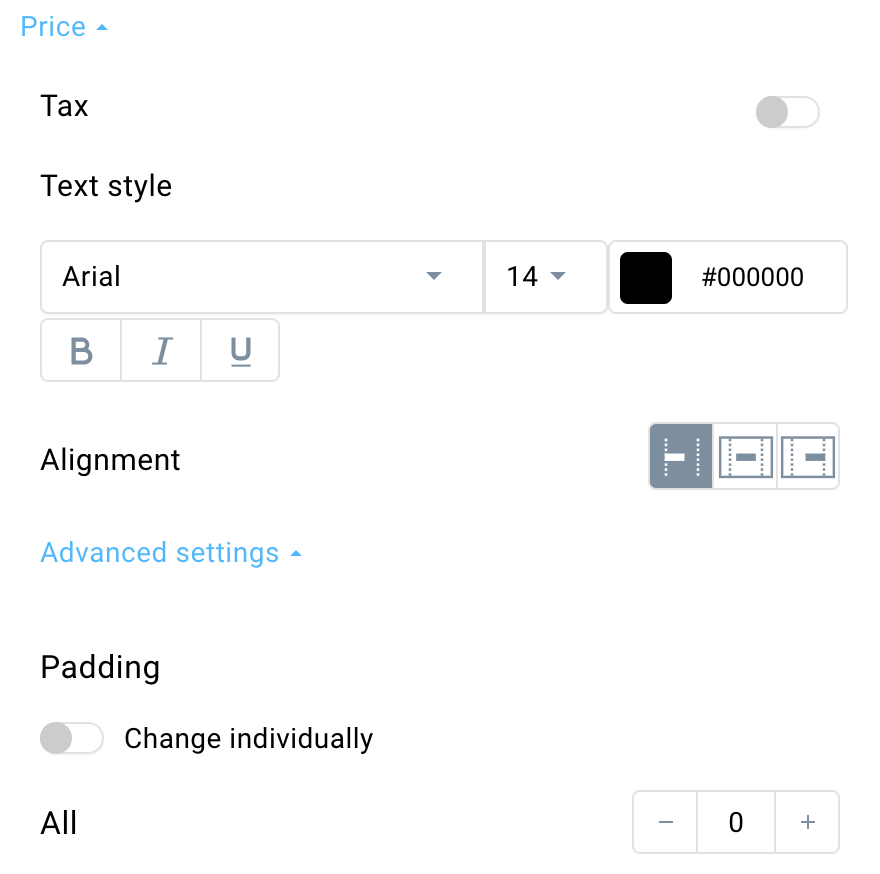
In the price element, you can enable to show the price with a tax or without it.
Note: it will only work if your product in the store has that attribute assigned to it. For products created in GetResponse, the setting will have no impact as their prices cannot include tax.
You can edit:
– text style(font, its size and color, if it’s bolded, italicized, underlined),
– text alignment (right, center, or left),
– (under advanced settings) the padding of the price from the rest of the elements (it can also be edited individually).
Button
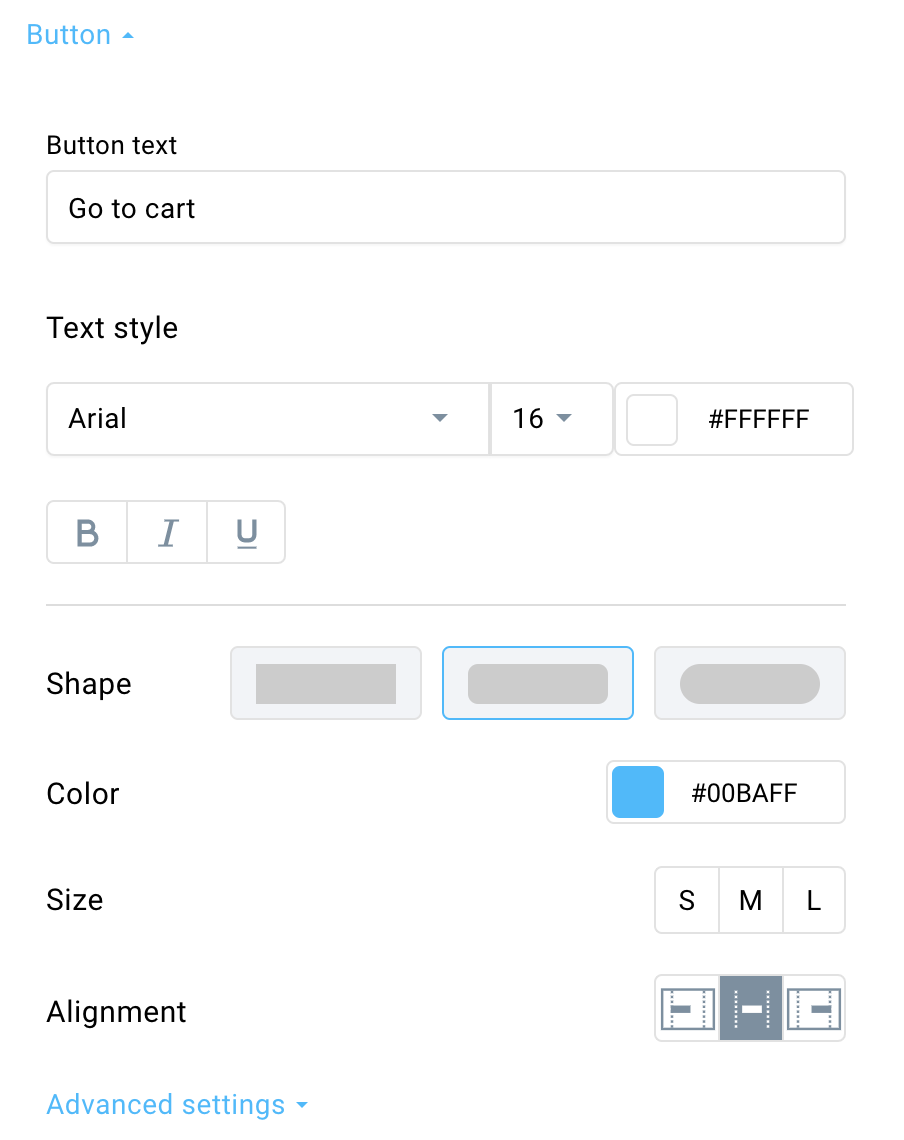
You can edit the text that is displayed on the button and adjust its style (font, its size and color, if it’s bolded, italicized, underlined).
Apart from that, you can change the button in the following ways:
– shape,
– color,
– size,
– alignment.
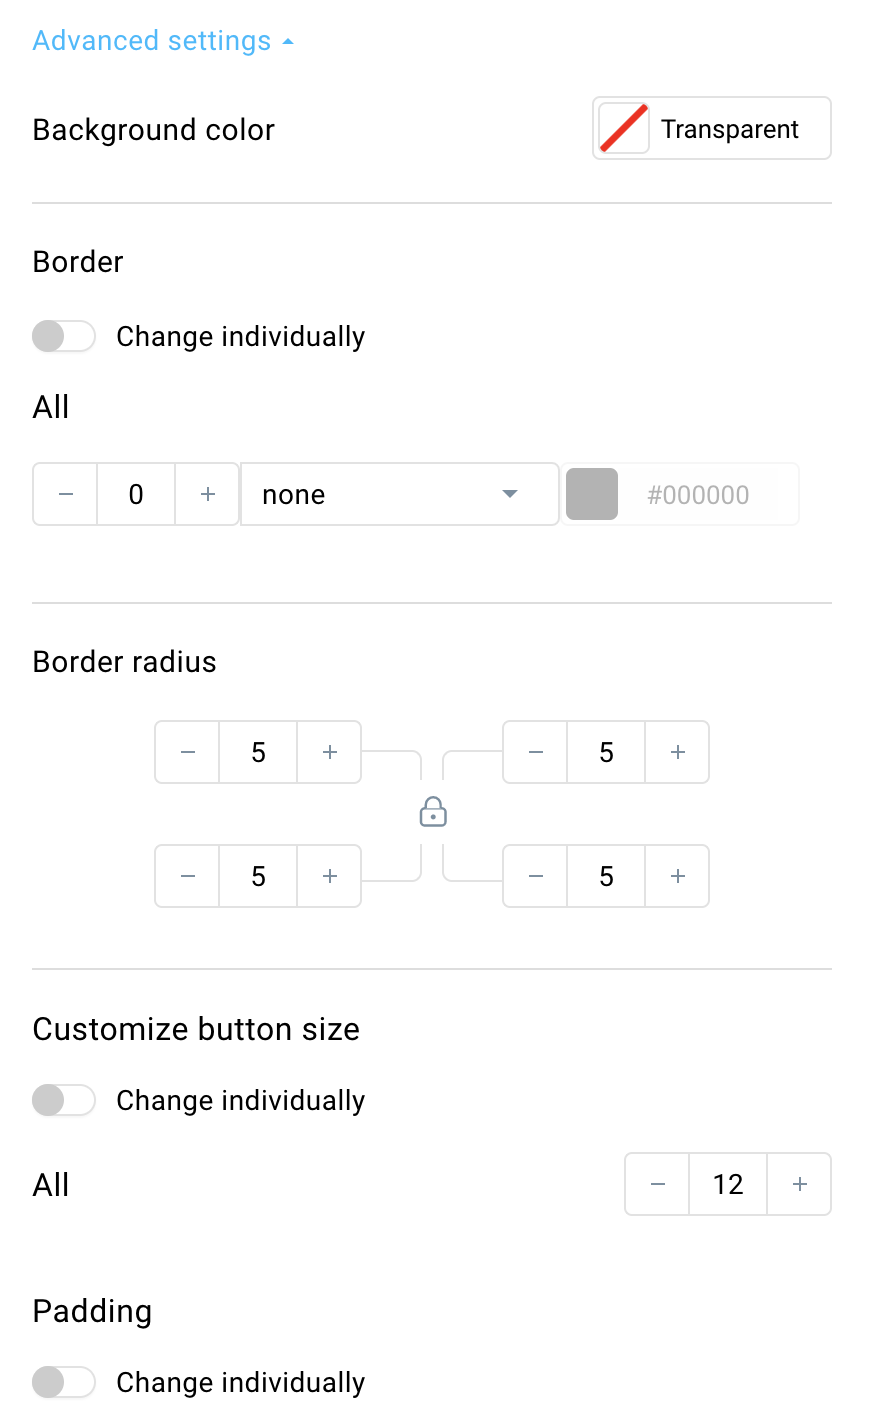
Under advanced settings you can edit the button in details:
– background color behind the button,
– border (it can also be edited individually),
– border radius (it can also be edited individually),
– size (it can also be edited individually),
– padding (it can also be edited individually).
You can also edit the abandoned block section to match the rest of your message. It’s enough to click on an empty area outside of the block itself to open section properties.
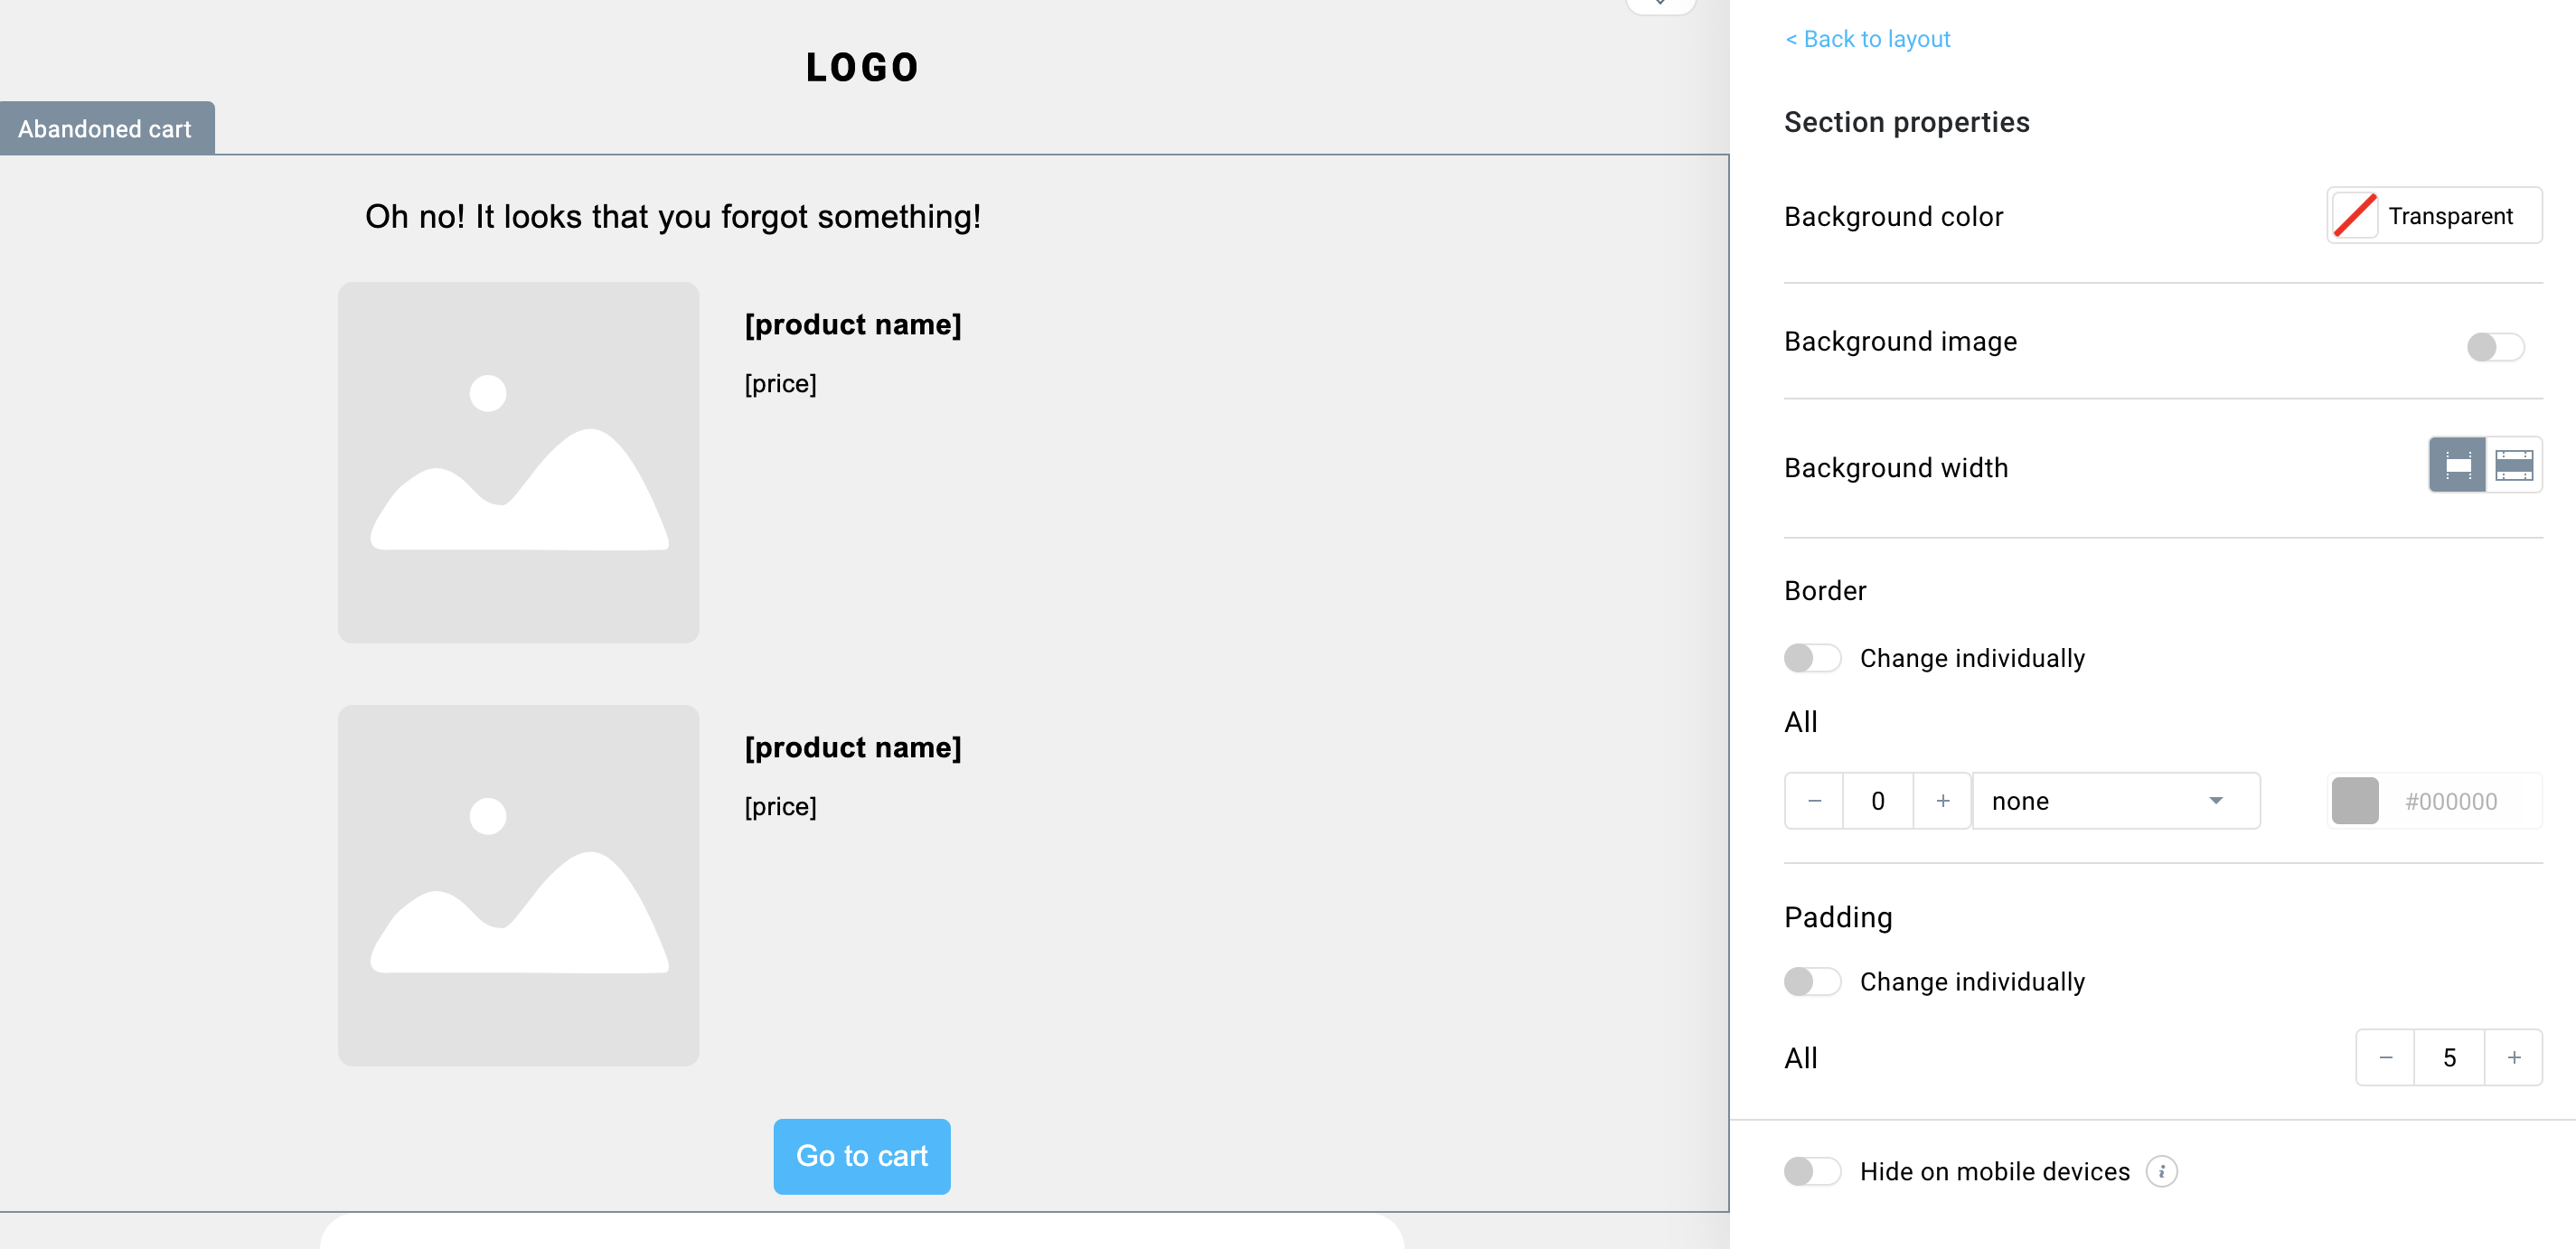
The editing options are:
- background color,
- background image,
- background width,
- block border,
- padding.
You can also hide the element on mobile devices.
Legacy editor
1. In your GetResponse account, go to Automation and do one of the following:
– start creating a new automation message draft,

– start editing an existing automation message. Note: If this message is used in a workflow that doesn’t start with the Abandoned cart condition, the message won’t send.
2. In the message editor, navigate to the toolbar. Click the Ecommerce tab to expand it.

3. Drag and drop the Abandoned cart block to where you want it to appear in the message.
The placeholder shows two items, but the number of products displayed will automatically adjust to reflect the actual cart information when the message is sent.
4. Edit the text and buttons to suit your brand and encourage your customers to complete their purchase. The product picture, price, and name will be automatically filled when we send the message.

5. Click the Next step button to save the changes and return to the Automation messages page.
Now that you’ve created a message draft (or edited an existing message), you can use in a workflow.
Using the abandoned cart message in a workflow
Here you turn the message draft into an automation message and finish the setup of how to track abandoned carts. The workflow needs to have at least two elements – the Abandoned cart condition and the Send message action.
- Build a workflow that starts with the Abandoned cart condition. You can build it from scratch or use any of the Abandoned cart automation templates.
- Configure the Abandoned cart condition:
- Select API for the integration method.
- Select the store for which to track abandoned carts.
- Set when to assume the cart was abandoned. After that time, the customer will be sent a reminder message showing the items in the abandoned cart.
- Set the element to Run multiple times to trigger the workflow many times for the same contact. (Every time they abandon a cart, they receive a follow-up message.)

- Configure the Send message action. How you configure the element depends on the type of message you want to use
- If you’ve created a new automation message draft, you’ll first need to convert it to an automation message. For message type, select Draft. Next, from the drop-down list, select the message containing the Abandoned cart block.

Then, confirm that you want to use it as an automation message. This will copy its layout and convert the draft into an automation message. You’ll be able to use it in any other workflow you build in the future.
- If you’re using an existing automation message to which you added the Abandoned cart block, select Automation for message type and then pick the message.
Set the element to Run multiple times to allow sending the message to the same customer every time they abandon a cart.
- If you’ve created a new automation message draft, you’ll first need to convert it to an automation message. For message type, select Draft. Next, from the drop-down list, select the message containing the Abandoned cart block.
- When you’re done setting up the workflow, click Save and publish. Click Save and exit if you want to save it as a draft.


