How to migrate to GetResponse MAX? MAX
This guide explains the process of switching from a regular self-service GetResponse account to GetResponse MAX. Learn how it works and what you can expect from this change.
Why switch to GetResponse MAX
Switching to GetResponse MAX can be the perfect choice if you’re looking to:
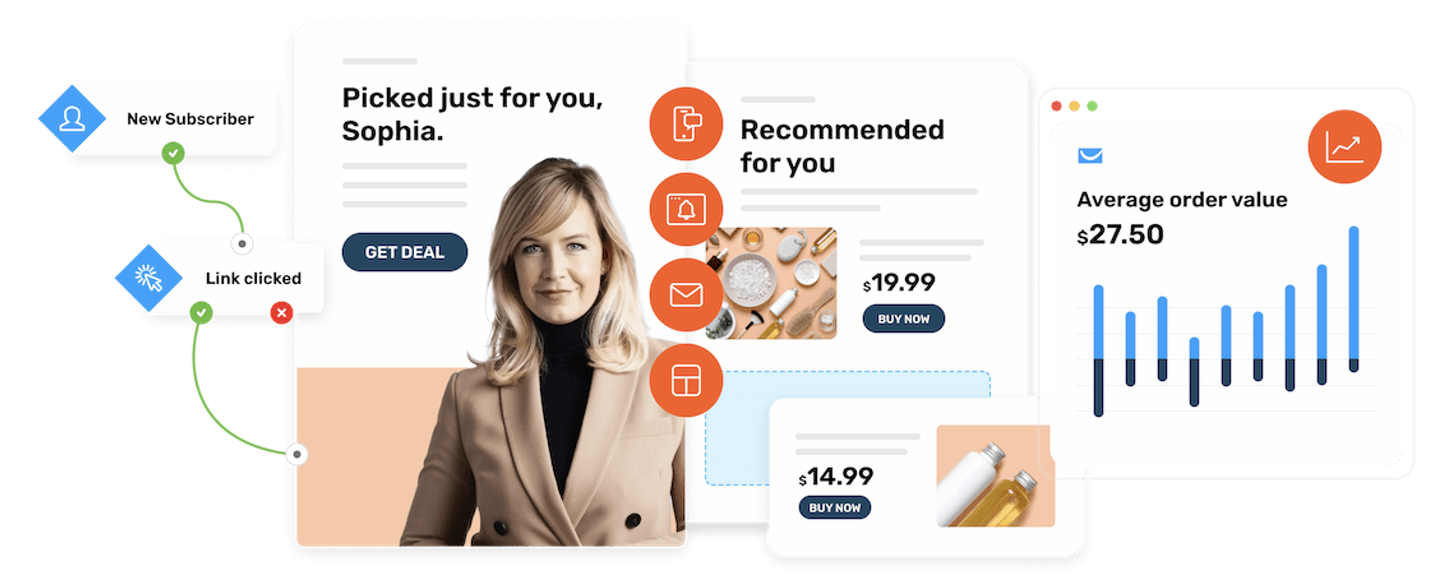
- Improve your deliverability with a dedicated IP address
- Send SMS messages
- Send transactional emails
- Send mobile push notifications
- Import files via FTP
- Get dedicated support with your own Customer Experience Manager
- Display AI-powered product recommendations
The features listed above are exclusive to GetResponse MAX and are not available in a regular GetResponse account.
All other features remain the same as in a regular account. These include newsletters, autoresponders, marketing automation, landing pages, website builder, forms and popups, conversion funnels, chats, webinars, and contact management.
How does the migration process work
In a nutshell, when switching from a regular GetResponse account to GetResponse MAX, we create a brand-new GetResponse MAX account for you. Once the switch is completed, you will need to close your regular account.
The process usually takes 2-3 business days. The process involves planning with our teams and coordination with you.
Which data can be transferred from a regular account to GetResponse MAX
It should be possible to transfer all elements. In case of doubt, please double-check with our team.
Note that after a successful migration, integrations need to be enabled again in the new GetResponse MAX account.
Note: If you have messages and automation workflows set up in your regular GetResponse account, they will temporarily be available in both accounts after migration. All automated messages (autoresponders, automation workflows, scheduled newsletters) from the regular account should be turned off.
Dedicated IP address and IP warm-up
The choice between shared and dedicated IP addresses can significantly impact the success of your email campaigns. A dedicated IP address is a great option if you send a large volume of emails on a regular basis.
A dedicated IP can handle millions of emails per month and allows you to build and maintain a stable sending reputation over time. However, this requires a proper IP warm-up process.
IP warm-up is the process during which a new IP address builds its reputation with Internet Service Providers (ISPs). ISPs need to see that you send relevant, permission-based emails before they begin to trust your bulk mailings. This process must be gradual.
During the IP warm-up, it’s important to:
- Start with low sending volumes
- Send messages to your most active contacts first
- Increase volume gradually over time
Following these best practices is essential if you want to fully benefit from switching to a dedicated IP address.
Actions required from you after the switch
During the migration process, make sure to:
- Stop all activities in your regular account (turn off workflows, do not schedule mailings, etc.)
- Switch to API endpoints for MAX accounts, as they differ from those used in regular accounts
- Remember that list tokens will not change after migration
- Change DNS records for any legacy landing pages as described in our Help Center here and here (domain and subdomain setup)
- Update Web Connect code
- Replace all images in message drafts, as multimedia URLs change after migration
- Verify all integrations, as you may need to generate new API keys, domains, or endpoints (not all integrations are compatible with MAX)
If you use a form created in GetResponse “Plain HTML” and embed it on your website:
- Replace the domain in the embedding code with the mailing domain
- Replace any required consent field IDs (see the FAQ article)
Note: Before sending anything from your new GetResponse MAX account, make sure to close your regular account to avoid interference, duplicate sends, and unwanted charges.


