Webinars have become an increasingly important resource for businesses to connect directly with their customers — to educate and inform, and to position yourself as a thought leader.
They’re also great list building sources – no matter if you’re running them real-time or using them as evergreen lead magnets.
Additionally, webinars are a useful tool for digital learning, which is necessary during a crisis period like the one we see now, where people are staying indoors more.
While some prefer a webinar format that features only a speaker addressing their audience via a camera, using a presentation can add depth to your webinar and help you visualize more complex topics.
In our guide below, we outline the steps for creating a webinar presentation, along with some examples and best practices.
Just getting started? Then, consider reading this post that answers the fundamental question – What is a webinar and how does it work?
Bonus: Discover our secret for creating engaging webinars with the help of GetResponse
How to Create a Webinar Presentation
Creating a deck needs planning and forethought. When designing a webinar presentation that will be shared with a live audience, you should follow specific steps to ensure a good result.
1. Research Your Webinar Subject
It goes without saying that before going live with any content — social media campaigns, landing pages, or a webinar — you need to thoroughly research your subject matter.
This is doubly true for a webinar, which is designed to impart information and foster conversation. The strength of a webinar could boost your leads and sales.
It’s best to start by zeroing in on your audience — their demographics, frustrations, and motivation for attending the webinar.
Now that you know your audience, define your goal for the presentation. What is the key takeaway that people will leave with at the end of this webinar?
You also need to think about the action you want them to take when the webinar ends — we will cover calls to action in a later segment.
Remember to have one overarching subject for your presentation. Consider using a mind map template to streamline your ideas so that your message isn’t confusing to the audience.
Case study: Learn how Ravenol, a producer of high-quality automotive lubricants, attracted 1200 new email subscribers in three weeks using webinars.
2. Define the Presentation Outline
Structuring your presentation before fleshing out the webinar content will help you stay on track and cover your target points.
Some points will require more time than others, some may need to be divided into subpoints. Creating a framework for the deck will make this process easier.
You can also use this outline later as a content index, which will act as markers for the presentation when you share it with your audience.
Attendees like to receive an agenda so they know how long the presentation will last, and an outline does that job.
When developing your outline, you will be able to establish which ideas are too broad to be covered in this presentation, and which ones need more specificity.
It is much more efficient to work on an outline than to start throwing together content only to realize that your presentation isn’t a cohesive whole.

Webinar Setup Checklist
Want to be sure that your webinar is a success?
Then grab this handy checklist to make sure you’ve covered all the bases.
3. Create a Webinar Presentation Template
If you’re going to make webinar presentations on a regular basis, it can’t hurt to create a reusable template.
There are certain elements and slides that your presentation will consistently need. Designing templates will make it easier for you to reproduce the slides as and when needed.
Some of the core elements of every slide deck include:
- Company branding
- A title slide
- About slide
- Index slide with the agenda
- Meat slides
- Q&A slide
- Call-to-action slide
- Thank you slide
It’s really the meaty slides in the middle that will require the most attention. The rest can pretty much remain the same aside from a few minor adaptations for each webinar.
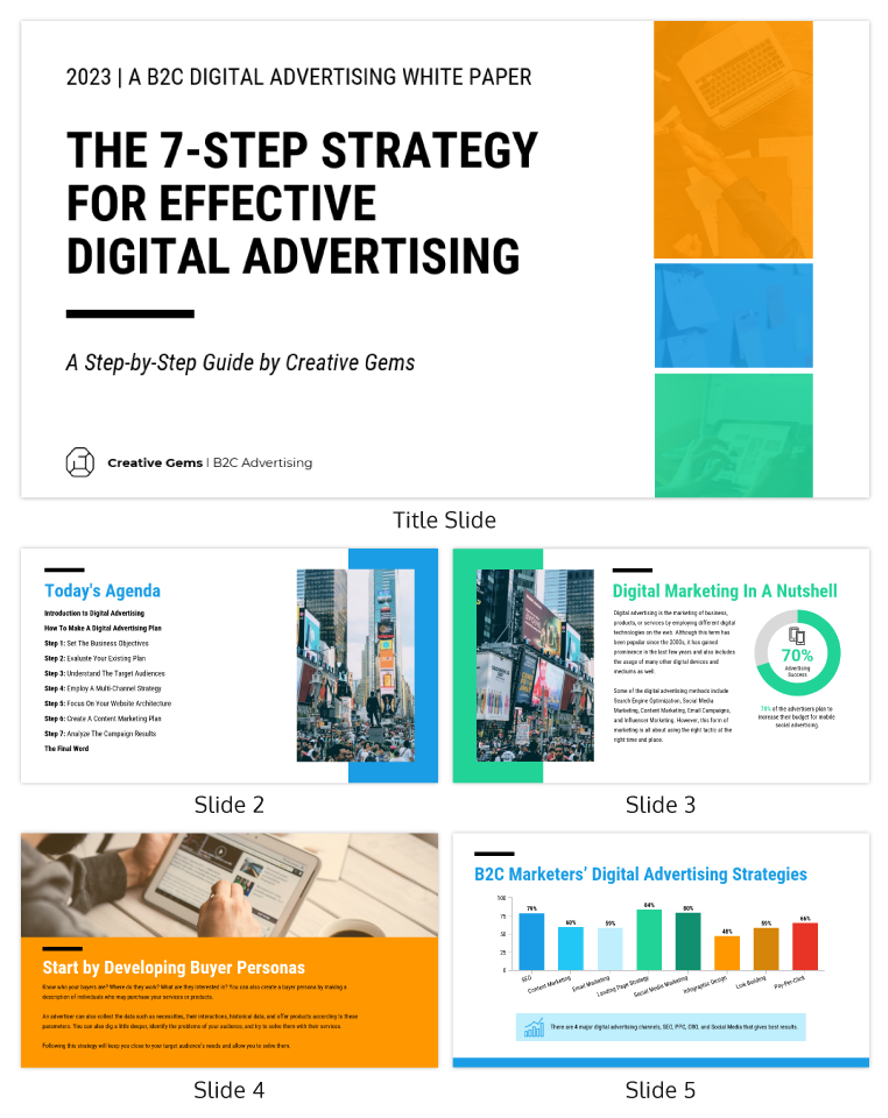
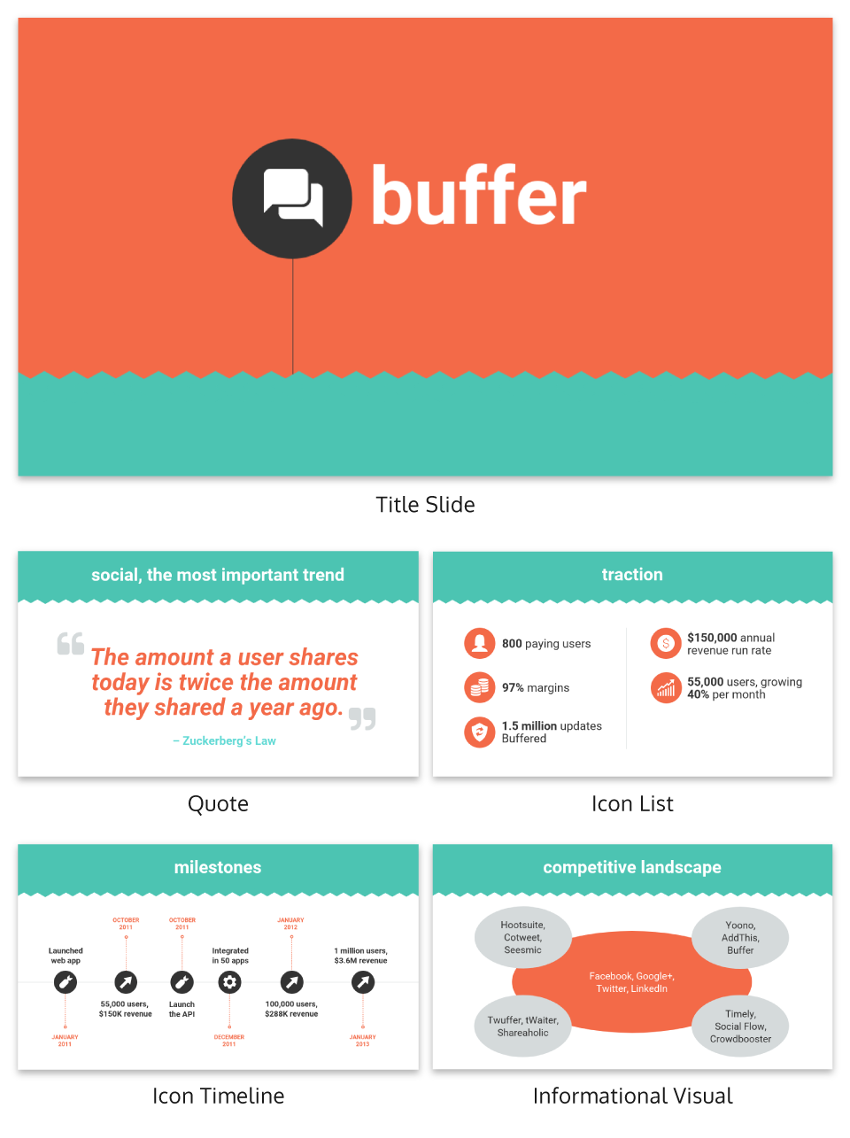
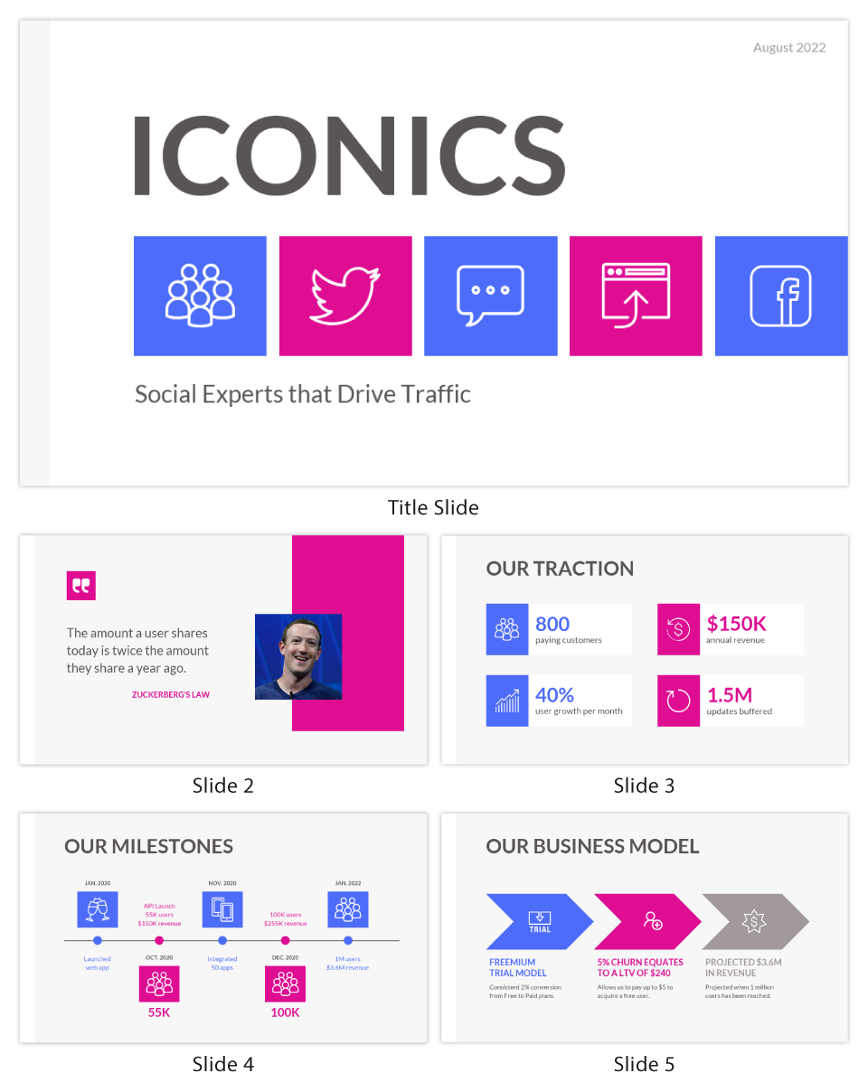
When designing your slides, you can take inspiration from these presentation templates to keep your information compact and clean.
4. Choose Your Visuals

Presentations should not be text-heavy, especially when they are being designed for web streaming.
Participants will be tuning in with different signal strengths, and screens freezing up or becoming pixelated can make it difficult for people to read a lot of text.
Using visuals instead will make the transmission of information easier, but choose your visuals wisely.
The images should be relevant to the content of your webinar. Choose visuals that aren’t too busy, yet have distinctive elements that can be clearly seen.
If you’re including an image as the background for your slides, add transparency to it so that the text on your slides can still be read.
Icons are another type of visual that can be useful in presentations. They share a vast amount of information in a short span of time and add to the context of your message.
You can also use memes to add some humor to the presentation, but choose them according to your topic.
Charts are an excellent tool for sharing numbers and data to audiences in a clear, concise fashion.
Visuals are a great way to make your presentation more engaging and memorable — they should be utilized to their fullest potential.
Keep in mind: Your webinar platform might not support all types of visuals, e.g. GIFs. It also may automatically convert your presentation file into a more webinar-friendly one, which can sometimes affect the quality of your images. Make sure to double-check this before hosting a webinar.
5. Add a Call-to-Action Slide

Whether your webinar is focused on sharing information, a case study, or for product promotion, make sure your presentation includes a call-to-action slide.
Calls-to-action can prompt attendees to visit your website, make a purchase, avail of an offer, or to sign up for another webinar.
Your webinar shouldn’t be a one-and-done deal, it should encourage attendees to continue their engagement with your brand.
Designating a slide for your call-to-action will ensure that it doesn’t get lost amongst the rest of your messaging.
Give attendees a reason to come back to your business and add a strong call-to-action in your presentation.
Pro tip: If you want to increase the effectiveness of your webinars, consider adding an exclusive offer available to your attendees for a specific time period. In GetResponse Webinars, you can achieve this through a Call-to-Action feature.
6. Proofread the Presentation
Whenever you send out content to anyone, either internally or externally, you must proofread your text.
Typos, bad grammar, and mistakes come across as unprofessional. You want to avoid them when positioning yourself as a thought leader through your webinars.
Especially if you’re going to use them as on-demand webinars and continue to generate leads with them.
Always use grammar checking software when creating content. Read through your presentation immediately after you create it. Then take a break from it for a day before revising it again.
If you can share it with someone else that would be great. It’s always helpful to have a fresh pair of eyes on your content.

Attract More Registrants
Want to maximize the impact of your next webinar? Promote it in 9 easy steps. In this guide, you’ll find our best webinar promotion strategies plus tips on how to sell more with your online presentations.
7. Rehearse the Webinar Presentation
Designing the presentation is only one part of the entire webinar process, you also need to deliver the webinar to your audience.
You will have a certain amount of time within which to complete the webinar presentation, this includes time for Q&As. If you have too much to say, try using it for the Q&A instead.
Since webinars are streamed online, practice looking at your audience through the webcam. It’s human nature to look at yourself on screen, but that messes up the sightlines.
Run a trial of your presentation using the actual webinar software to give yourself more practice with the controls and viewing methods.
Depending on whether you use presentation mode or share your screen, the quality of your slides, transitions, or animations may be affected. Rehearsing will iron out these glitches.
If you don’t have a response to a question at the time of the webinar, give people a way to reach you so that they can get an answer — either through Twitter, LinkedIn, or email.
Practice as much as possible so that you can deliver the webinar with ease. You could still make a mistake here and there but it won’t be the end of the world.
Webinar Presentation Best Practices
We’ve outlined the steps for creating presentations, but there are some best practices that you should follow to create a connection between your attendees and your business.
Brand Your Presentation
Branding is crucial in webinar presentations. Most attendees are more interested in the topic than the person or company presenting it.
You want them to remember what your brand was and how you can add value to them later.
Ensure your brand logo is placed on every slide. It can be larger on the title and thank you slides.
Use your brand colors and fonts so they are more recognizable on your other content when attendees encounter them.
Keep Text to a Minimum
We’ve mentioned the usefulness of including visuals in your presentations, but in general, the amount of text used should be kept to a minimum.
Text can be dense to read, and in a webinar you are asking people to read and listen at the same time. This can lead to confusion.
Instead, use bullet points to ensure there is plenty of white space around the text and use the text as markers to share information during the webinar.
Consider creating two versions of the deck — one that you present and one that you share with attendees later on.
Maintain a Time Limit
We’ve mentioned this before: your webinar must be conducted within a particular amount of time.
A number of video conferencing tools have time limits for streaming. You absolutely do not want to lose the connection before you’ve finished the webinar.
Additionally, you need to reserve time for interaction because people will ask for clarifications and questions.
Stick to your time limit as much as possible so that you have enough time during the webinar.
Pro tip 1: Another webinar presentation tip is to inform your registrants about the session duration ahead of time. We all have things to attend to and it’s better to manage expectations and show that you value your target audience’s time.
Pro tip 2: Some professional presenters follow a one minute per slide rule, where they make sure not to have too few or too many slides in their presentation. This approach can help you keep your audience engaged – as they don’t get bored by looking at one slide for too long – and focused at the same time – as they’re not getting distracted by objects moving too fast in front of their eyes.
Use Contrasting Colors
The importance of good color use in slides cannot be overstated. The right combination of colors will make your presentation easier to see and remember.
While using brand colors is necessary for a webinar, ensure that your color combinations contrast with each other as this will make them easier to see on any type of screen.
Prepare Notes for the Q&A
During the question and answer (Q&A) portion of your presentation, you want to avoid getting caught out by the attendees.
While you know the subject matter you are talking about, you should have more information than what you’ve been presenting.
Prepare to answer a few general questions before the actual webinar and keep the answers with you so you can respond if an attendee asks about those topics.
Pro tip: If you’re going to be referencing different sites or content throughout your webinar, make sure to keep the links to them in a separate text file. Thanks to this, you’ll be able to quickly share them with your attendees via chat, which will save them the effort of searching for them or writing them down from your slides.
Hyperlink Your Index
You will most likely be sending a version of your slides to attendees after the webinar concludes. This will help you generate sales leads from your attendees.
Make the presentation easier to navigate for your audience by hyperlinking the index to relevant slides, as this will allow users to get to the section that concerns them most.
Hyperlinks will also elevate the content in attendees’ eyes and encourage them to participate in more webinars.
Repurpose Your Content
Designing a webinar is a long and arduous process. No matter how well you know the topic putting it together takes time and energy.
It seems a bit of a waste to use the webinar presentation once and move on to the next project, doesn’t it?
Why not try repurposing the webinar and the presentation to generate more leads and create more content without as much effort?
You can record webinars to post on YouTube, or they can be used as paywalled content to increase subscriber lists.
You can use your slides on other platforms, too. A webinar deck can be used as a LinkedIn presentation, or as individual posts on Instagram.
You could even feature your past presentations on your webinar landing pages and share them in your post-webinar emails.
One presentation can have multiple uses with a bit of creativity.
Editor’s note: Did you know you can find past webinars hosted by GetResponse and their guest-speakers in the GetResponse Resources? Below’s an example of a webinar run by Leslie Samuel on How to Create a Webinar That Sells Your Product.
Summing Up
When creating a webinar presentation, you need to follow a few steps that will make it easier for your audience to follow your message:
- Research your subject
- Create an outline
- Design presentation templates
- Choose key visuals
- Create a call-to-action
- Proofread your presentation
- Rehearse
Remember to keep text to a minimum, brand your slides, and prepare for the Q&A. Repurpose the presentation for gated content or for other platforms.
By following these steps, you can create a strong presentation that will have attendees returning to your webinars on a regular basis.
