How to create events?
Events track and profile subscribers based on their interaction with your website. Events have attributes and they can track specific behaviors, including their timing and frequency.
To find the Events section, go to Automation > Events.
What do I need to track Events on my website?
An event can be registered by Web Connect code embedded on your website. To track events you will need to add it to your website source code.
Note: If you direct people to your pages using message links in your newsletters, the JavaScript code snippet you pasted into your page source code identifies them automatically. If your visitors come from other websites where they leave their email address — for example, form submission pages, newsletter sign-ups, registrations, logins, purchase page details — you need to include additional JavaScript code to pages where your customers leave their emails:
Script that identifies customers email
GrTracking('setUserId', $customerEmail)
Example:GrTracking('setUserId', 'user@example.com');
Script that tracks specific events and assigns them to the email
GrTracking('setEvent', $customEventName, $customEventAttributes)
Example:GrTracking('setEvent', 'myCustomEvent', {'visitTime':(new Date).toISOString(), 'rankNo':'123333', 'websiteName':window.location.href, 'isProspect': 'true'});
How do I create an event?
To create a new event go to Automation > Events > click on the Create event button. You will see the Create an event modal:
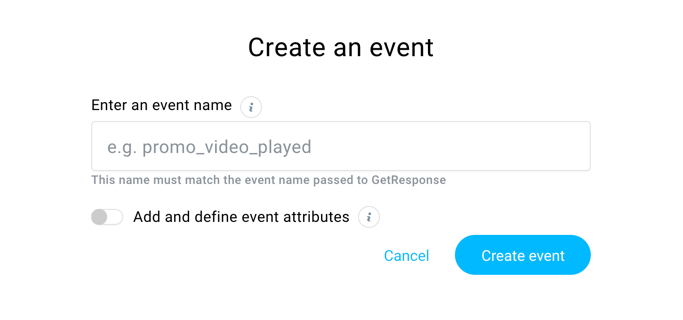
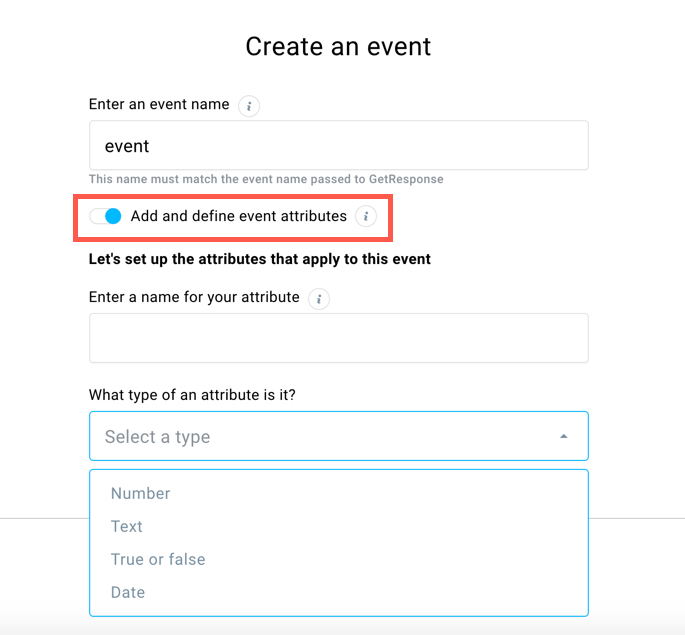
Give your event a name and click Create event button. You can assign up to 8 attributes to your event. To do it, click on Add and define event attributes. You have 4 types of attributes to choose from:
- Number
- Text
- True or false
- Date