How to create and use custom fields?
Custom fields let you gather and store relevant information about your contacts, such as phone numbers, important dates, or preferences. In your GetResponse account, you can select from the built-in custom fields or add your own to:
- add them to forms to collect business data about people signing up to your lists,
- personalize your messages by displaying custom information for each contact to increase the response rate,
- trigger marketing automation workflows for a specific group of contacts,
- assign custom field values to contacts during import,
- segment your contact lists using Advanced search to target the right recipients with your messages.
You can review the built-in custom fields and create your own on the Custom fields page within Contacts. Take this shortcut to get there faster.
How do I add a new custom field?
To create a new custom field,
- Go to Contacts >> Custom fields.

- Click the Add custom field button to open the wizard where you can set up the custom field.

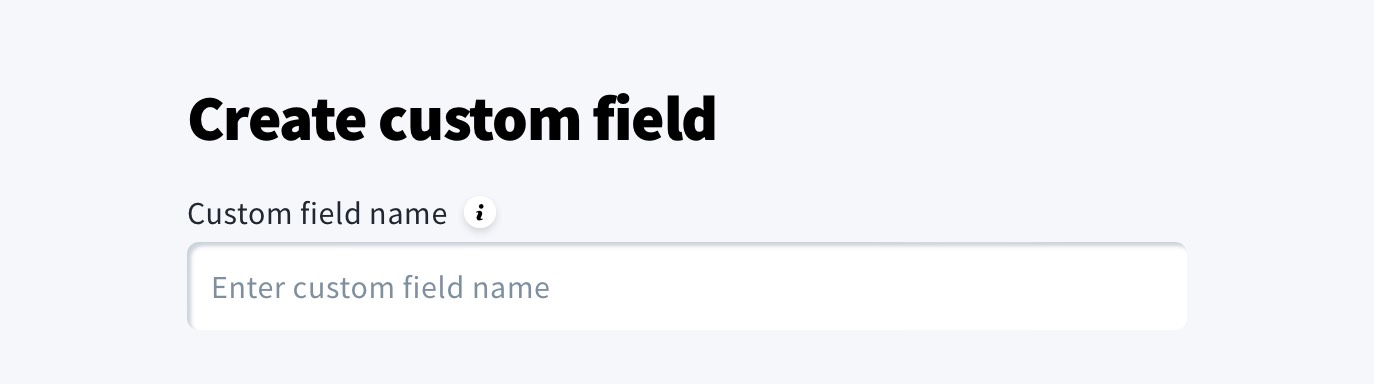
- Enter the required information to add your new custom field:
a. Type in the name (use lowercase English alphabet, numbers, and underscore), e.g., “favorite_icecream_flavor”.
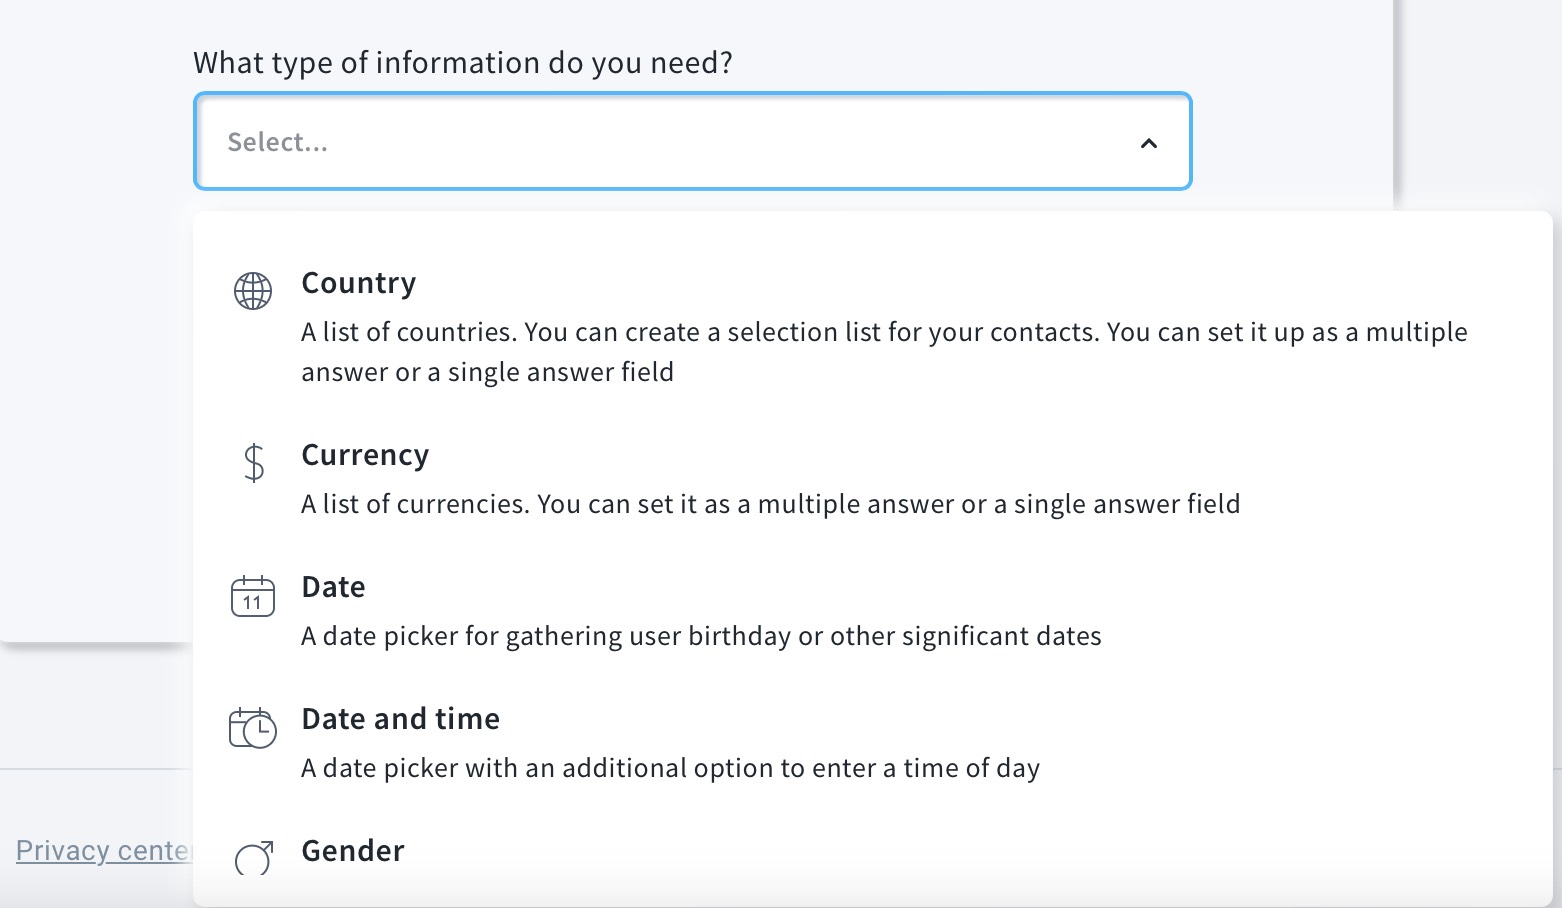
b. Expand the dropdown list to select the type of information you want to gather. You can choose from the following field types: country, currency, date, date and time, gender, IP address, number, phone, text, and URL. For example, if you want people to pick their favorite ice-cream, you can use text.
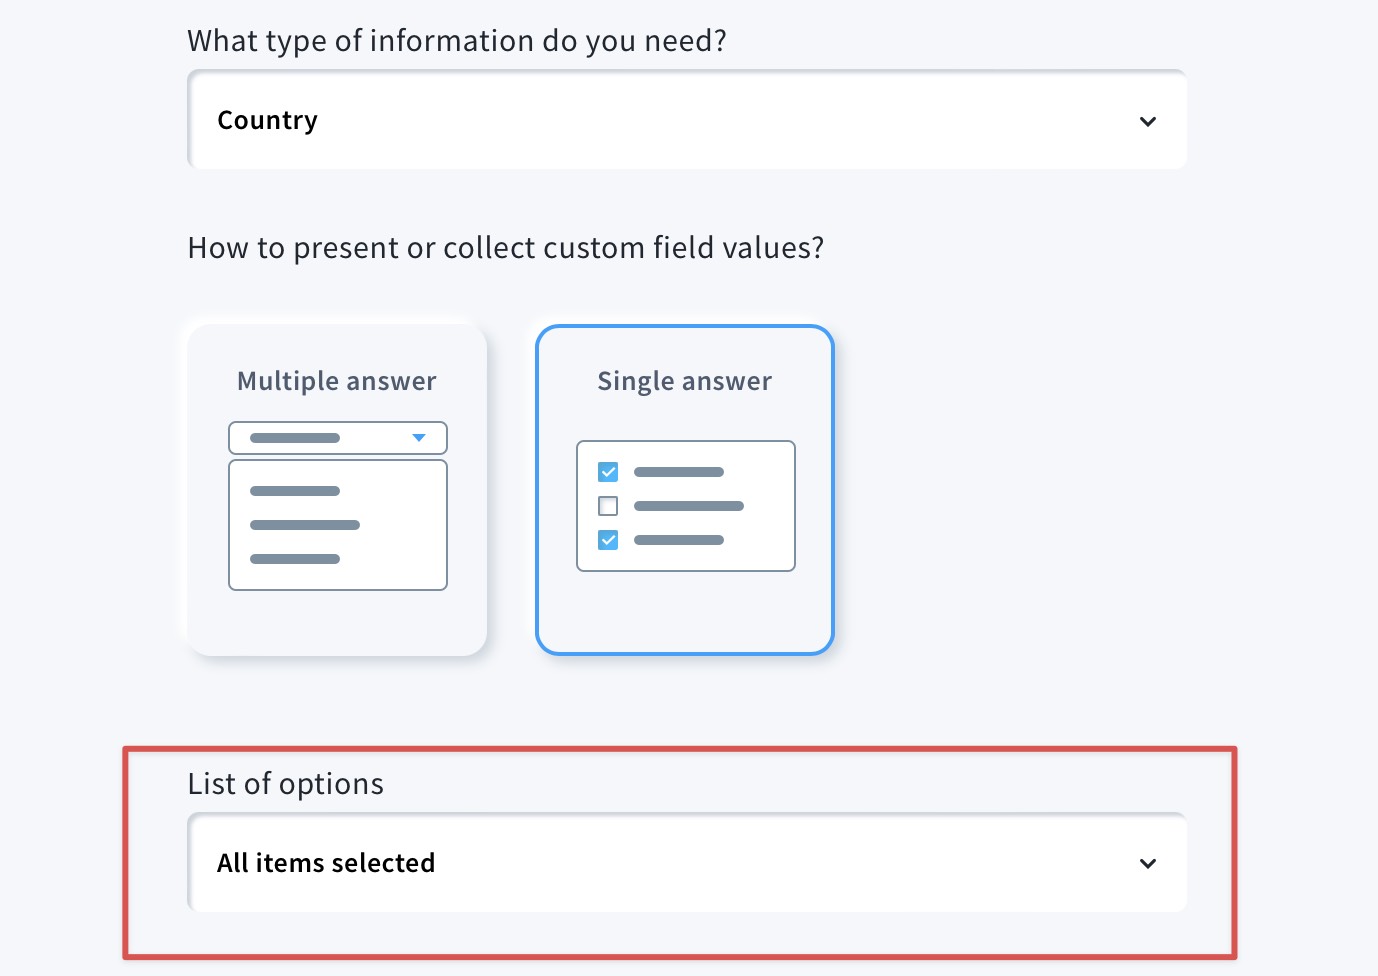
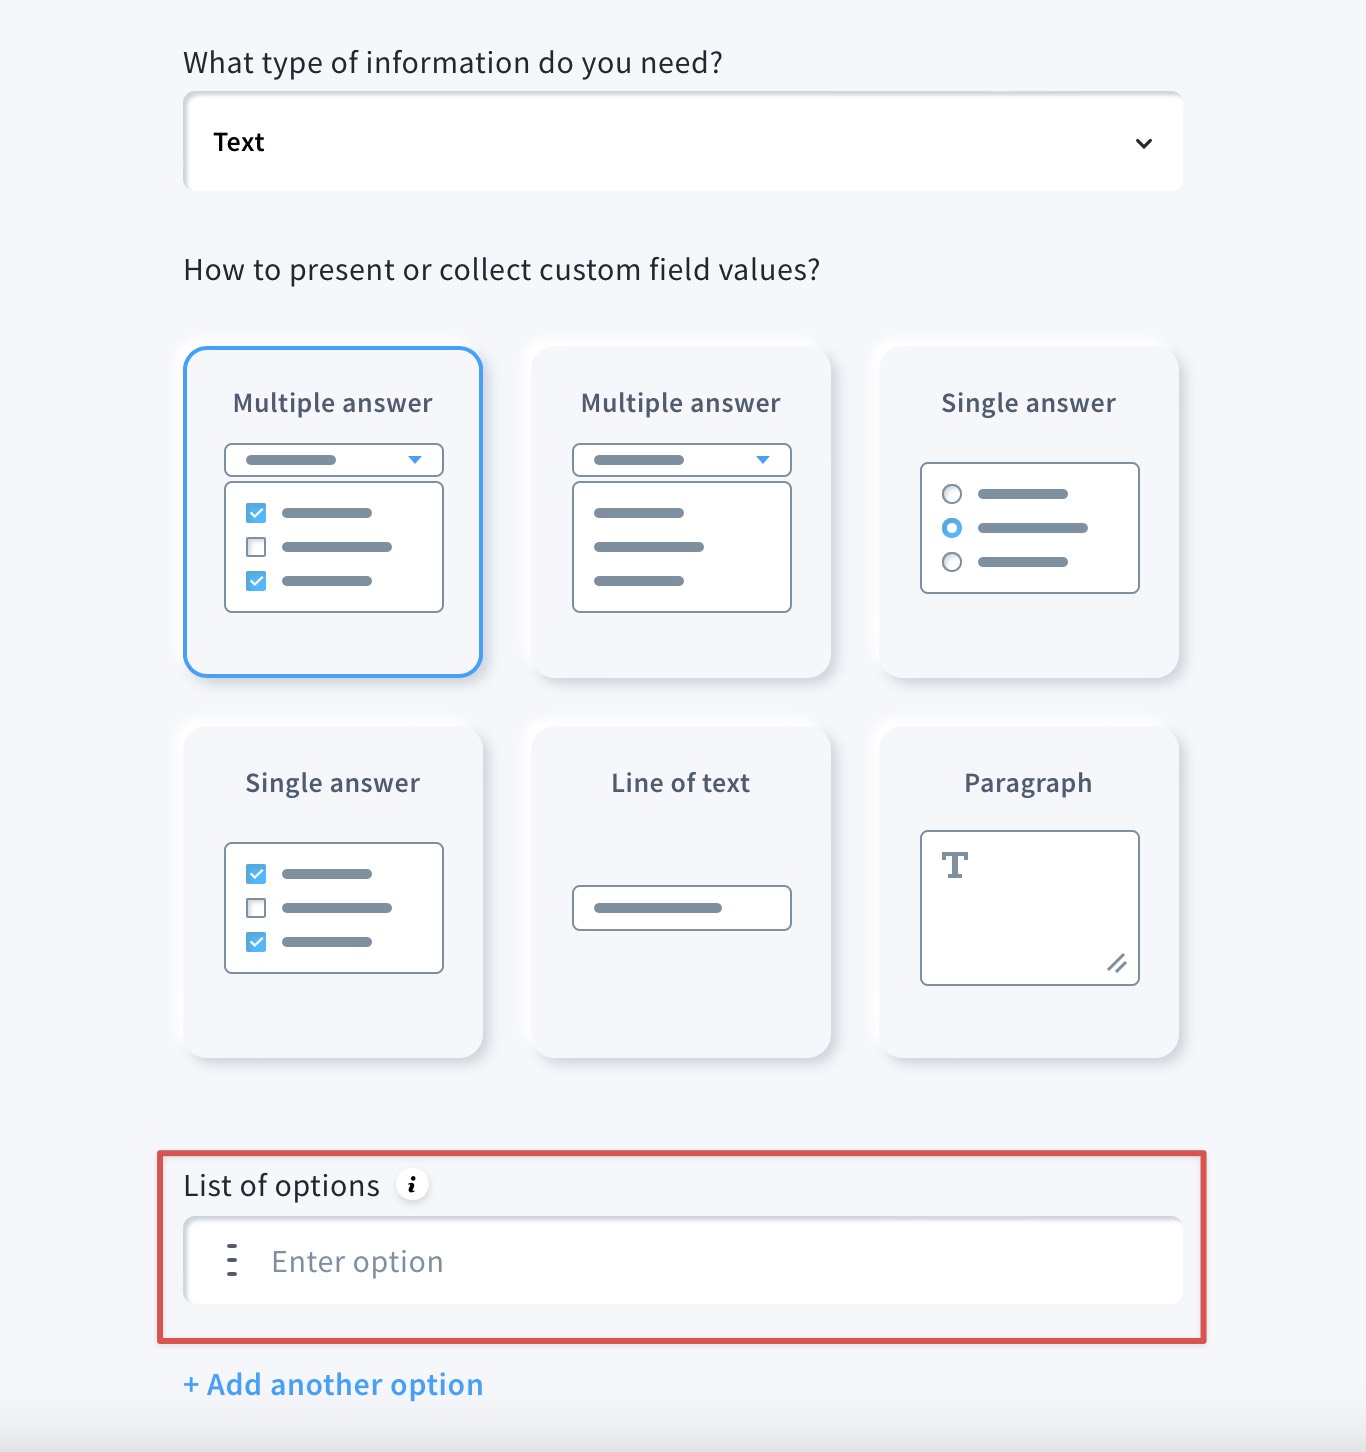
c. After you’ve selected the custom field type, we’ll display the available formats for the field you’ve selected. Here you decide if you want people to select one or more answer from the options you give them or type in their answer. Depending on the field type, you’ll be able to select multiple or single answer questions, a paragraph, or a line of text.

d. Enter the custom field values. These are the options you want people to choose from.
For country, currency, date, date and time, and gender, expand the list to select from the options.
For number, IP address, URL, and phone, enter the values. Click Add another option to add more fields. Keep adding them until you’ve entered all the options you need.
Note: If you’ve selected a line of text or a paragraph, you can set default values to assign to your contacts when they don’t provide their answers. Each value can have up to 255 characters.
You can drag and drop the field boxes to reorder the options before you save the custom field.
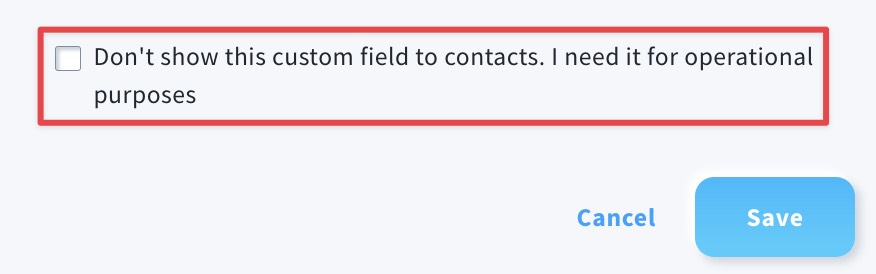
- Choose whether you want this field to capture data that won’t be displayed to your contacts. Hidden custom fields will be visible in your form, but not on the change details page.
You can check the visibility of existing custom fields in the Visible to contacts? column under Contacts >> Custom fields.

- Click Save.
You’ll be able to find all your added custom fields on the Custom fields page. Select User-defined from the dropdown list to see them. From there, you can edit or delete the custom fields you’ve added.

How do I edit a custom field?
If you decide to edit a custom field, you need to remember that,
- you can edit only the custom fields you’ve added,
- custom field names can’t be changed,
- it’s not possible to edit a custom field that’s in use – this means custom fields used in forms, custom filters, and workflows,
- for custom fields already assigned to contacts, it’s not possible to change their type and format. For these custom fields, you can only change their values and visibility,
- if you edit values of custom fields already assigned to contacts, the original values will be removed from contact details.
To edit a custom field:
- Head to Contacts>>Custom fields and find the custom field you want to edit.
- Move the mouse pointer over the Actions menu and select Edit.

- Edit the type, form, and the visibility option.
- Click Save to save the changes and return to the Custom fields page.
How do I delete a custom field?
You can delete a custom field that,
- you’ve added (which means it’s not one of the built-in custom fields),
is not currently used in other parts of your account (e.g. custom filters, forms, workflows). If it is, you’ll need to remove all the dependencies first. To delete a custom field,
- Go to Contacts>>Custom fields and find the custom field.
- Move the mouse pointer over the Actions menu and select Delete.

- . Confirm your choice to delete the field and return to the Custom fields page.


