How to import a list of contacts?
This article applies to the new “Add contacts” view. If you see a different interface, you may still have the older version. However, steps and button names are mostly consistent across both views.
Before you begin
- Make sure that your list meets all the import requirements—such as file size, file format, and data formatting. This way, you can be certain that your file contents upload successfully to your contact list.
- Double-check the quality of your list. It can’t contain role email addresses.
- Ask people for permission to add them to your contact list before you import the file. All imports are single opt-in.
Starting the import
- Go to Contacts and click Add contacts. From there, you can decide whether you’d like to add contacts one by one, from a file, via an integration, or via a signup form.

- Choose to import contacts from file.
- Choose the list from the dropdown menu. If you’d like for the contacts to start receiving autoresponders, select Add to autoresponder cycle. Next, select the day in the cycle you’re adding the contacts to.

- Select Upload a file or paste rows to specify how you’d like to add contacts.
After you’ve added your list, you’ll need to complete the upload process.
Uploading a file
Upload a file is the default setting for imports. To upload a file, you can:
- drag and drop the file into the field, or
- click Choose file to browse your documents and select the file.
You can upload the following file formats: CSV, TXT, VCF, XLSX, ODS. The maximum file size is 50 MB. You can also upload a file in the XLS format with a maximum file size of 10 MB.
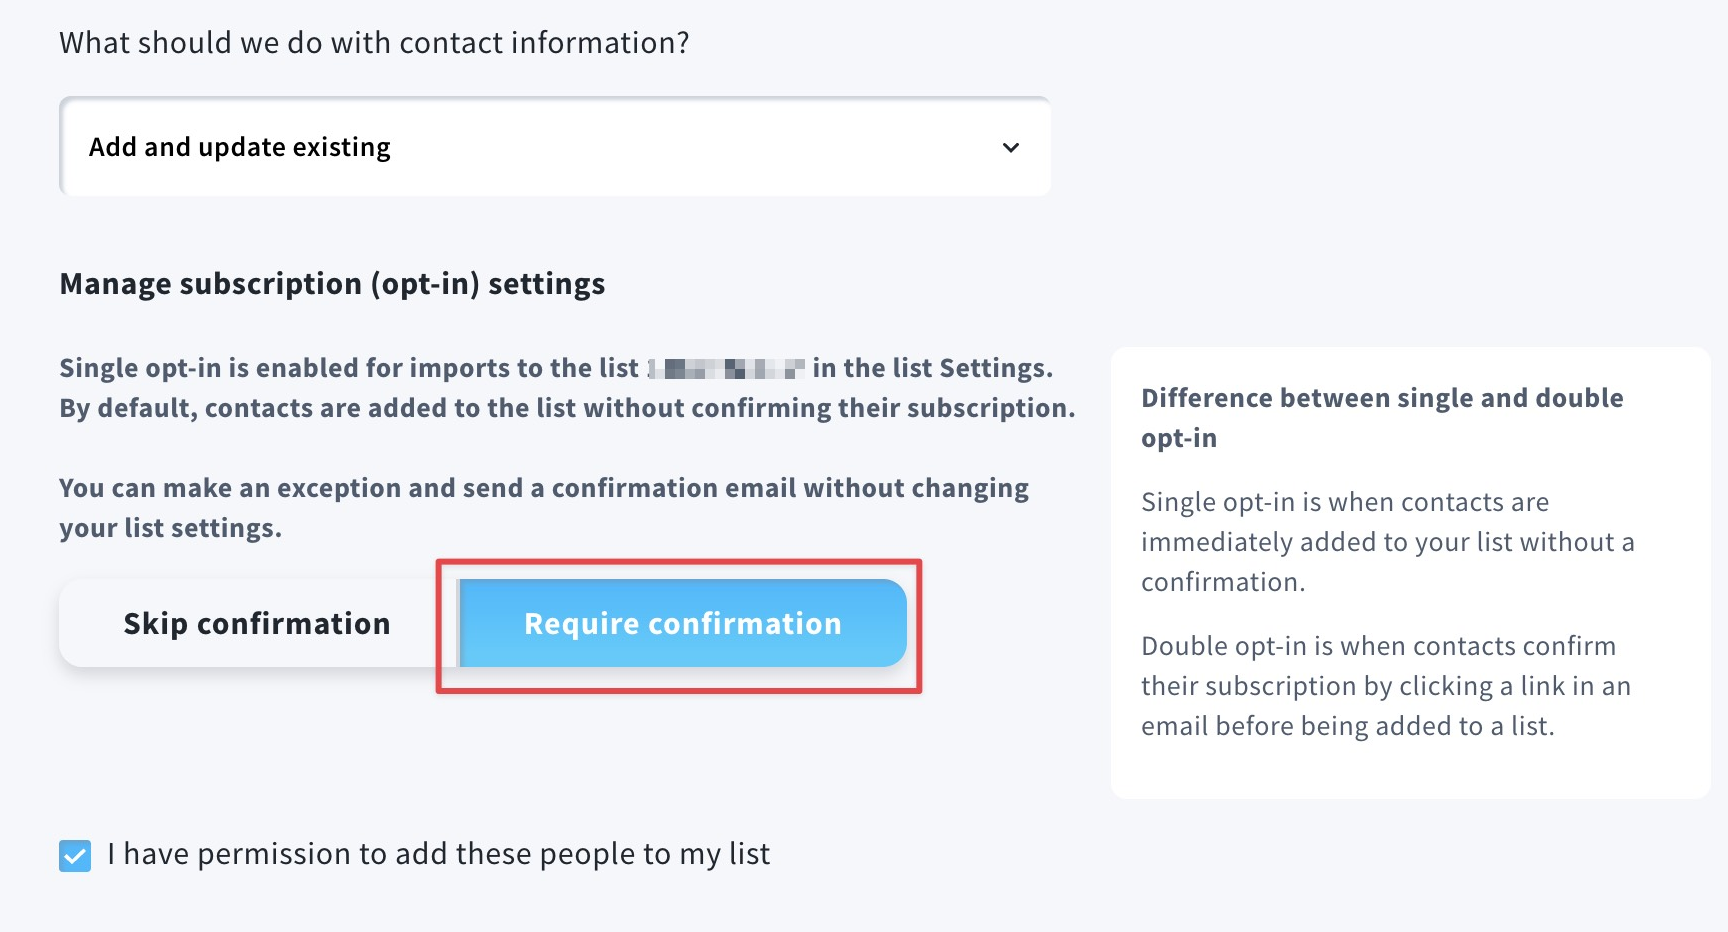
Note: If you have a MAX account, you can require additional confirmation from your contacts while uploading a list without changing the settings of the list from single to double opt-in.
Copying and pasting a list
Select Paste from file. Please remember that you can enter only one email address per line. If you want to add any custom fields along with the emails you need to separate them with commas. To add another entry press Enter. For example:
john@aol.com,John,male,35(Enter)
kathe@hotmail.com,Kathe,female,40(Enter)
chris@gmail.com,Chris,male,23(Enter)
Note: You can also use semicolons or spaces to separate fields within a row.
Completing the upload
1. Select whether you’d like to add new or update existing data.
- Add and update—choose this to add new contacts and update (overwrite) information for existing contacts.
- Only add new—use this to add new contacts only, without updating information for existing contacts
- Only update existing—choose this to only update information for existing contacts.
2. Check the consent confirmation box.
3. Click Next. This takes you to the page where you assign columns to custom fields.
4. Assign the custom fields in your GetResponse account to the information in the file. You can also skip assigning custom fields by selecting the Skip columns marked with “?” box.
5. Click Import.
Can I cancel list imports?
You can cancel importing a list only while the status says Getting ready. You can do this on the Import statistics page.


