
How to create a Creator’s profile?
Creator’s profile is used to present you as the author of a course or a premium newsletter. It will allow your students to learn more about you, your experience, and your credibility.
To create it:
- Navigate to Tools > Creator’s profile tab visible in the Share knowledge section.

- You can start creating your profile with the About you section. In this section, you can set your name, short bio, long bio, and avatar.

- Next, in the Social media section, you can choose and link all of your social media profiles that will be displayed under your avatar. Make sure to use the https:// format in order to add a link to your profile.

- The Profile logo section will allow you to add your own logo, which will be visible in the top left corner of your creator’s profile and as a favicon.
You can upload your logo in the following formats: JPG, GIF, PNG, JPEG, BMP, and ICO up to 3MB.
- (Optional) Upload a Favicon – a small square image (up to 256×256 px) that visually represents your profile in browser tabs, bookmarks, and history. Supported formats include JPG, APNG, PNG, GIF, SVG, and ICO, with a file size limit of 0.24kB.

- Set up a Domain for your creator’s profile. You can use our free domains, connect your own domain, or buy a new domain.

- The Cookie consent banner section allows you to enable a cookie consent banner for your creator’s profile. Use the toggle to enable or disable the banner.
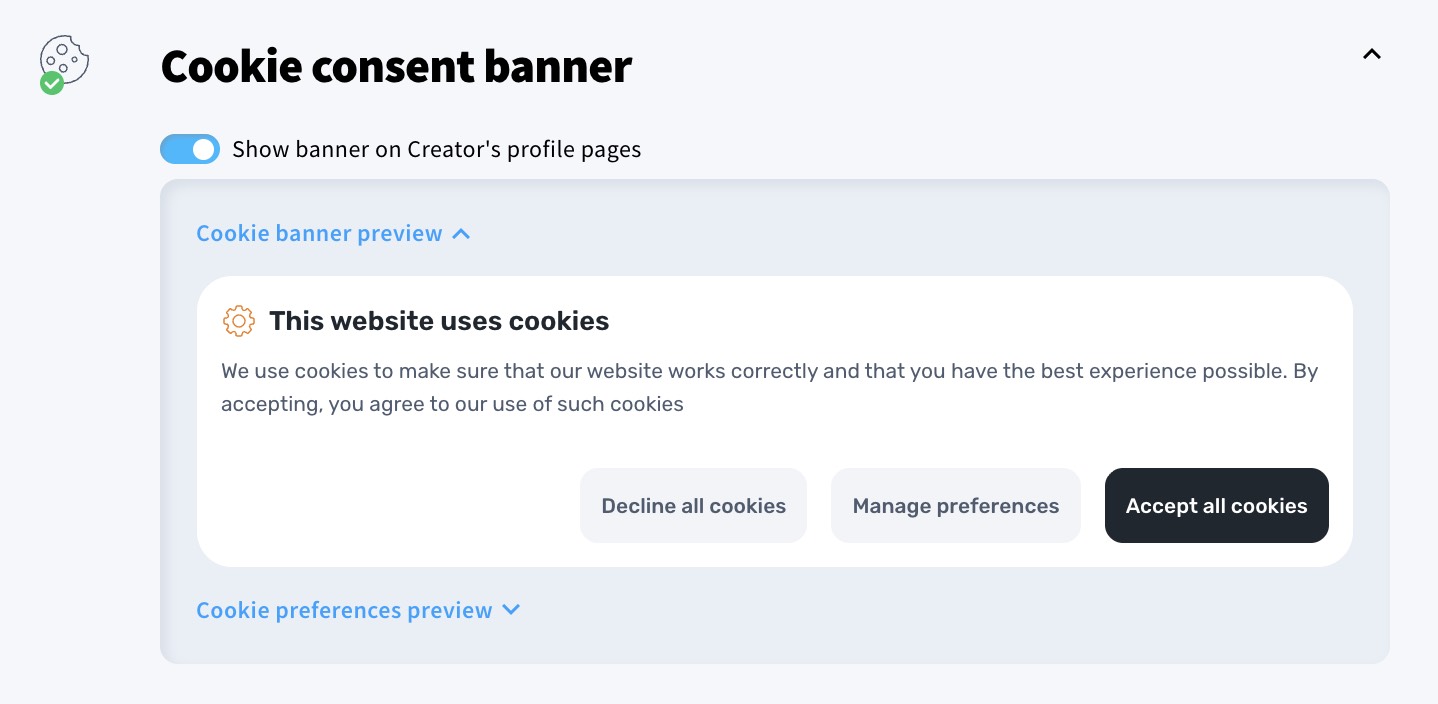
You can preview how the banner will appear to your visitors by clicking Cookie banner preview. You can also preview the cookie preferences view by clicking Cookie preferences preview.
The cookie banner and cookie preferences views are predefined and cannot be customized. - Analytics integrations can be used to connect your creator’s profile with Google Analytics and Facebook Pixel. To do so, enable the Analytics and remarketing toggle.
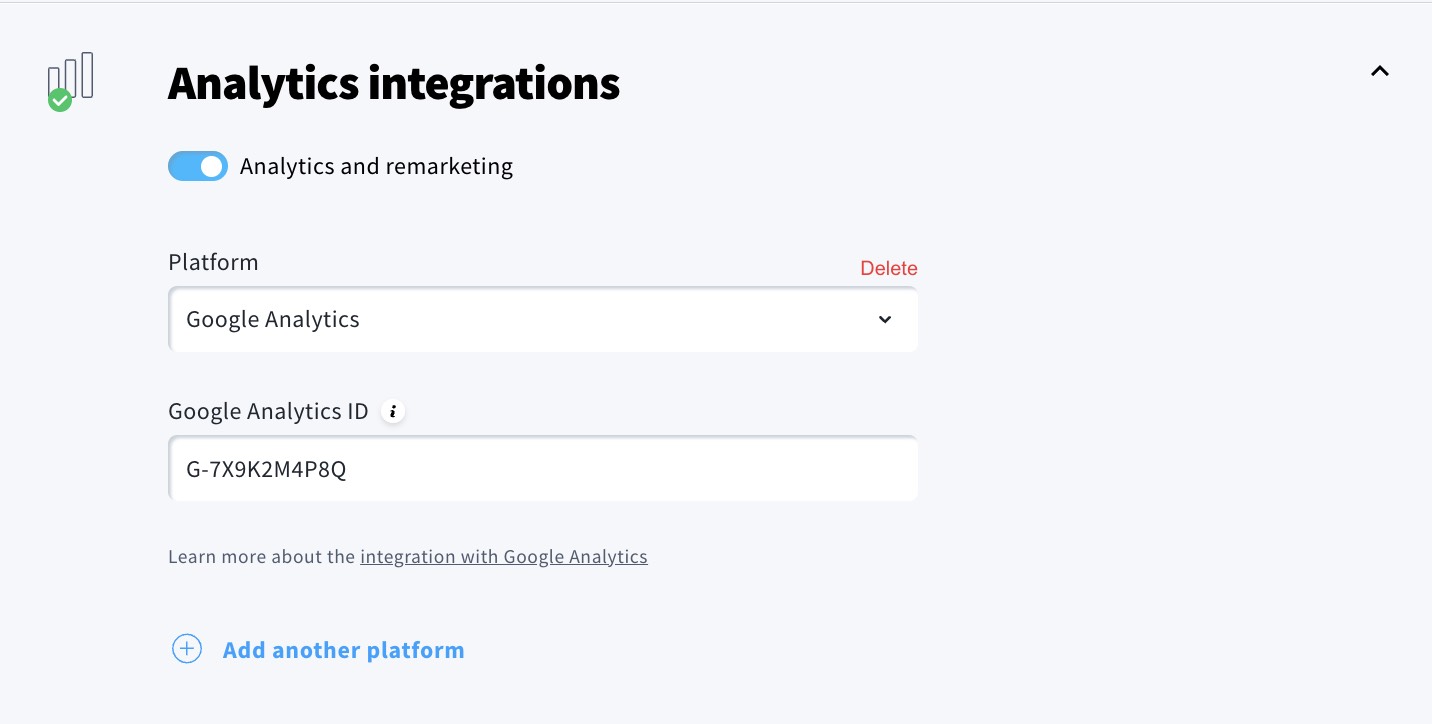
When analytics integrations are enabled, you can connect Google Analytics by providing your Google Analytics ID, Facebook Pixel by providing your Facebook Pixel ID, or use both integrations at the same time. - You can also set up SEO settings for your creator’s profile and choose if you would like to index your page in the search engines.

If you would like to check how to set up SEO content, you can visit our blog article that covers this topic more in-depth. - Lastly, you need to specify if you’re offering courses, premium newsletters, or any form of digital content to users within the European Union. If that’s the case, it’s essential to comply with the Digital Services Act (DSA).

- Click the Save button to finish the process.
How does the Creator’s profile look for students
When your students access your creator’s profile page they will see your courses, premium newsletters, avatar, short bio, logo, and social media platforms.

If they click on the name of your course, they will be able to enroll.

Also, when they click on the Read button next to your premium newsletter, they will be able to subscribe to your premium newsletters list.


