How to edit opt-in settings?
Enabling confirmed opt-in (double opt-in) adds an additional step to the subscription process. If double opt-in is enabled, contacts need to click the confirmation link sent to their mailbox before they can join your list. The exact steps you need to take to enable or disable this option depend on the subscription method.
New landing page
Landing page settings take priority over list settings.
- Go to the Landing pages tab.
- Make sure you are in the Landing Pages New tab.
- Find the landing page that you want to edit, then hover over the Actions menu (three vertical dots) > Edit settings.
- In the Subscription settings tab, enable or disable Send an opt-in confirmation email.

- Click Publish at the bottom of the settings page.
Legacy landing page
Landing page settings take priority over list settings.
- Go to the Landing pages tab.
- Find the landing page that you want to edit, then hover over the Actions menu (three vertical dots) > Edit settings.
- In the Subscription settings tab, enable or disable Confirmed opt-in.
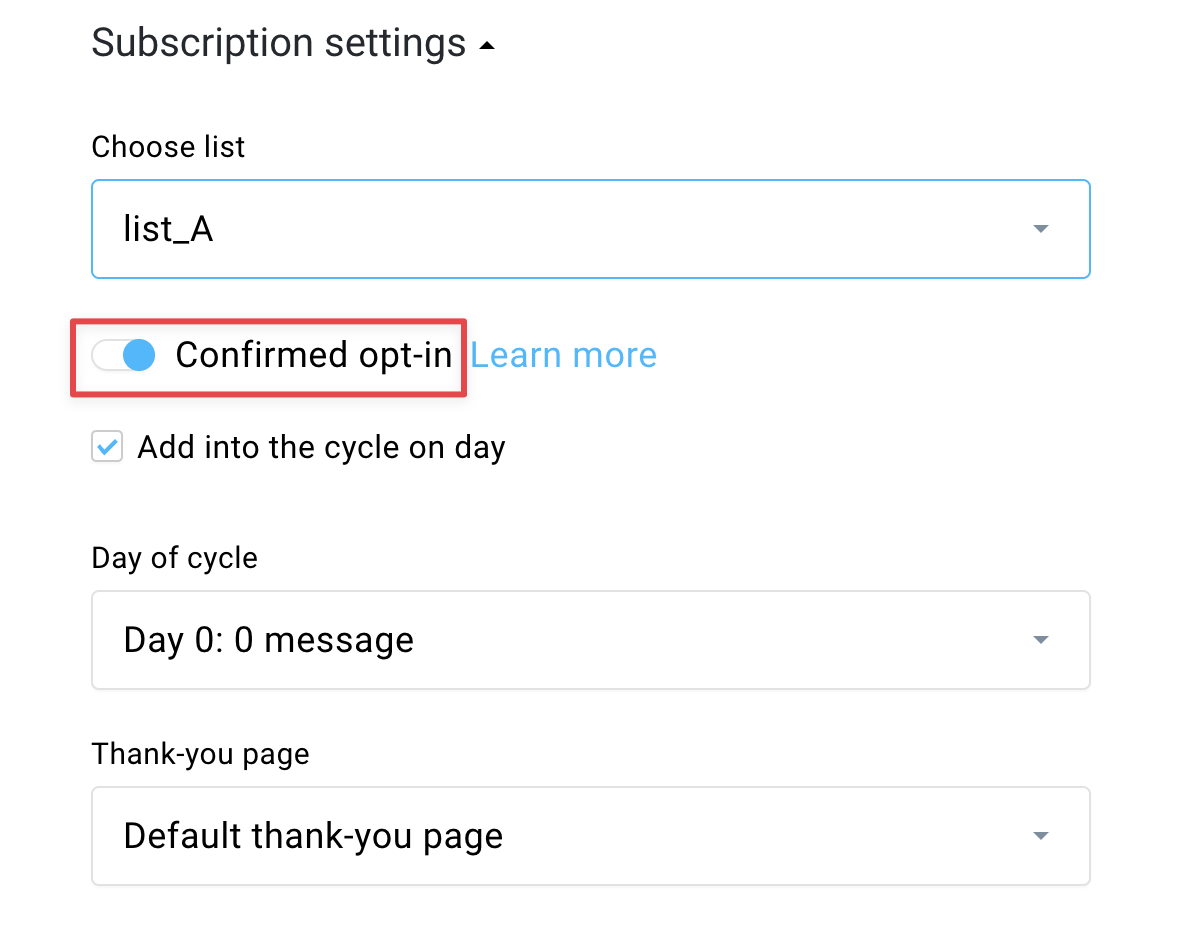
- Click Save or Publish at the bottom of the settings page.
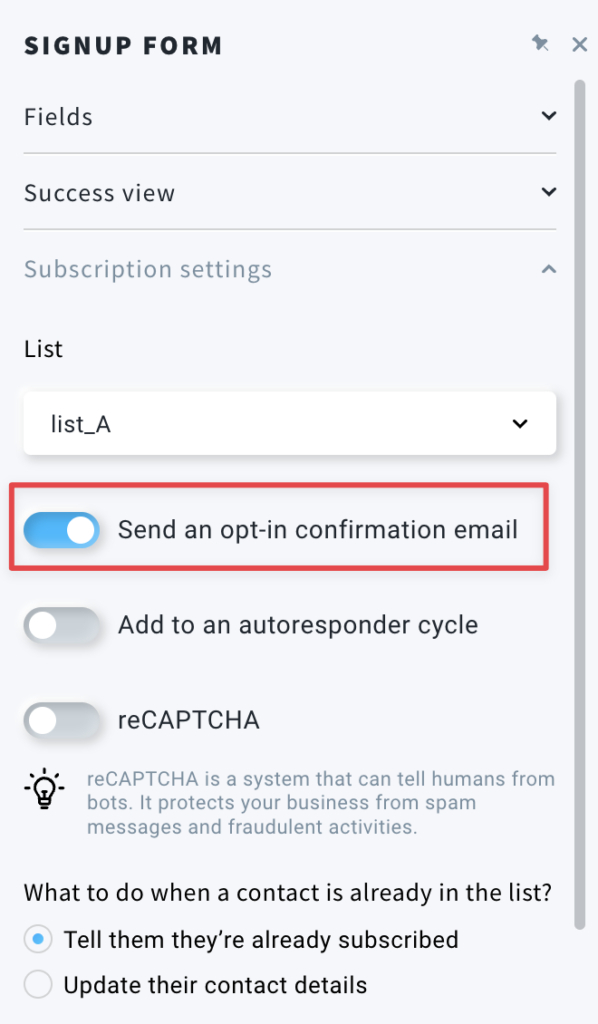
Website builder sign up forms
Sign up form settings take priority over list settings.
- Go to the Website builder tab.
- Find the website that you want to edit, hover over the Actions menu (three vertical dots) and click Edit.
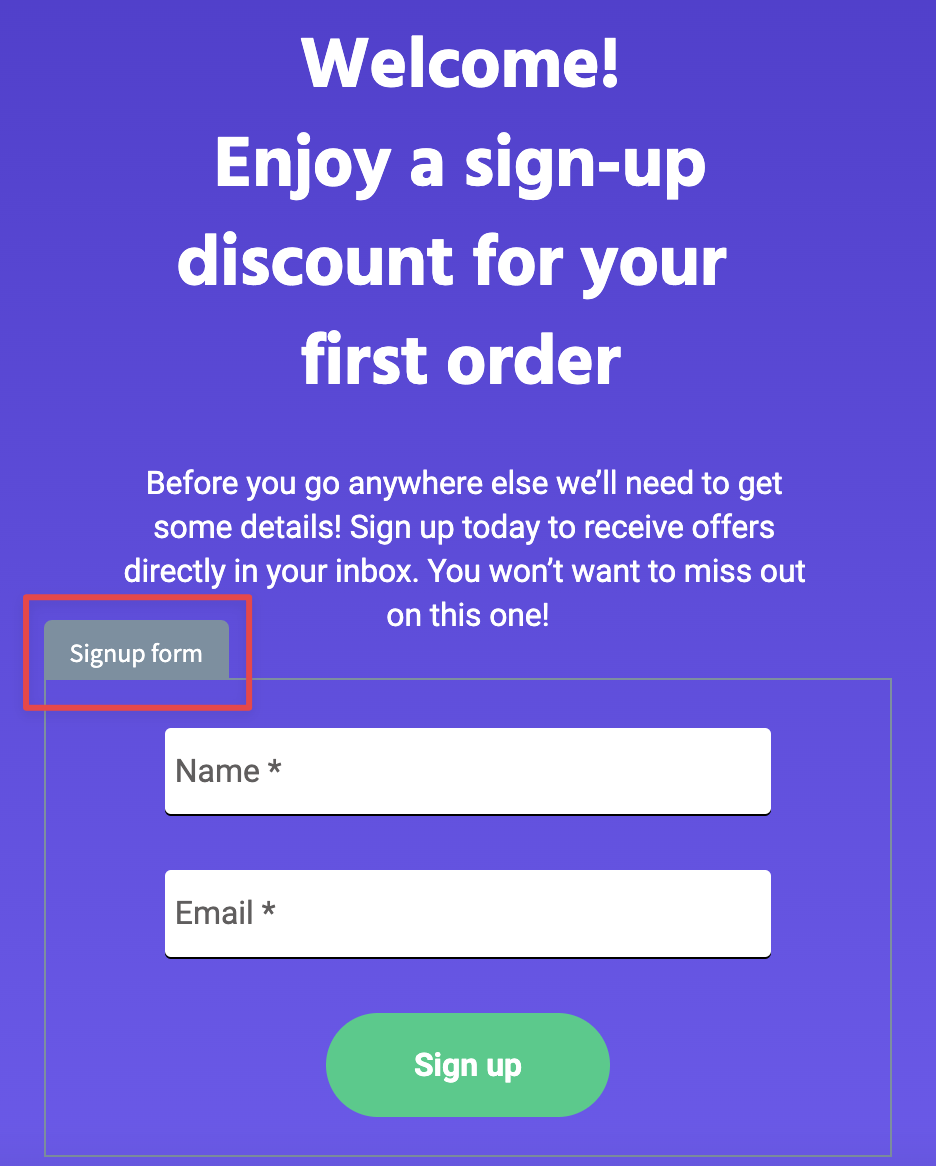
- In the editor, click on the subscription form you want to edit.
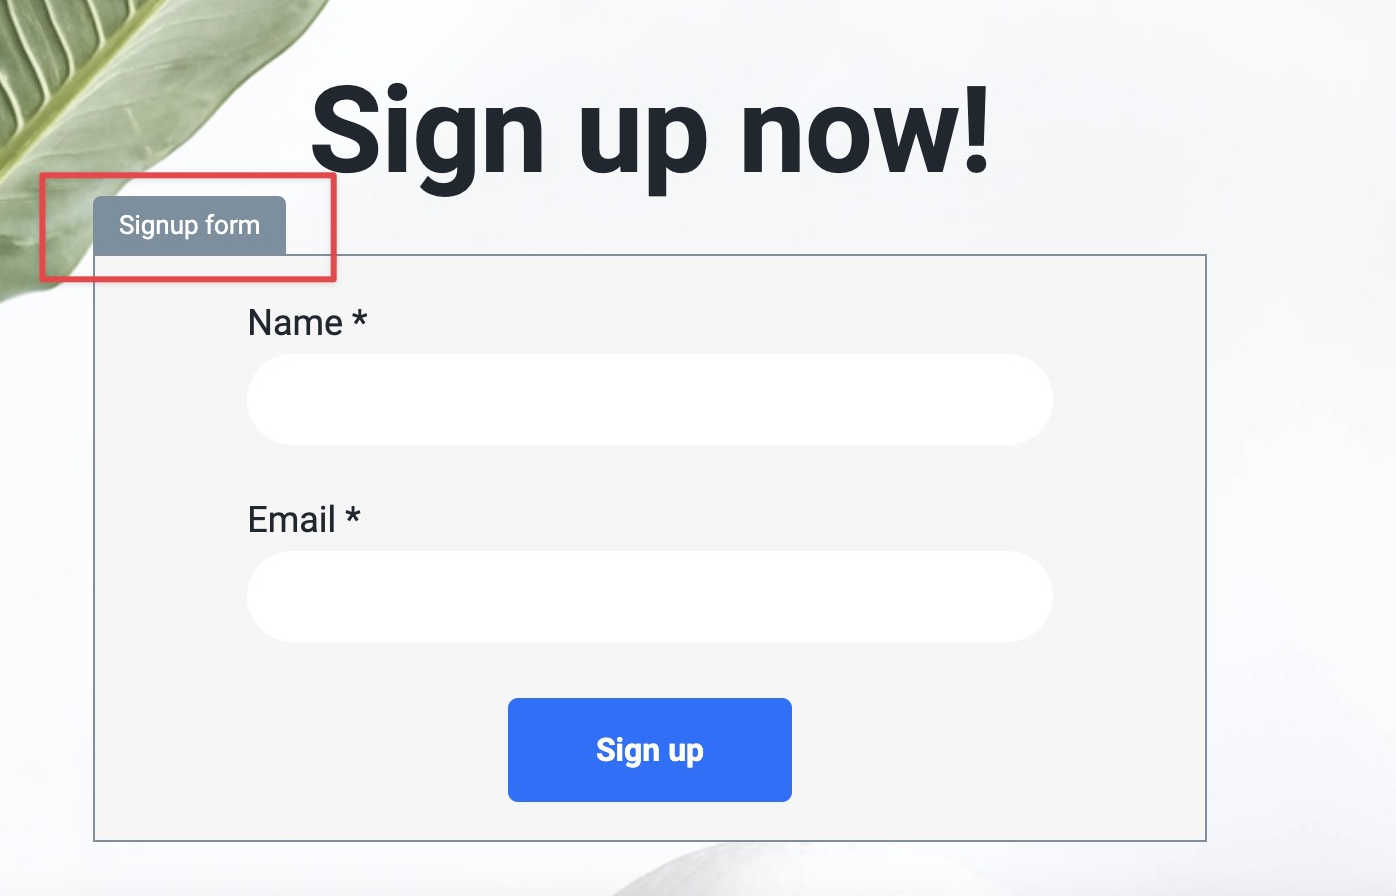
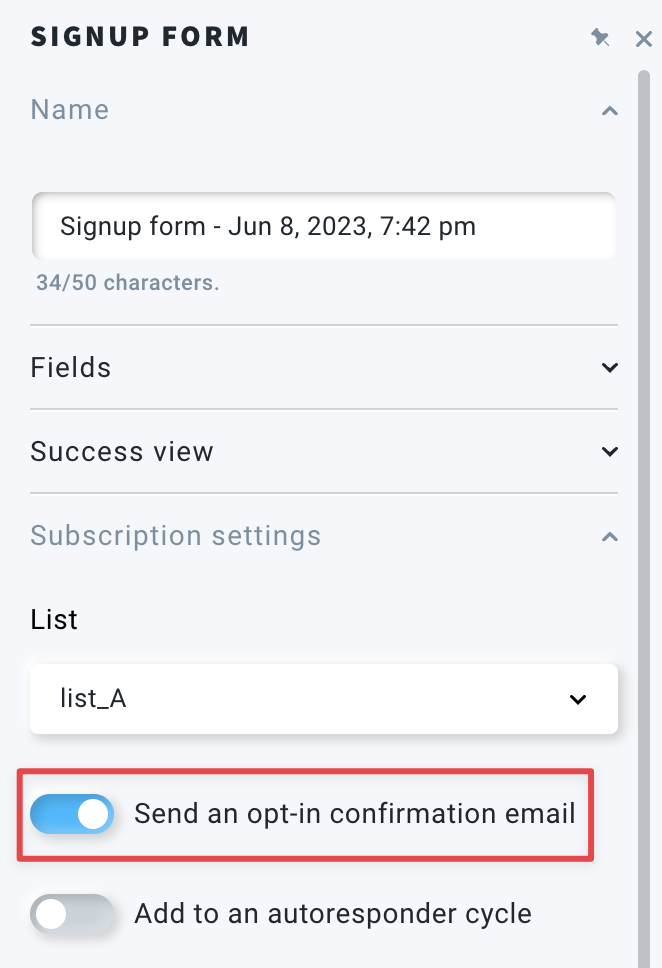
- Expand the Subscription settings tab from the menu on the right-hand side.
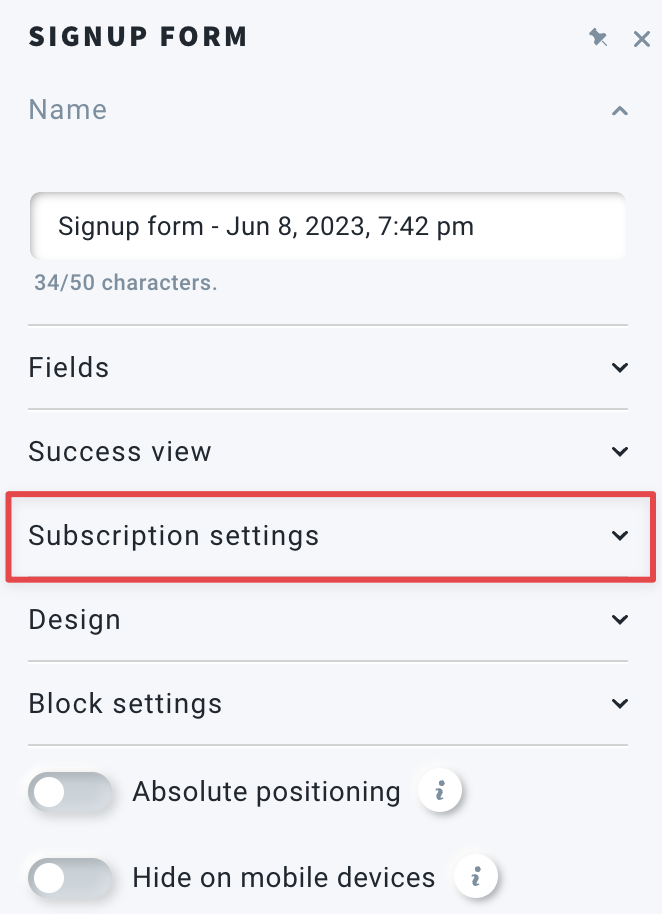
- Enable or disable Send an opt-in confirmation email.
- Save your website.
Forms and popups
Form settings take priority over list settings.
- Go to the Forms and popups tab.
- Find the form that you want to edit, hover over the Actions menu (three vertical dots) and click Edit.
- Click on the sign-up form element.
- Expand the Subscription settings tab from the menu on the right-hand side.
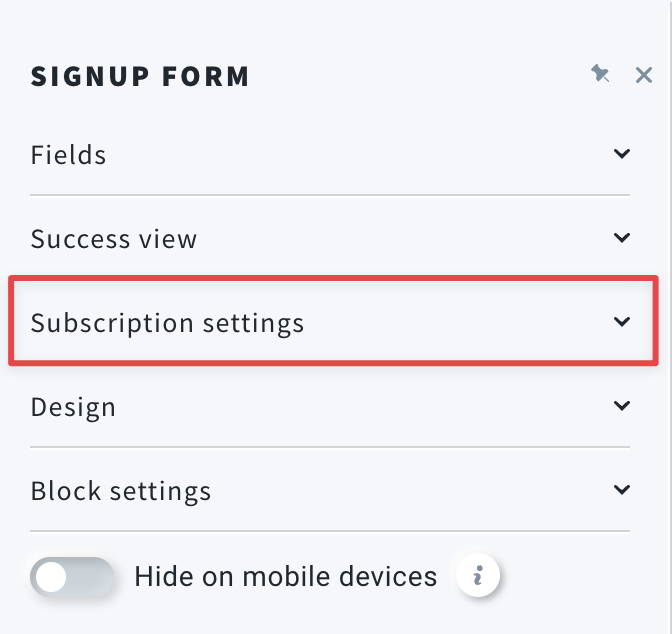
- Enable or disable Send an opt-in confirmation email.
- Save your form.
Legacy forms
Forms settings take priority over list settings.
- Go to the Forms tab.
- Click on the form that you want to edit.
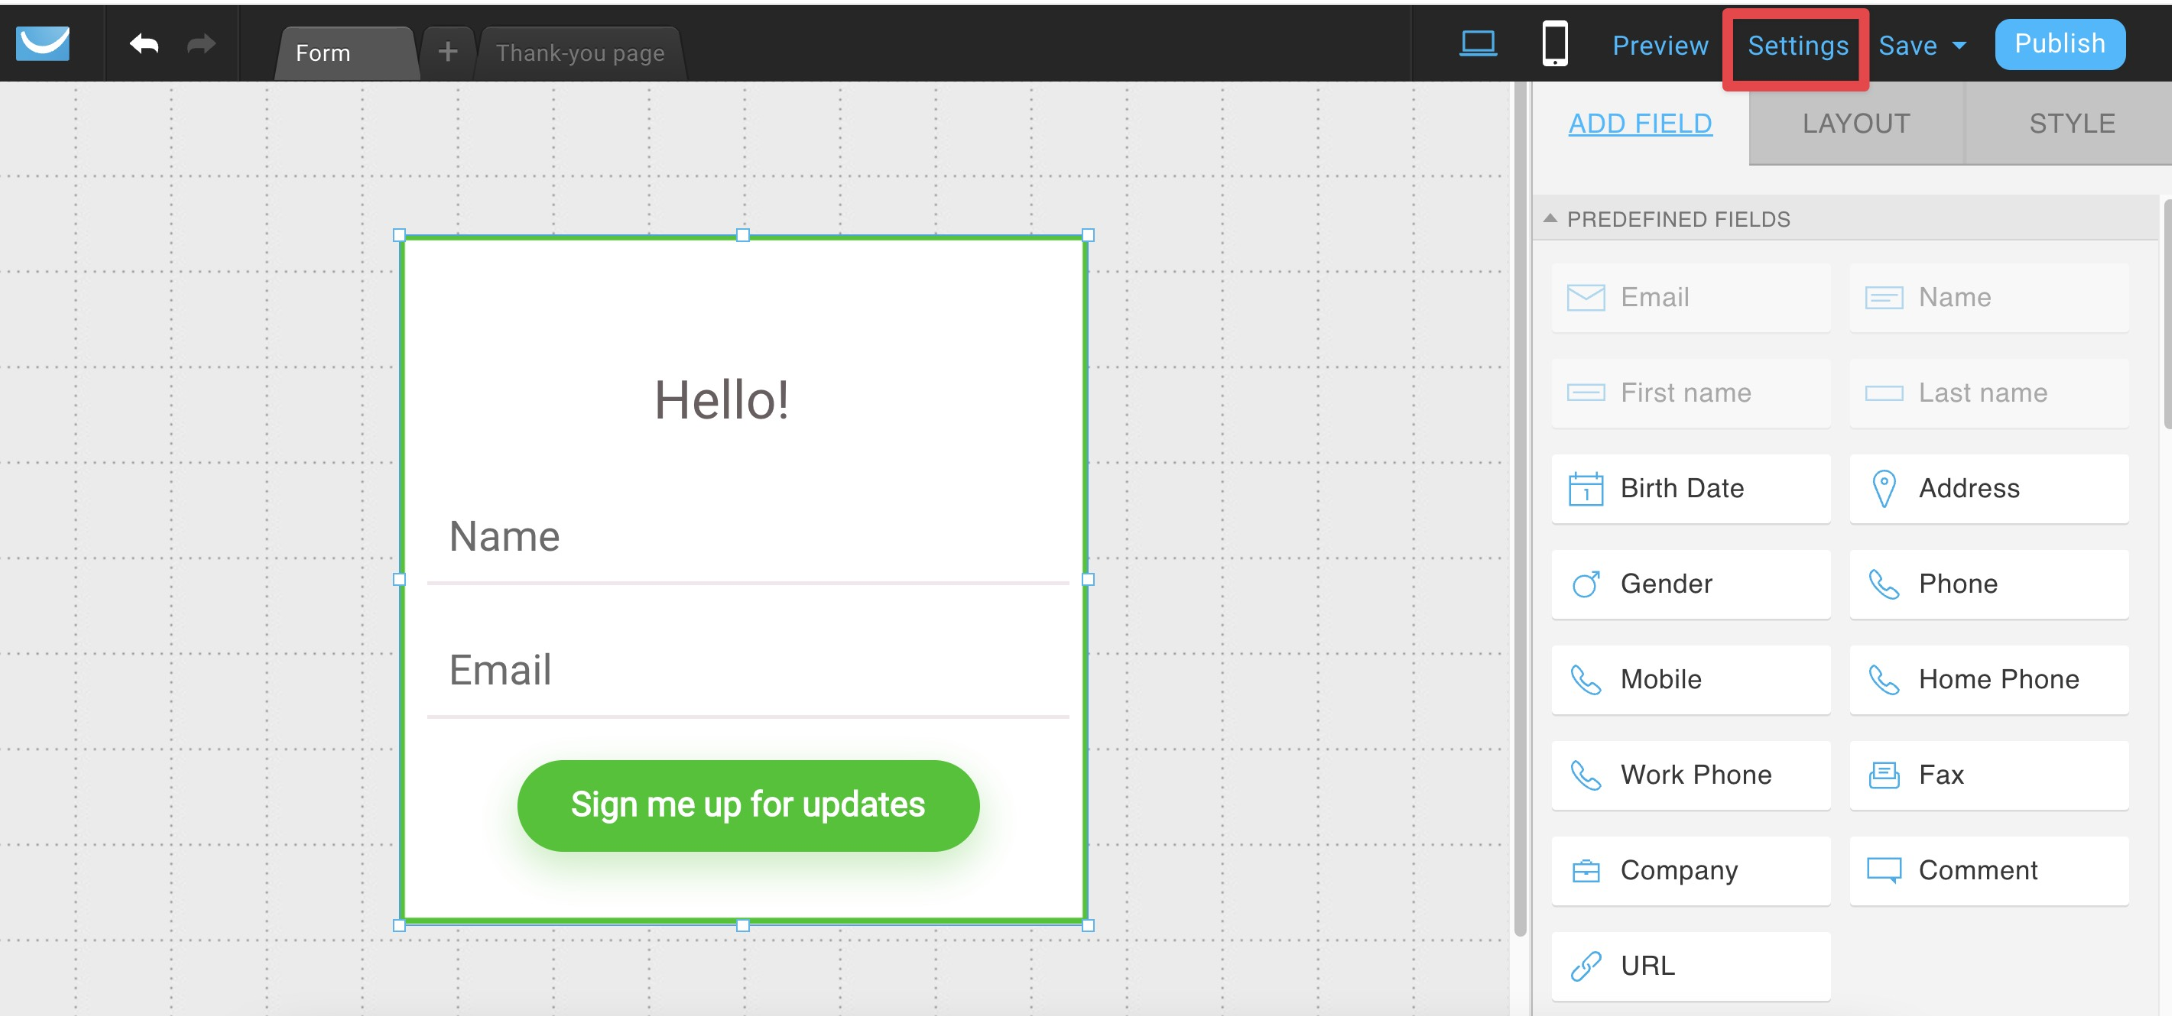
- In the editor, click Settings in the upper right corner.
- Switch Confirmed opt-in to ON or OFF position.
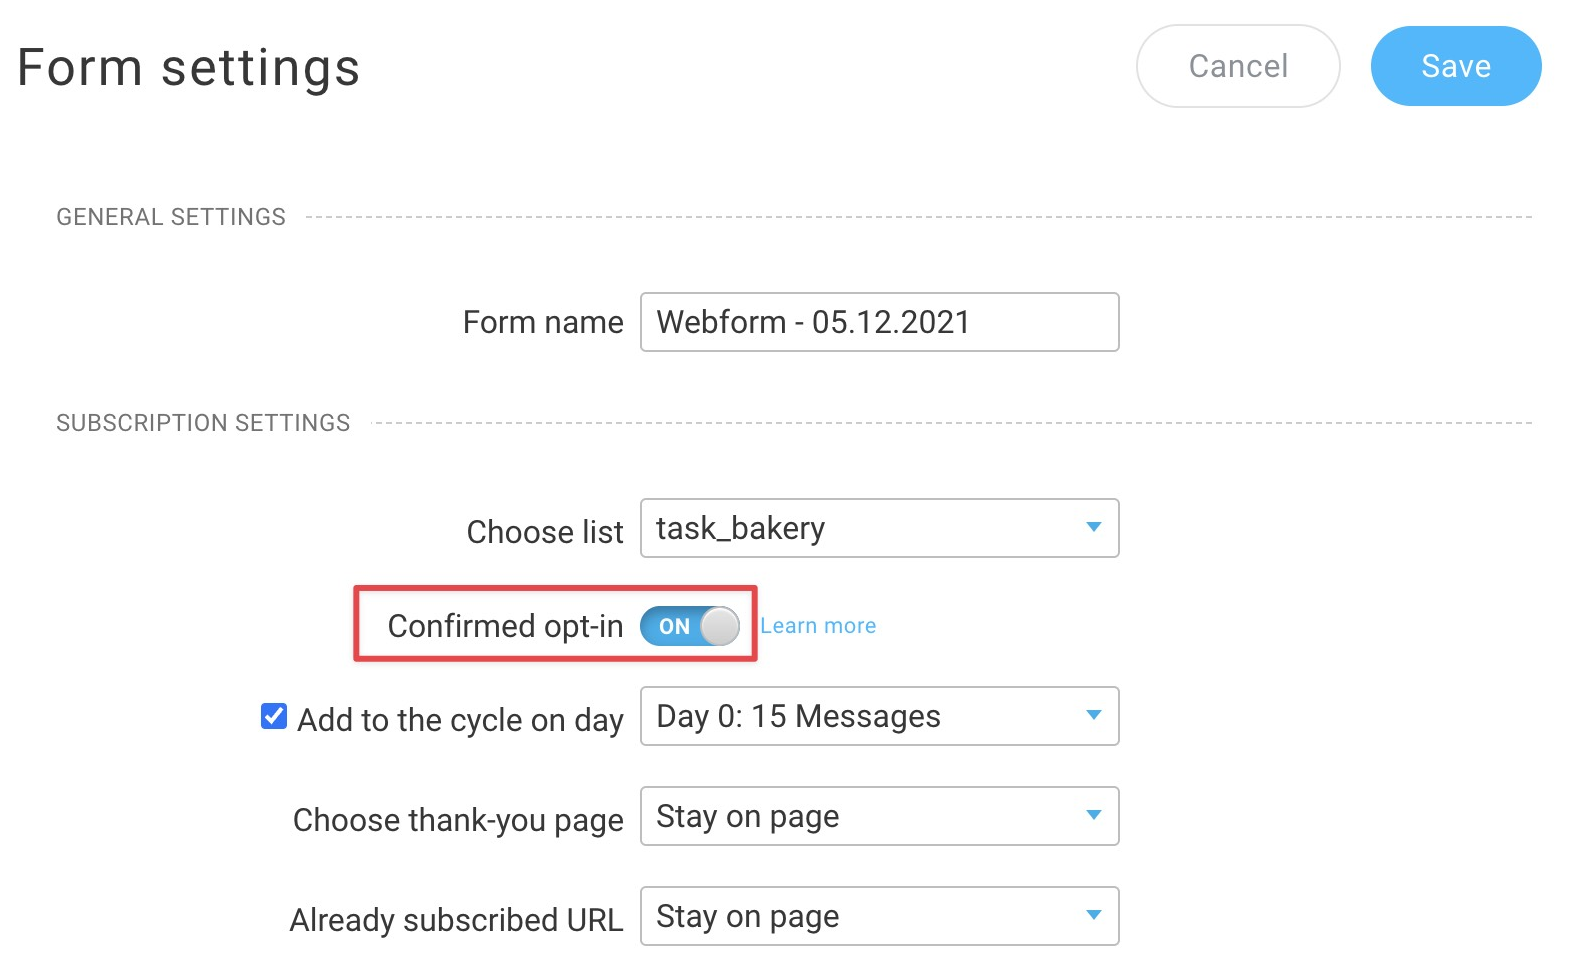
- Save the changes.
HTML forms
- Go to Contacts > Lists.
- Find the list your HTML form is linked to, then hover over the Actions menu (three vertical dots) > Settings.
- In the Subscription tab, enable or disable Web subscriptions.
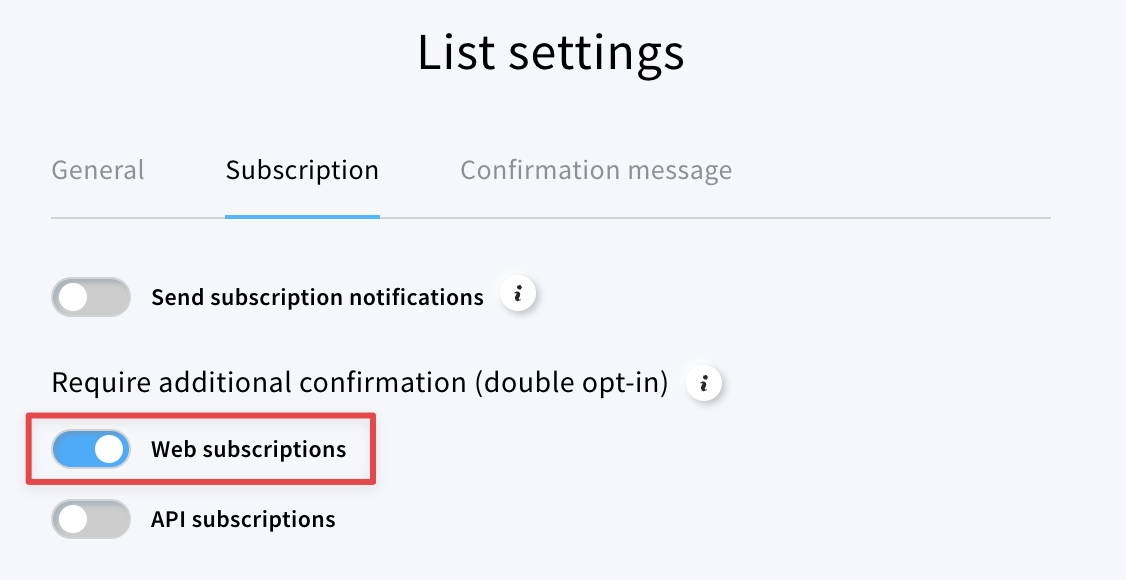
- Save the changes.
API
- Go to Contacts > Lists.
- Find the list you want to edit, then hover over the Actions menu (three vertical dots) > Settings.
- In the Subscription tab, enable or disable API subscriptions.

- Save the changes.
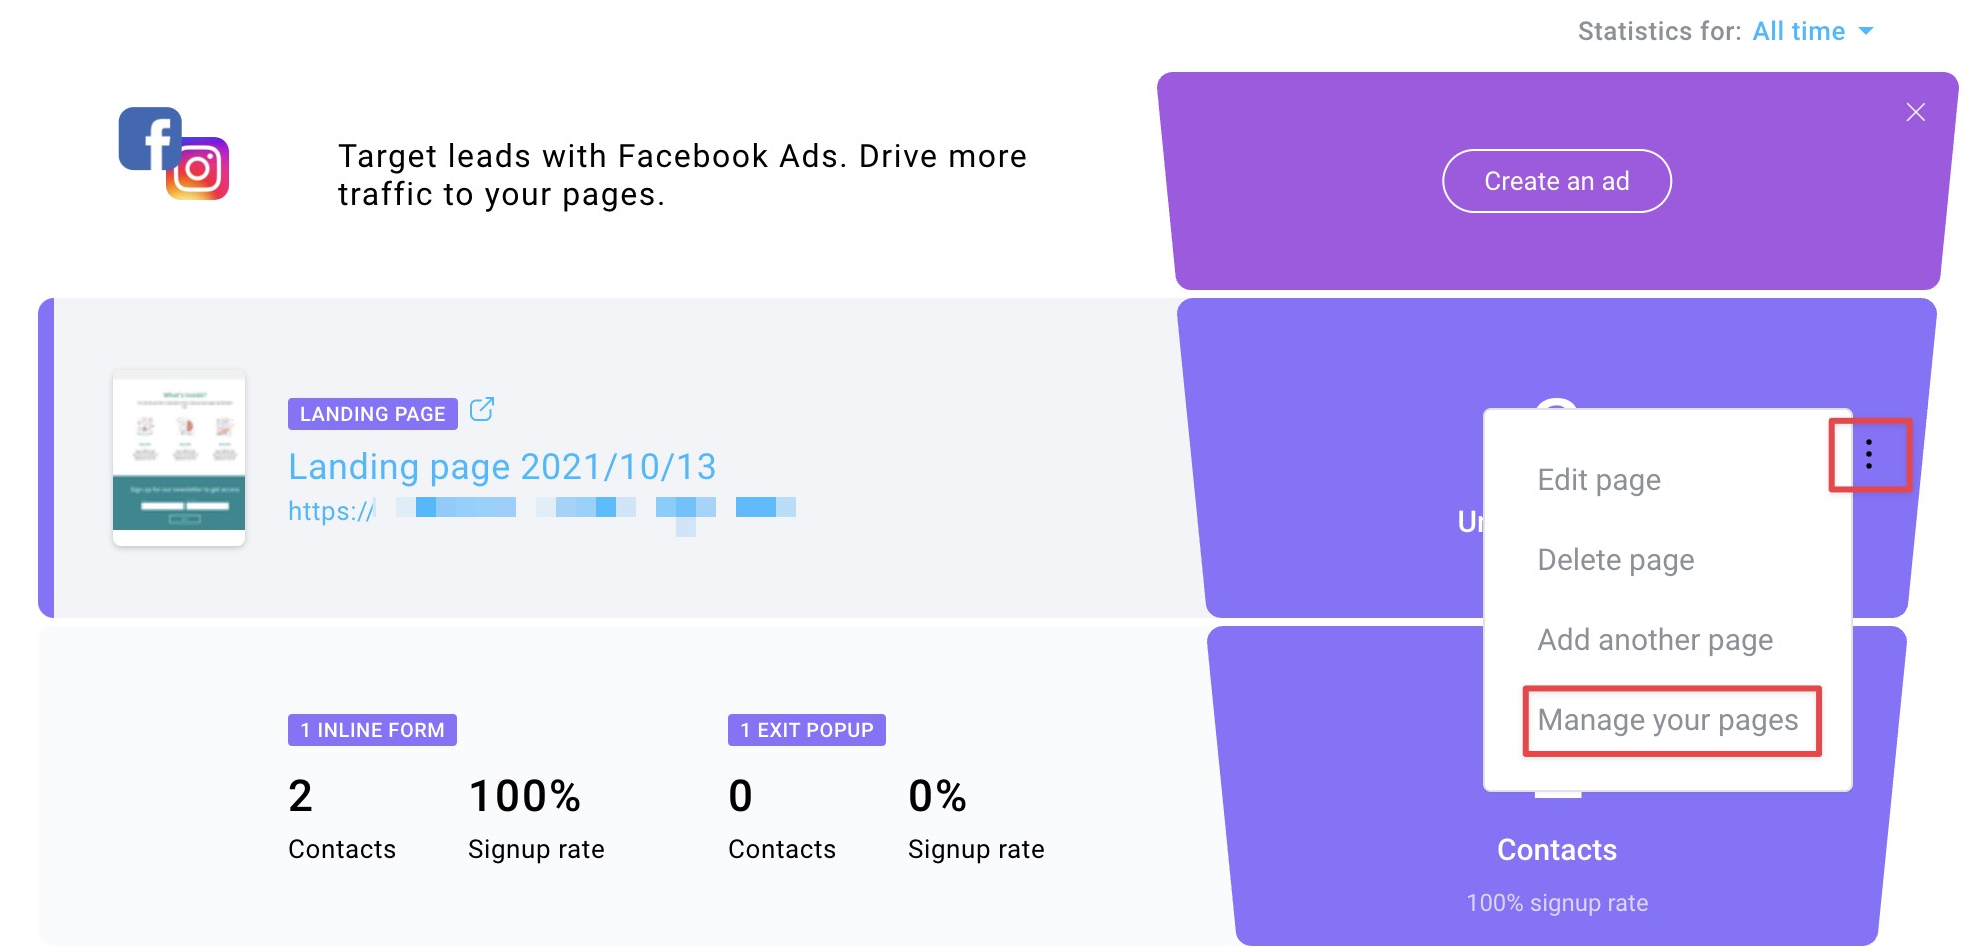
Conversion funnels
You can change opt-in settings for lead magnet funnels only.
- Go to Conversion funnels tab.
- Click on your lead magnet funnel, then hover over the Actions menu (three vertical dots) > Manage your pages.
- Hover over the Actions menu (three vertical dots) of your sing up page > Edit settings.
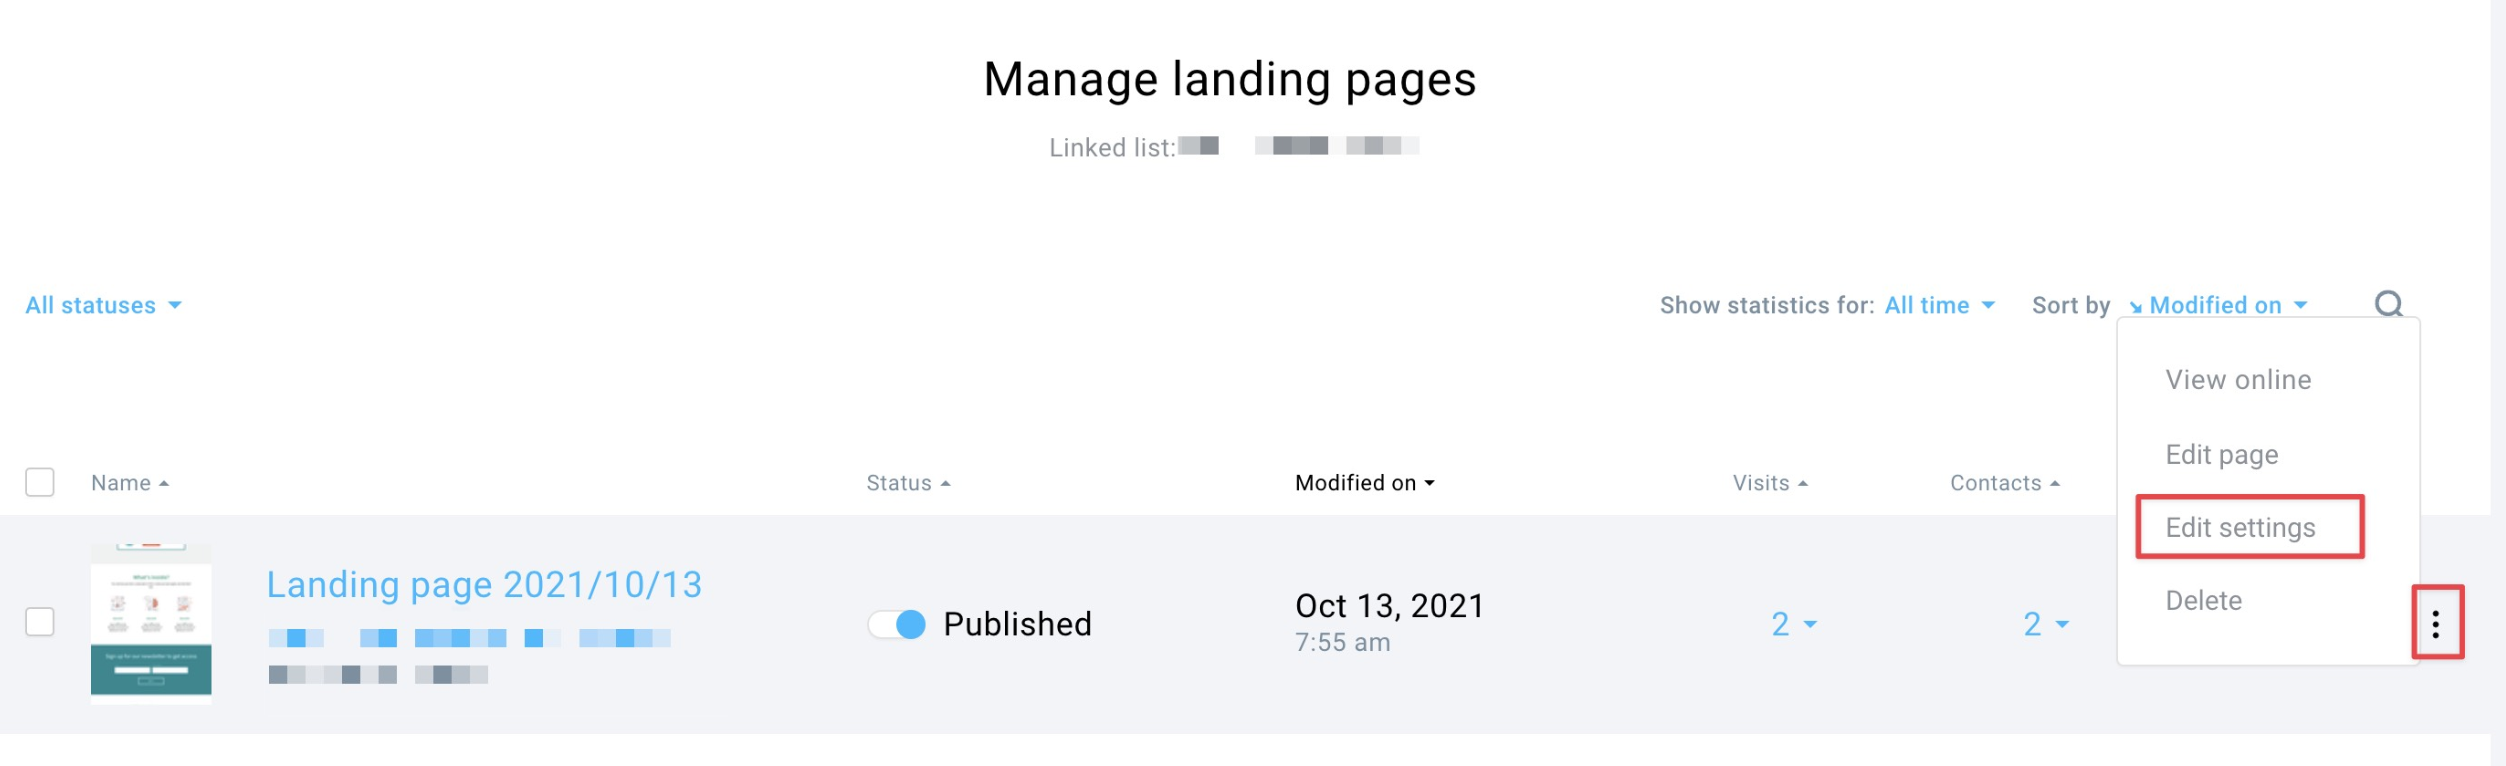
- In the Subscription settings tab, enable or disable Confirmed opt-in.
- Click Save or Publish at the bottom of the settings page.
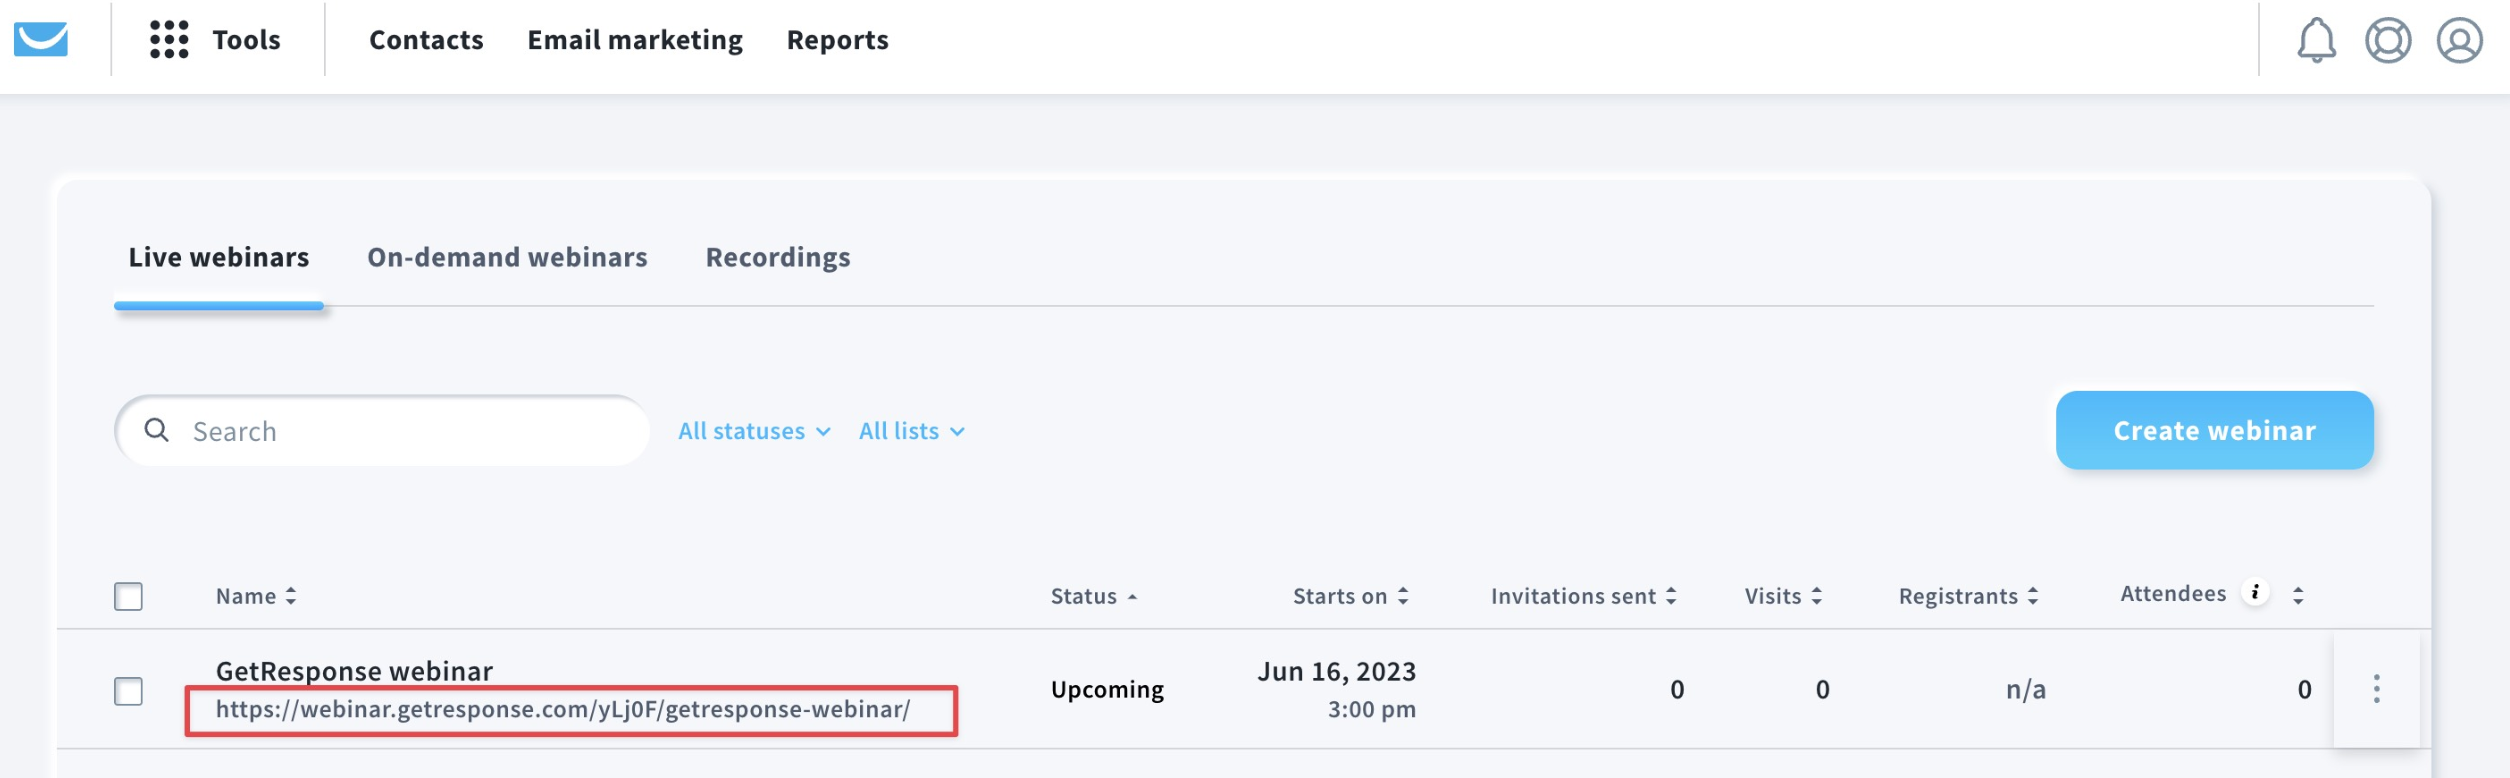
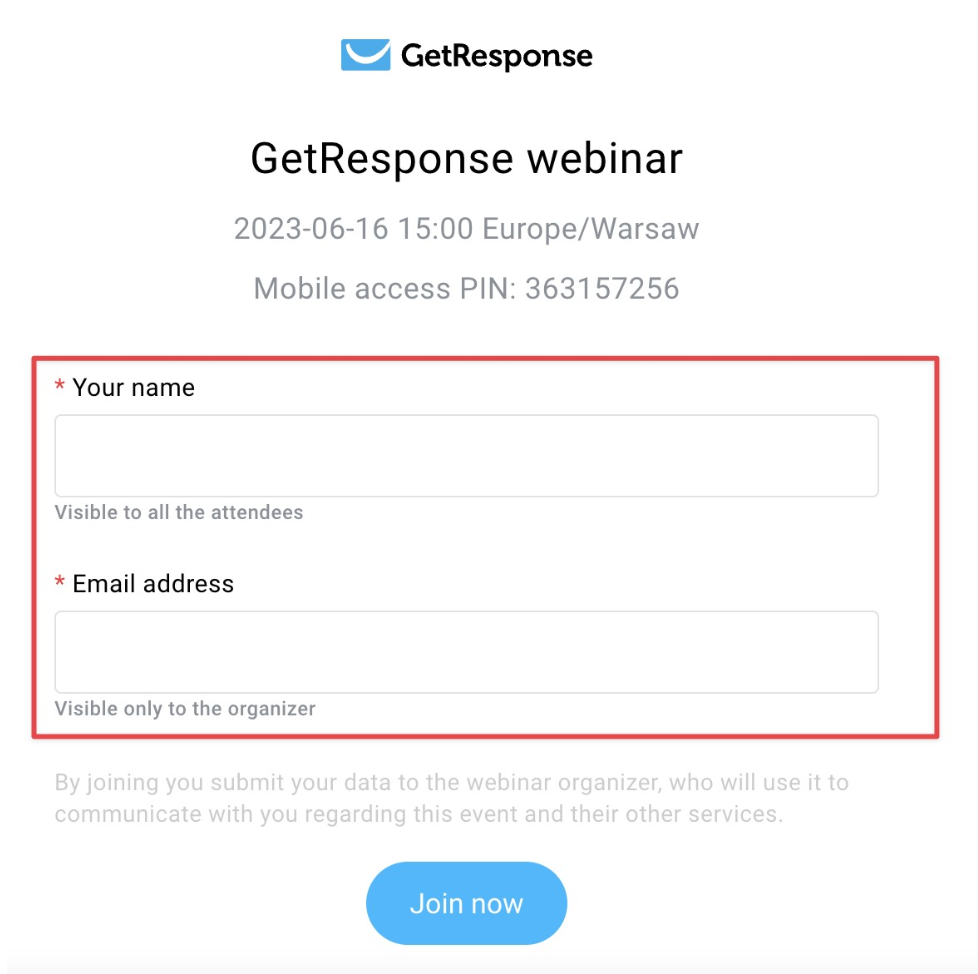
Webinars
By default, webinars have single opt-in enabled.
When you click on the webinar link and leave your details there, you join the list immediately regardless of the settings of the list that is linked to your event.