Introduction
The goal of this ebook is to help you plan your email list building the right way so you make the most of your online marketing.
And who is it for? Everyone who wants to run successful online marketing campaigns.
Email list — your precious business asset
The contact list is the backbone of online marketing. The results of your online marketing campaigns to a large extent depend on the quality of your email lists.
Your email list is the place where your contacts are stored, and a basic “storage unit” for all content created in your account. That’s why you should build solid foundations for your online marketing success by creating your contact list the right way.
Create contact lists to increase relevancy
We highly recommend creating separate email lists for contacts with different information needs or preferences. Use your lists to store people with similar characteristics and send them relevant communication.
Compare these 2 examples:
1. One list for all the contacts that gave consent to receive email marketing communication
2. Several lists for different groups of contacts:
- potential customers,
- one-time customers,
- frequent customers.
Now, imagine that you are planning a personalized email marketing communication. Which of the above examples is more likely to bring you better business results? Which one would you choose if you could?
I suppose you’d rather go with the second option. And that’s exactly what makes you a pro!
You should create multiple contact lists because:
- It allows you to reach the right people with the right messages (personalization)
- It makes it easier to plan relevant content
- You can track contact activity and optimize communication
- The more relevant the communication the bigger its impact on the business
Create a contact list like a pro
Pro tip:
Document your lists. Keep key information in a place available for other team members.
– plan better communication cycles– automate processes, e.g. moving contacts between lists based on their activity in email, landing pages, or webinars.
– keep your team informed about newly created lists
– improve teamwork and streamline projects.
Before you create your contact list answer the following questions:
1. What’s the (business) goal of this list?
E.g.
- to invite people from around the city to your offline store
- to sell complimentary products to your main offer
- to run a summer sales promo
- to measure customer satisfaction
2. What information are you going to provide to people from this list?
E.g.
- explain the benefits of your products and services
- present your offline store, introduce staff, inform about available products
- show complimentary product recommendations
- collect feedback through customer satisfaction surveys
3. Who are the people on the list?
Make sure that you know the target audience for this list and align the messaging to their needs and preferences. Think about the structure, copy, and design because your contacts need to understand why you send them communications and what are they supposed to do with it.
4. What legal requirements do you need to comply with?
There are many legal regulations around the world, e.g. General Data Protection Regulation (GDPR) in the EU or California Consumer Privacy Act (CCPA) in the US. Make sure that you comply with the regulations that apply to your contacts.
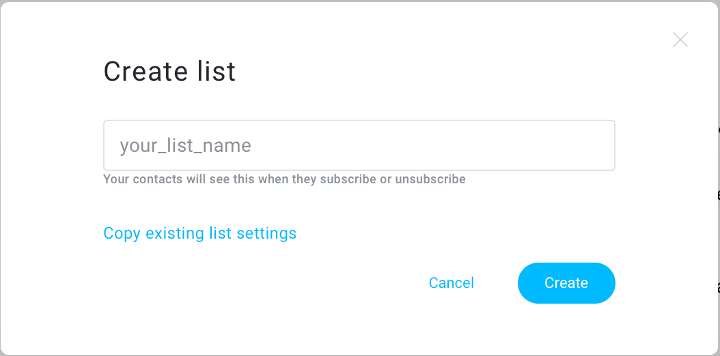
Choose a proper name for your list
Pro tip:
Each list you create has to have a unique name. It means you can’t use the same name twice and that the name of your list can’t exist in a different GetResponse account.
That’s why we suggest personalizing your email list by adding a prefix to the list name, e.g.:
[Your business name]_potential_customers
[Your business name]_customers
Manage your contact lists
Technical
Each list created in GetResponse has its own individual settings that may affect other features of the platform. The list comes with a special token that can be used for integrating your list with 3rd party services via API.
We create one default list in each account automatically. You can delete any list except the default one. You can move the “default list” status from one list to another. Bear in mind that deleting a list deletes all the content stored in it or linked to it. You are free to change the settings of your list at all times.
Contacts — people you do business with
Choose your contacts carefully
Adding contacts is one of the most basic activities you will do in your account.
Contacts are people to whom you can send messages. Naturally, they should be your target audience — people who can become your customers one day. This means that they need to express an interest in what you have to offer. There’s no point in reaching out to people who are not likely to convert.
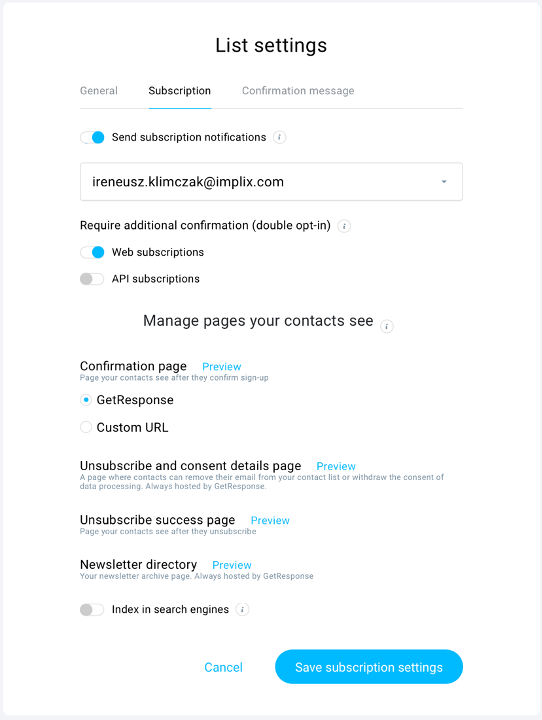
Require additional confirmation
If you want your list to be a source of revenue, you need to build it with people who express interest in your brand. You can ask people who signed up via a webform for additional confirmation by clicking a link sent in a confirmation email. This method is called double opt-in and it helps maintain high-quality contact lists.
| Single opt-in | Double opt-in (a.k.a. confirmed opt-in) |
|---|---|
| A one-step process. It requires a person to enter their email address in the signup form and they immediately are added to a contact list. | A two-step process. After a person enters their email address in the signup form they receive a confirmation email with a link to confirm that they want to be added to a list. |
Technical
We distinguish two types of contacts: active (added manually, successfully imported and confirmed) and inactive (removed manually, unconfirmed, bounced and unsubscribed). In trial accounts, we count both types toward your contact limit.
In paid accounts, only active contacts are counted toward your bill. For GDPR purposes, we keep bounced and removed contacts on your list for 60 days only. Unconfirmed contacts have 32 days to click on the double opt-in link.
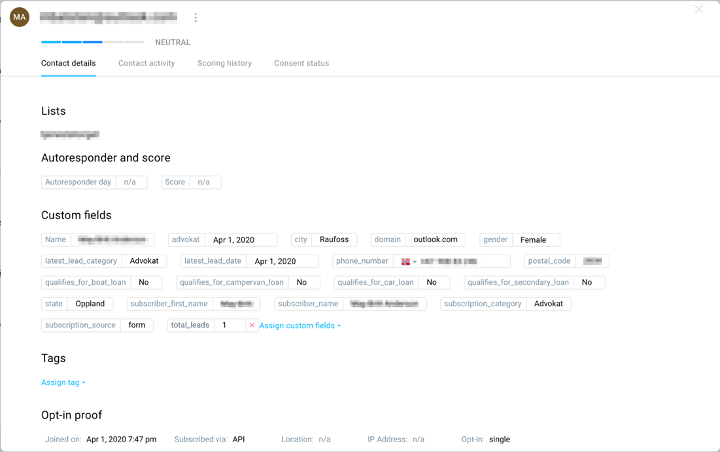
Get to know your contacts by adding custom fields and tags
Add relevant information to your contacts with custom fields and tags. The more you know about the people on your list the easier it is to send them relevant communication and optimize your campaigns for business results.
You can collect and store additional information about your contacts allowing you to segment your database into groups of people sharing common characteristics, e.g.:
- gender
- language
- their favorite TV show
- the car they currently own
- the preferred date of a meeting you are going to host
- Etc.
What’s the difference?
| Custom fields | Tags |
|---|---|
| Custom fields let you gather and store relevant information about your contacts, such as phone number, address, important dates, or preferences. | Tagging allows you to label anyone in your contact database. You can use tags to analyze individual customers and track their activity, e.g. active, inactive, engaged, not_engaged. |
You can ask your audience for information during the subscription process by adding relevant form fields to your webforms.
Or ask for information later via emails, surveys, social media, or customer success chats.
Remember
If you decide to move/copy a contact that has some custom fields assigned to them, the custom fields will be moved/copied, too.
Segments are built based on criteria you specify. Having these detailed recipient groups can give you a huge advantage in terms of sending the right emails to the right people at the right time.

You can use segments with Newsletters and Marketing automation. All segments are dynamic so they will adjust automatically to people that meet the specified criteria. It means you don’t have to recreate the segments to include new people in them.
Read more: Email list management best practices
Pro tip:
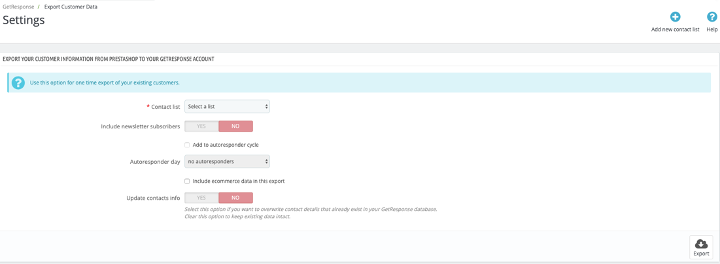
If your active account does not have any outstanding charges on it or is not a subject to verification, you can export your contacts in an xls, csv or xml file. It’s a useful tool if you want to keep backup copies of your contacts. You can always ask our Customer Success Team for such a backup copy free of charge.
Build your email list — add contacts
We allow adding contacts manually, via an import or via API integrations. The contacts menu is also the place where you can segment your database, check statistics of your mailings and imports, create custom fields, clean your list and more.
| Manually | Import | Zapier and API Integrations |
|---|---|---|
| Adding contacts manually with the freshly acquired information about them is useful if you want to become your own subscriber and test your mailings, if you need or prefer to add new contacts yourself or if you occasionally get requests from your social media fans to join your secret mailing group. | If you want to add a larger group of people in one go or you already have a database of customers to be added to your account, it’s definitely better to import a file. It’s faster and our verification pet animal — Hydra — will authenticate the contacts you are trying to add. The contacts menu also has a place where you can check the statistics of your imports. | If you want to add contacts automatically from other platforms, e.g. ecommerce, CRM, it’s best to use API or Zapier integrations. |
Keep your email list healthy — remove inactive contacts
Noticed that someone doesn’t open your emails anymore? Why keep them on your list if they’re not interested in your content? Removing inactive contacts is necessary for maintaining high-quality contact lists.
There are two actions that will help you keep your contact list fresh and improve subscriber engagement. The cleaner your list the better your click-through and open rates are.
| Deleting | Blacklisting |
|---|---|
| Deleting gives you the ability to remove an email address from a specific list or lists. | Blacklisting allows you to prevent specific email addresses and domains from subscribing to your current or future list or lists. It also gives you the ability to prevent people from resubscribing. |
You can blacklist singular emails or whole domains if you want. It doesn’t remove people from your list.
You can create your own blacklist:
- if you don’t want specific people to receive your emails anymore
- if you want to prevent them from joining your list.
Pro tip:
List hygiene allows you to remove contacts in bulk (for example, from a list you exported earlier on) or create rules of deleting contacts (if someone is not on list X anymore, remove them from list Y as well). It helps remove people from your list.
Use suppression lists — send only relevant information
Suppression lists allow you to exclude particular contacts from receiving a particular newsletter, even if they are on a list you are targeting with your newsletter. It doesn’t remove people from your list.
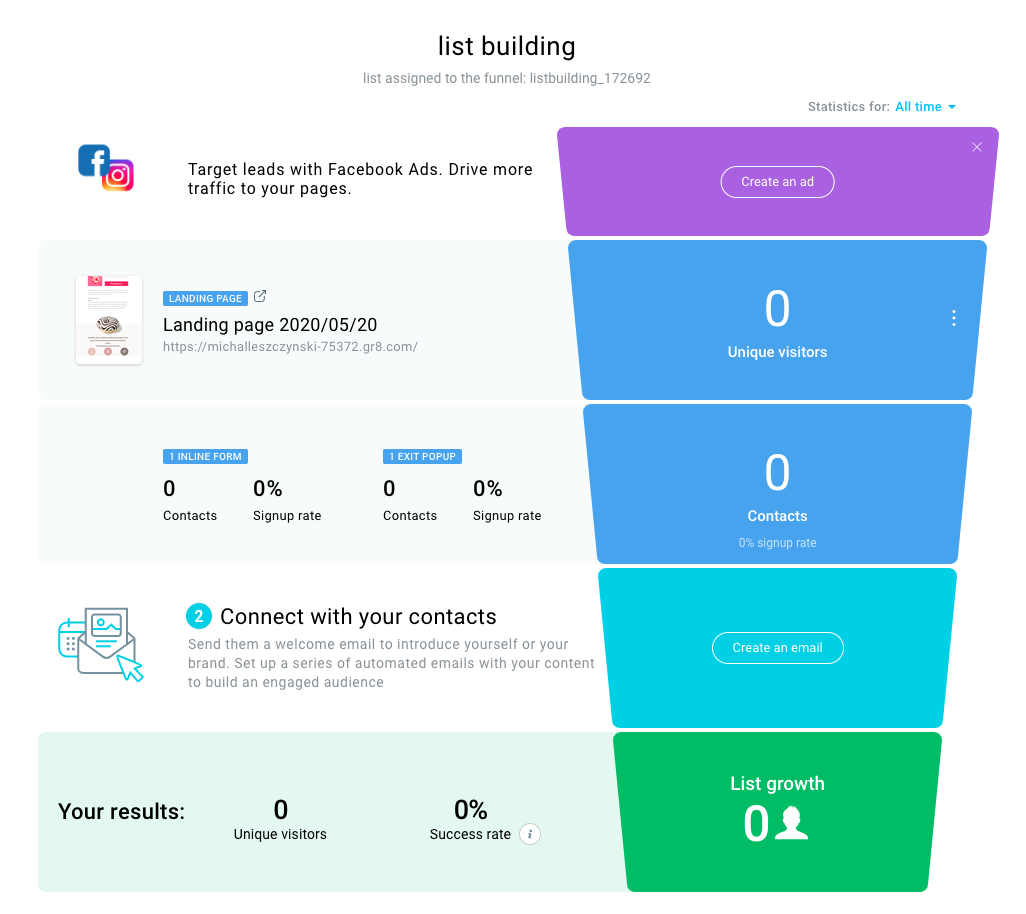
Task for you: create a list and get your first 50 subscribers with a list building funnel
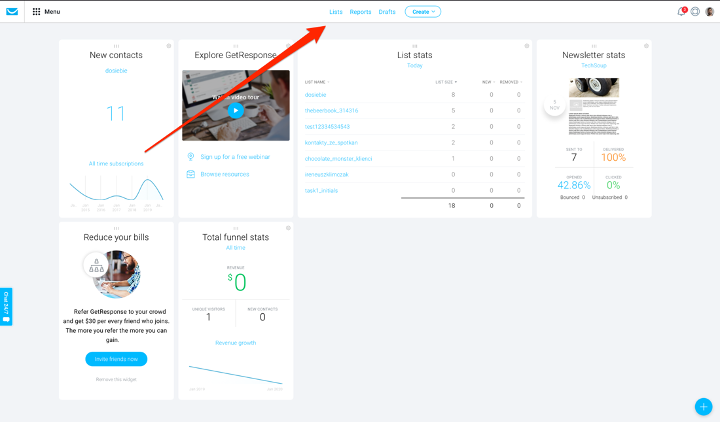
1. Log into your GetResponse account
2. Create a list
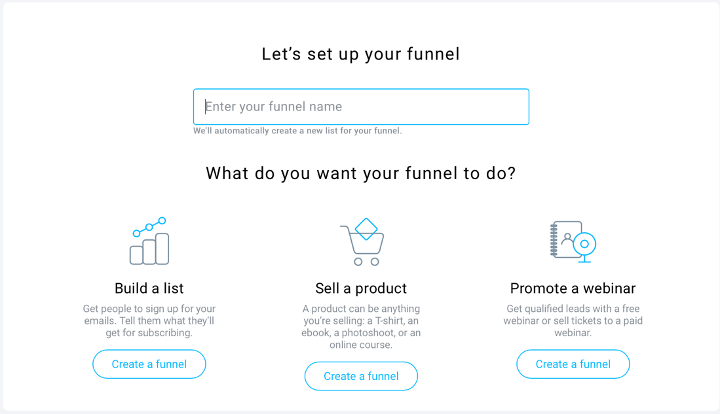
3. Create a list building funnel
Choose a conversion funnel.

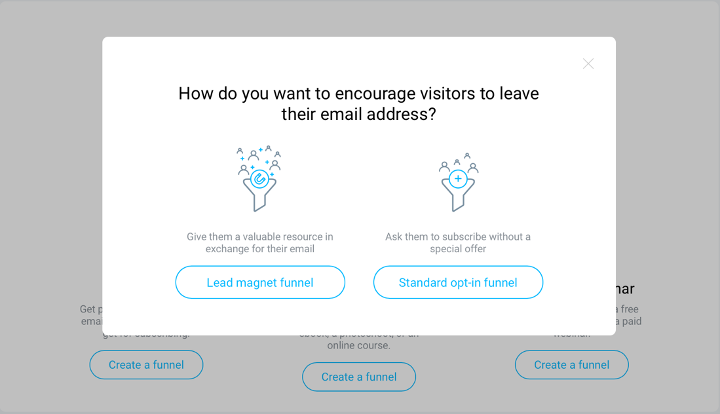
Choose between the lead magnet and standard opt-in funnel.
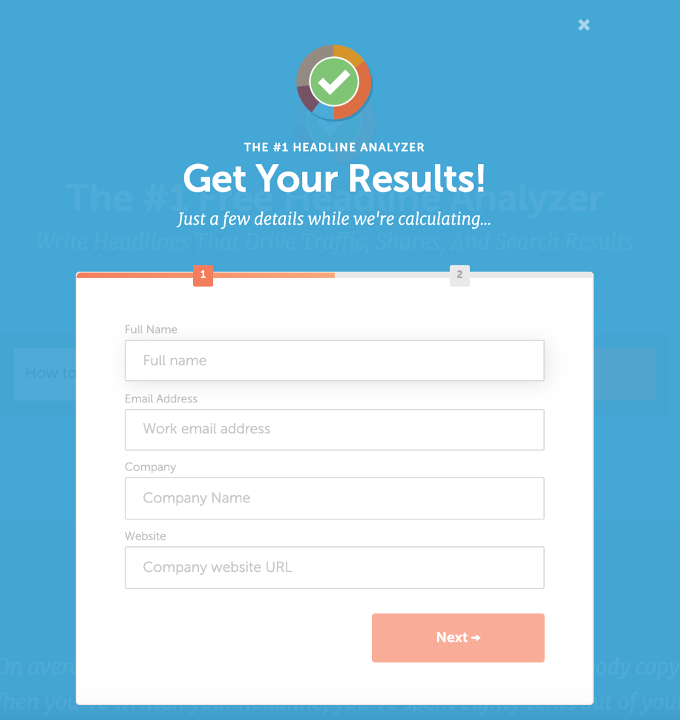
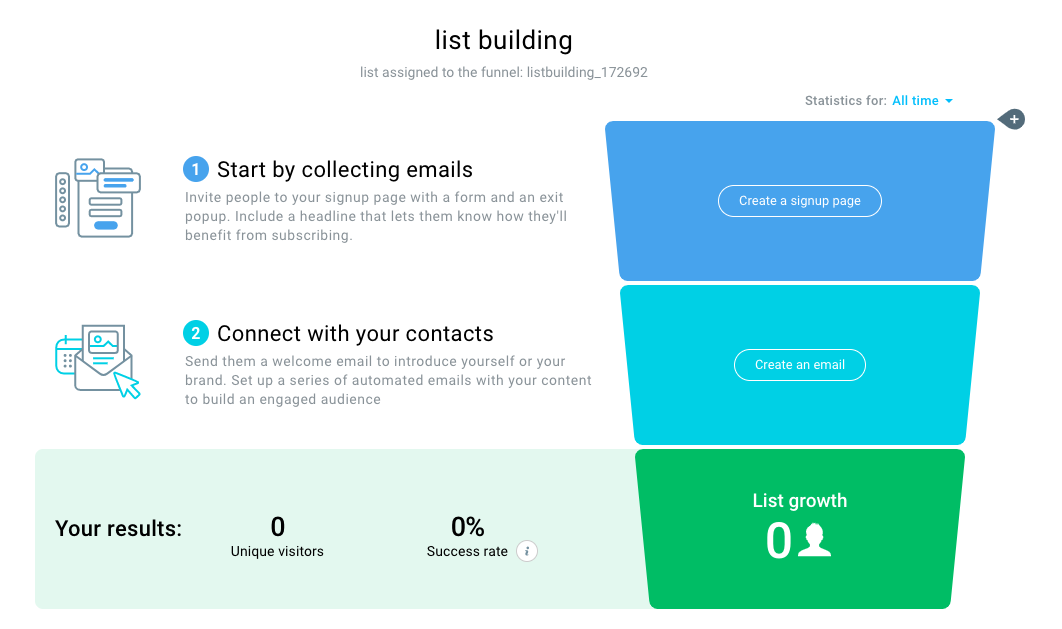
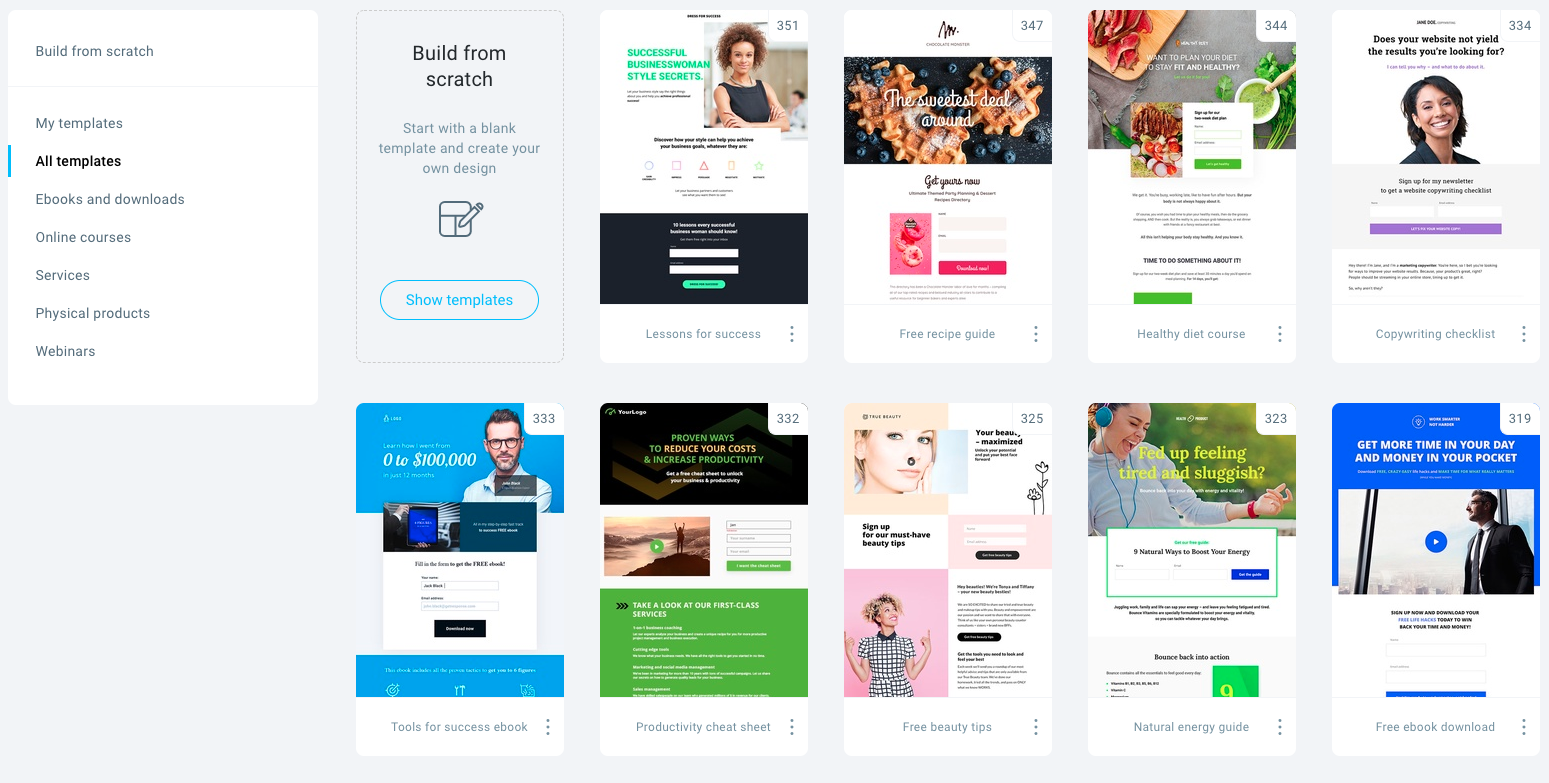
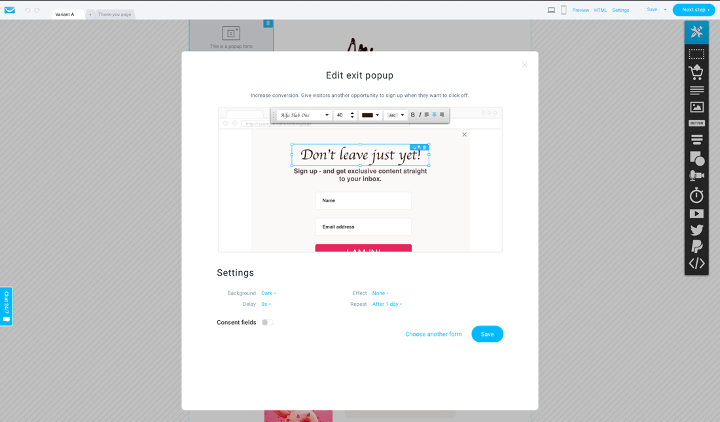
Create a signup page.
You don’t need to start from scratch, just choose one of the available templates.
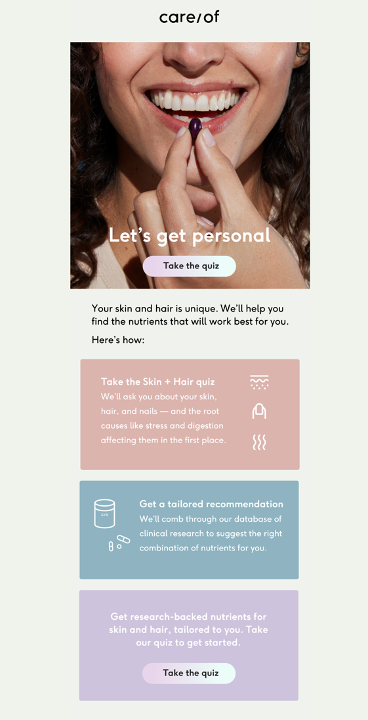
When your signup page is ready you can create social media ads.
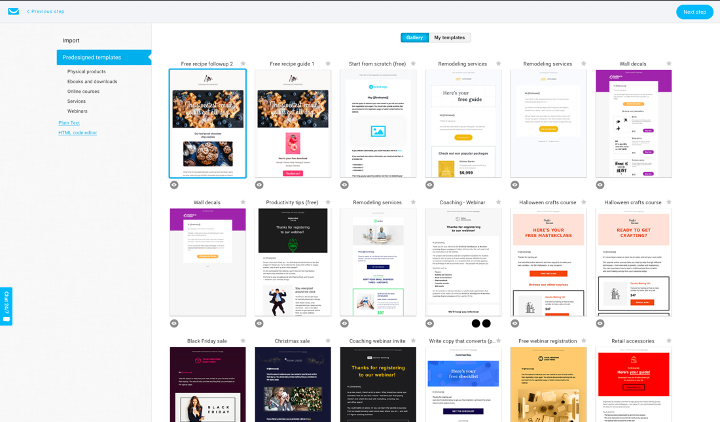
Create a welcome email using one of the available templates.
4. You’re ready to go! Get your first 50 subscribers.