How to use the AI Course Wizard?
The AI Course Wizard is GetResponse’s new assistant for building online courses. Whether you’re new to course creation or already using our built-in course editor, the AI Course Wizard is designed to streamline the whole process – from structuring your course to fine-tuning modules and learning paths.
The AI Course Wizard builds directly on the content you upload – such as newsletters you’ve sent from GetResponse, your webinars, or other assets you already have – which makes it easy to repurpose your knowledge into structured learning materials.
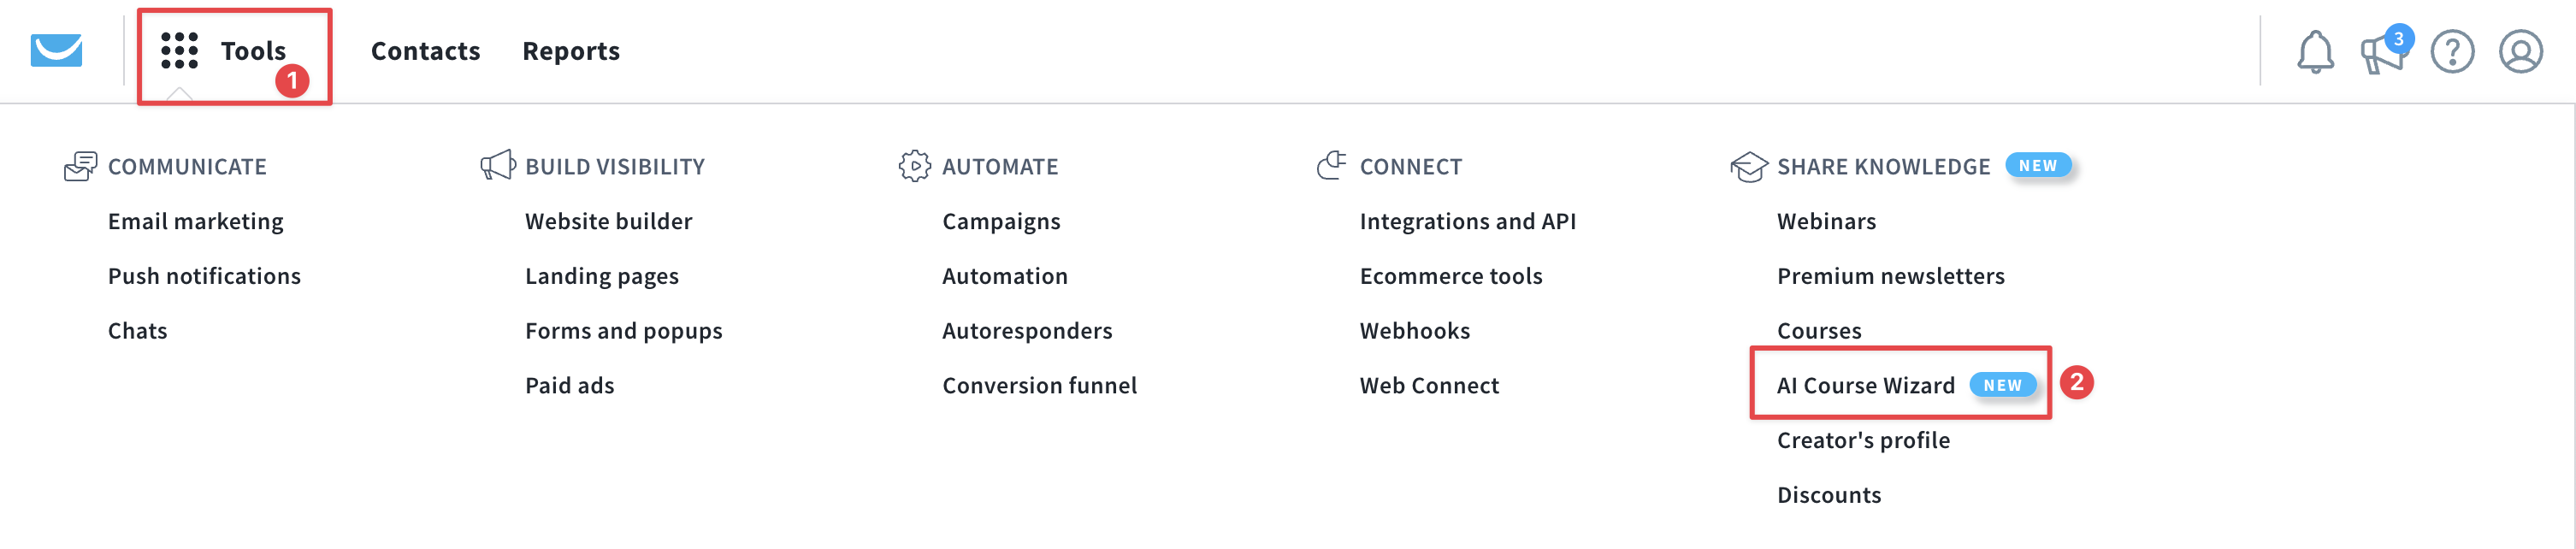
To create a new course with the AI Course Wizard, go to Tools > AI Course Wizard.
Once you open the wizard, you’ll be guided through several steps.
Add content
The first step is Add Content, where you provide the materials the AI will use to generate your course.
Note: It’s not necessary to complete every option in the Add content section. Simply choose the sources you want the Wizard to use when generating your course content. The more details you provide, the better the results will be.
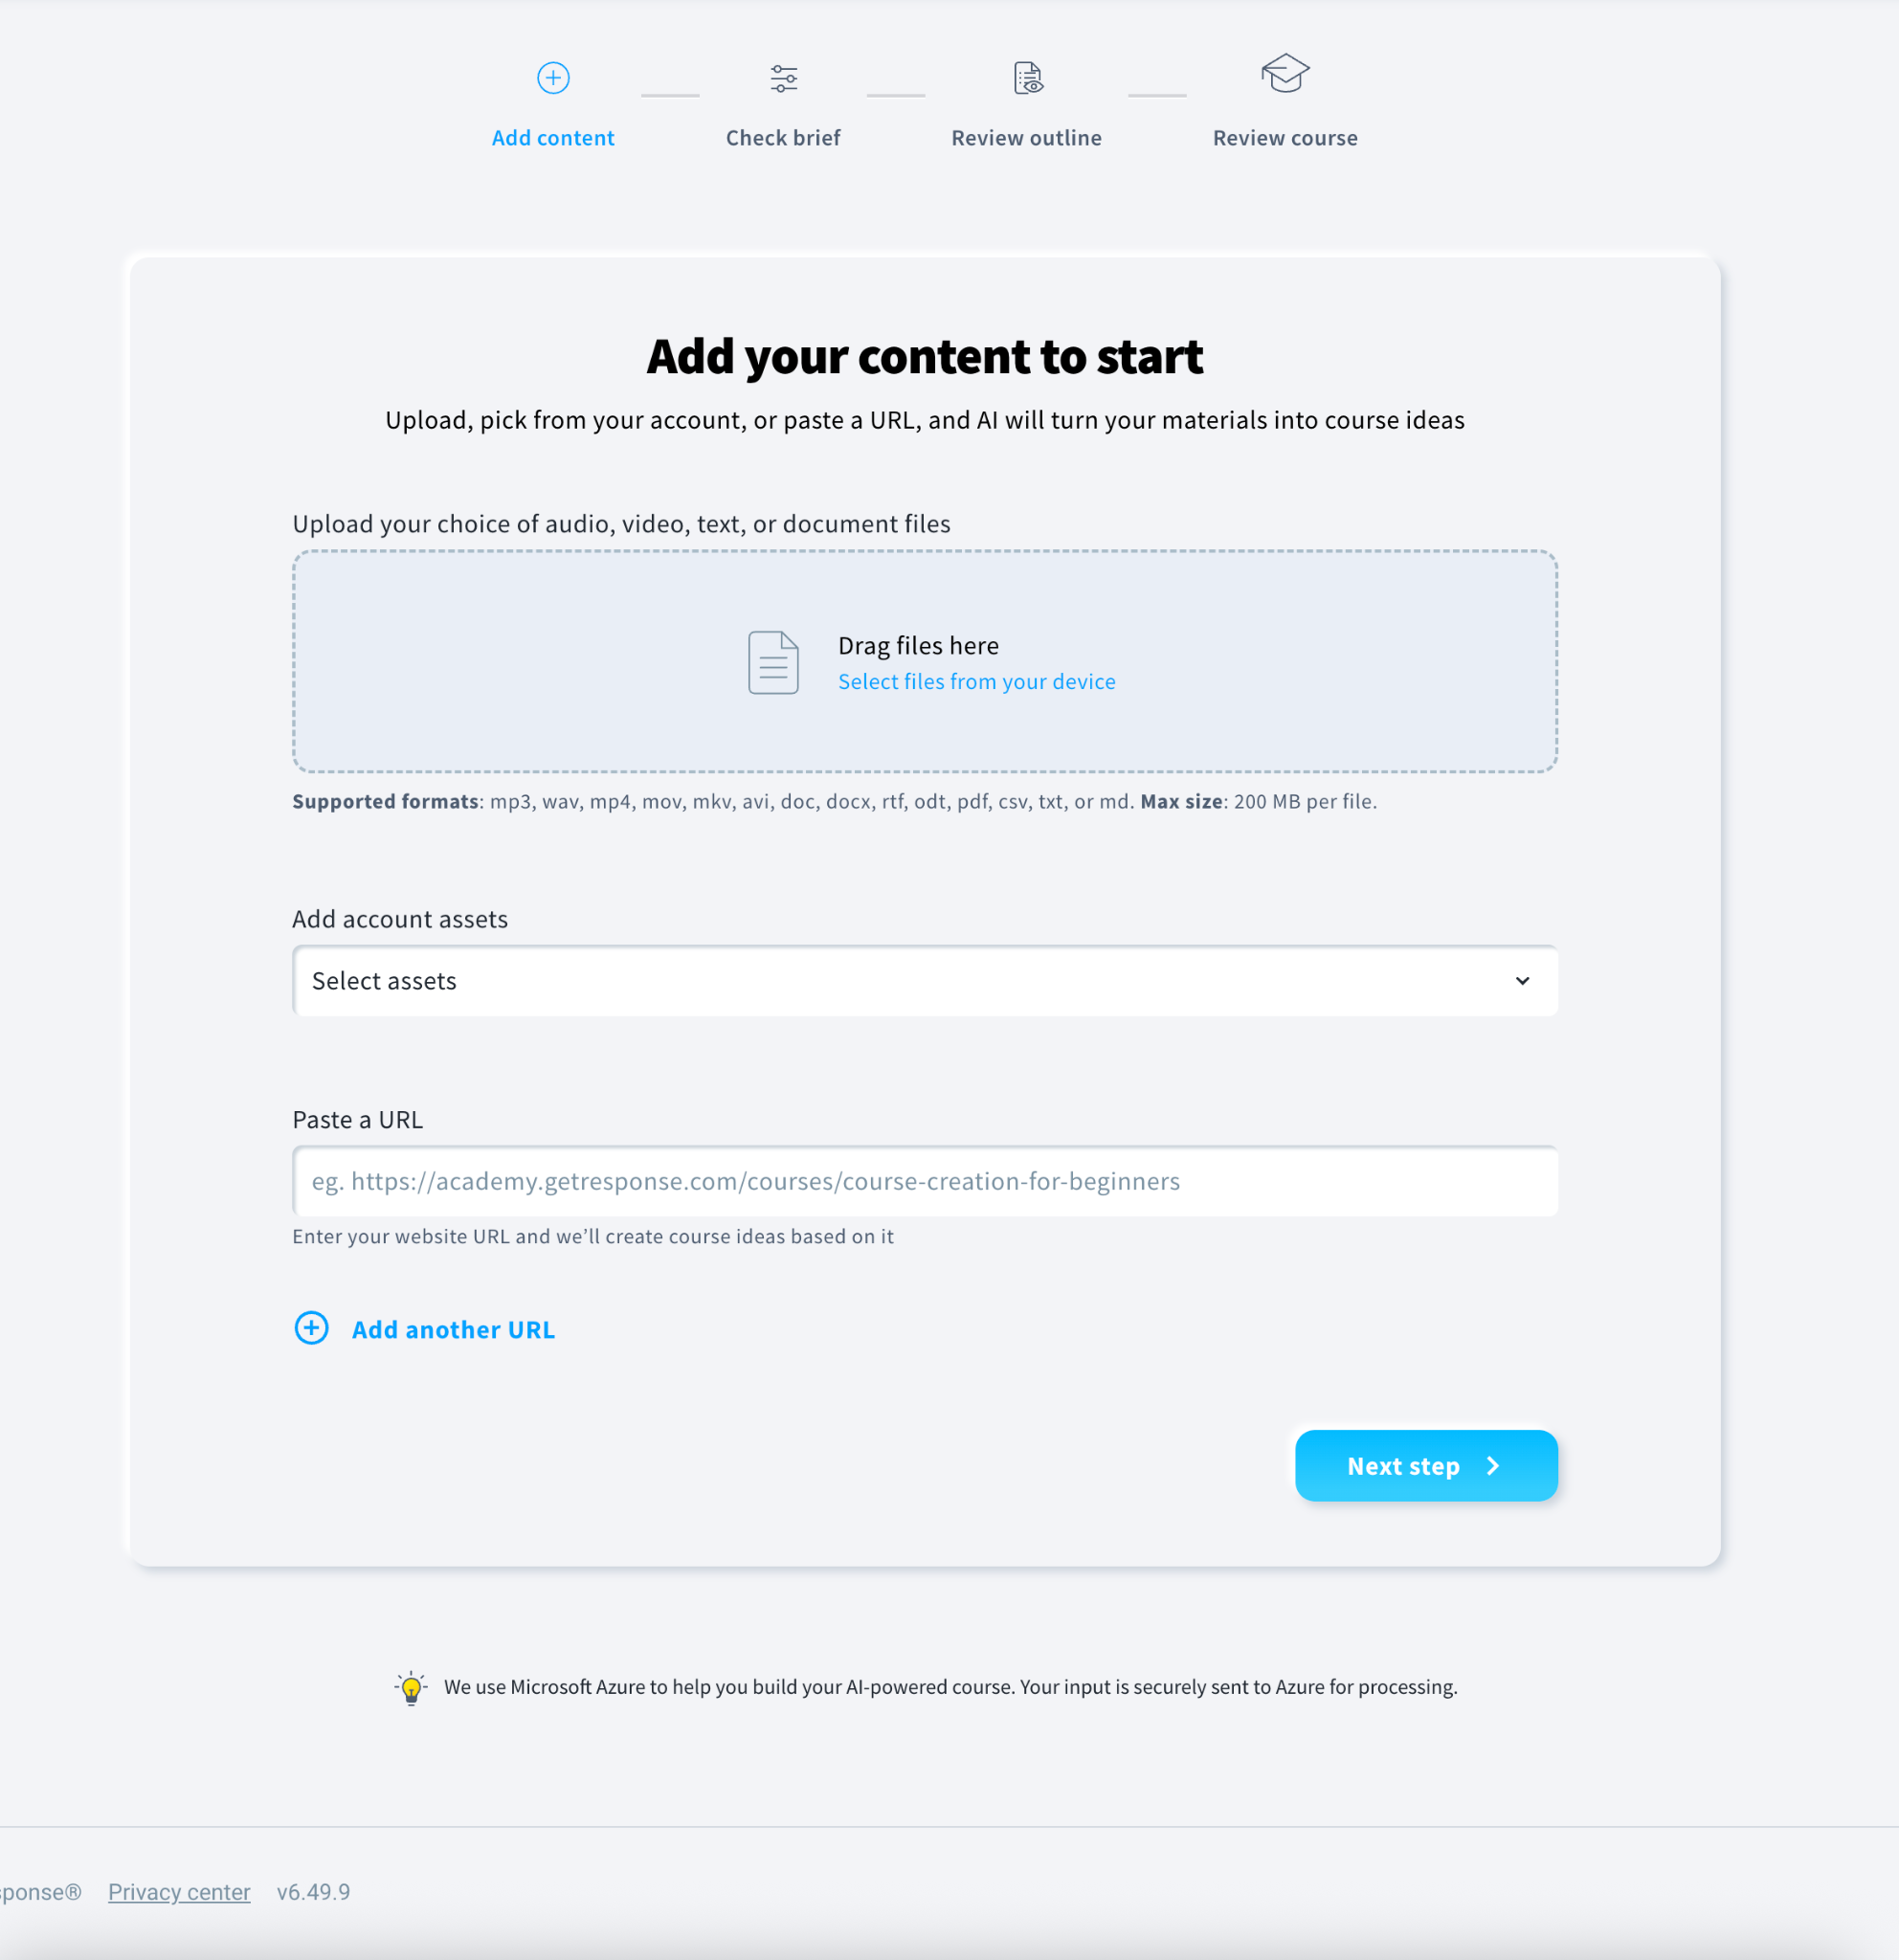
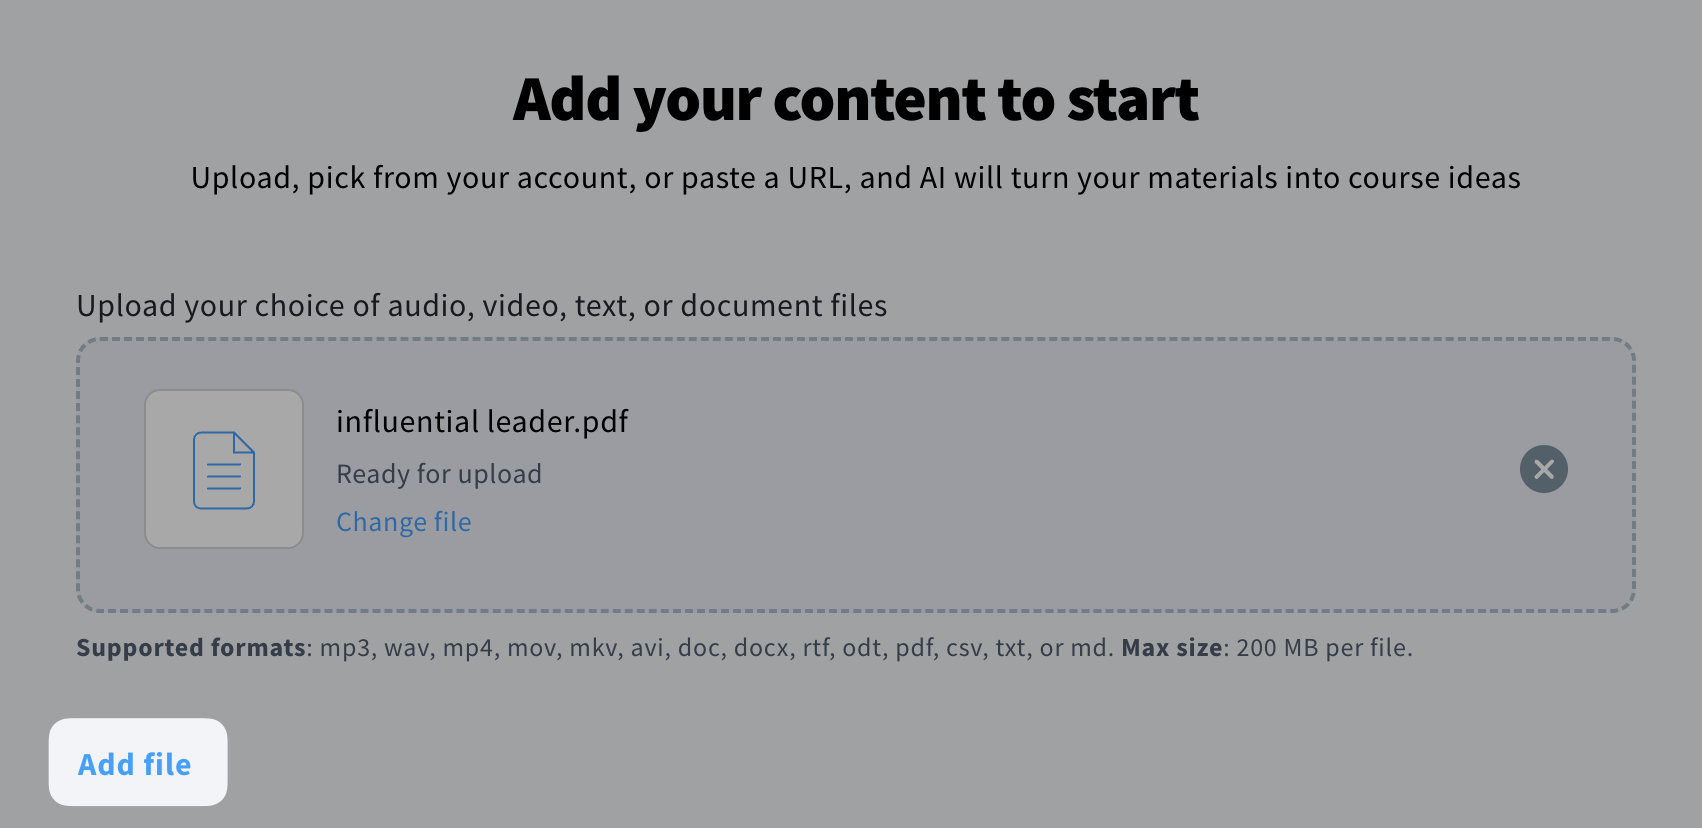
- Upload your content – Add audio, video, text, or document files by dragging them into the upload area or selecting them from your device. To add more files for the AI Wizard to work with, click Add file.
- Add account assets – Choose existing content already stored in your GetResponse account, such as webinars, newsletters, or autoresponders.
- Paste a URL – Provide a webpage link (such as a blog post, guide, or course page), and the AI will generate course ideas based on its content.
- Add additional URLs if you want the wizard to use more than one source.
Check brief
The next step is Check brief.
In this stage, the AI Wizard generates a draft brief based on the content you provided earlier. Your job is to review the information and make any adjustments necessary.
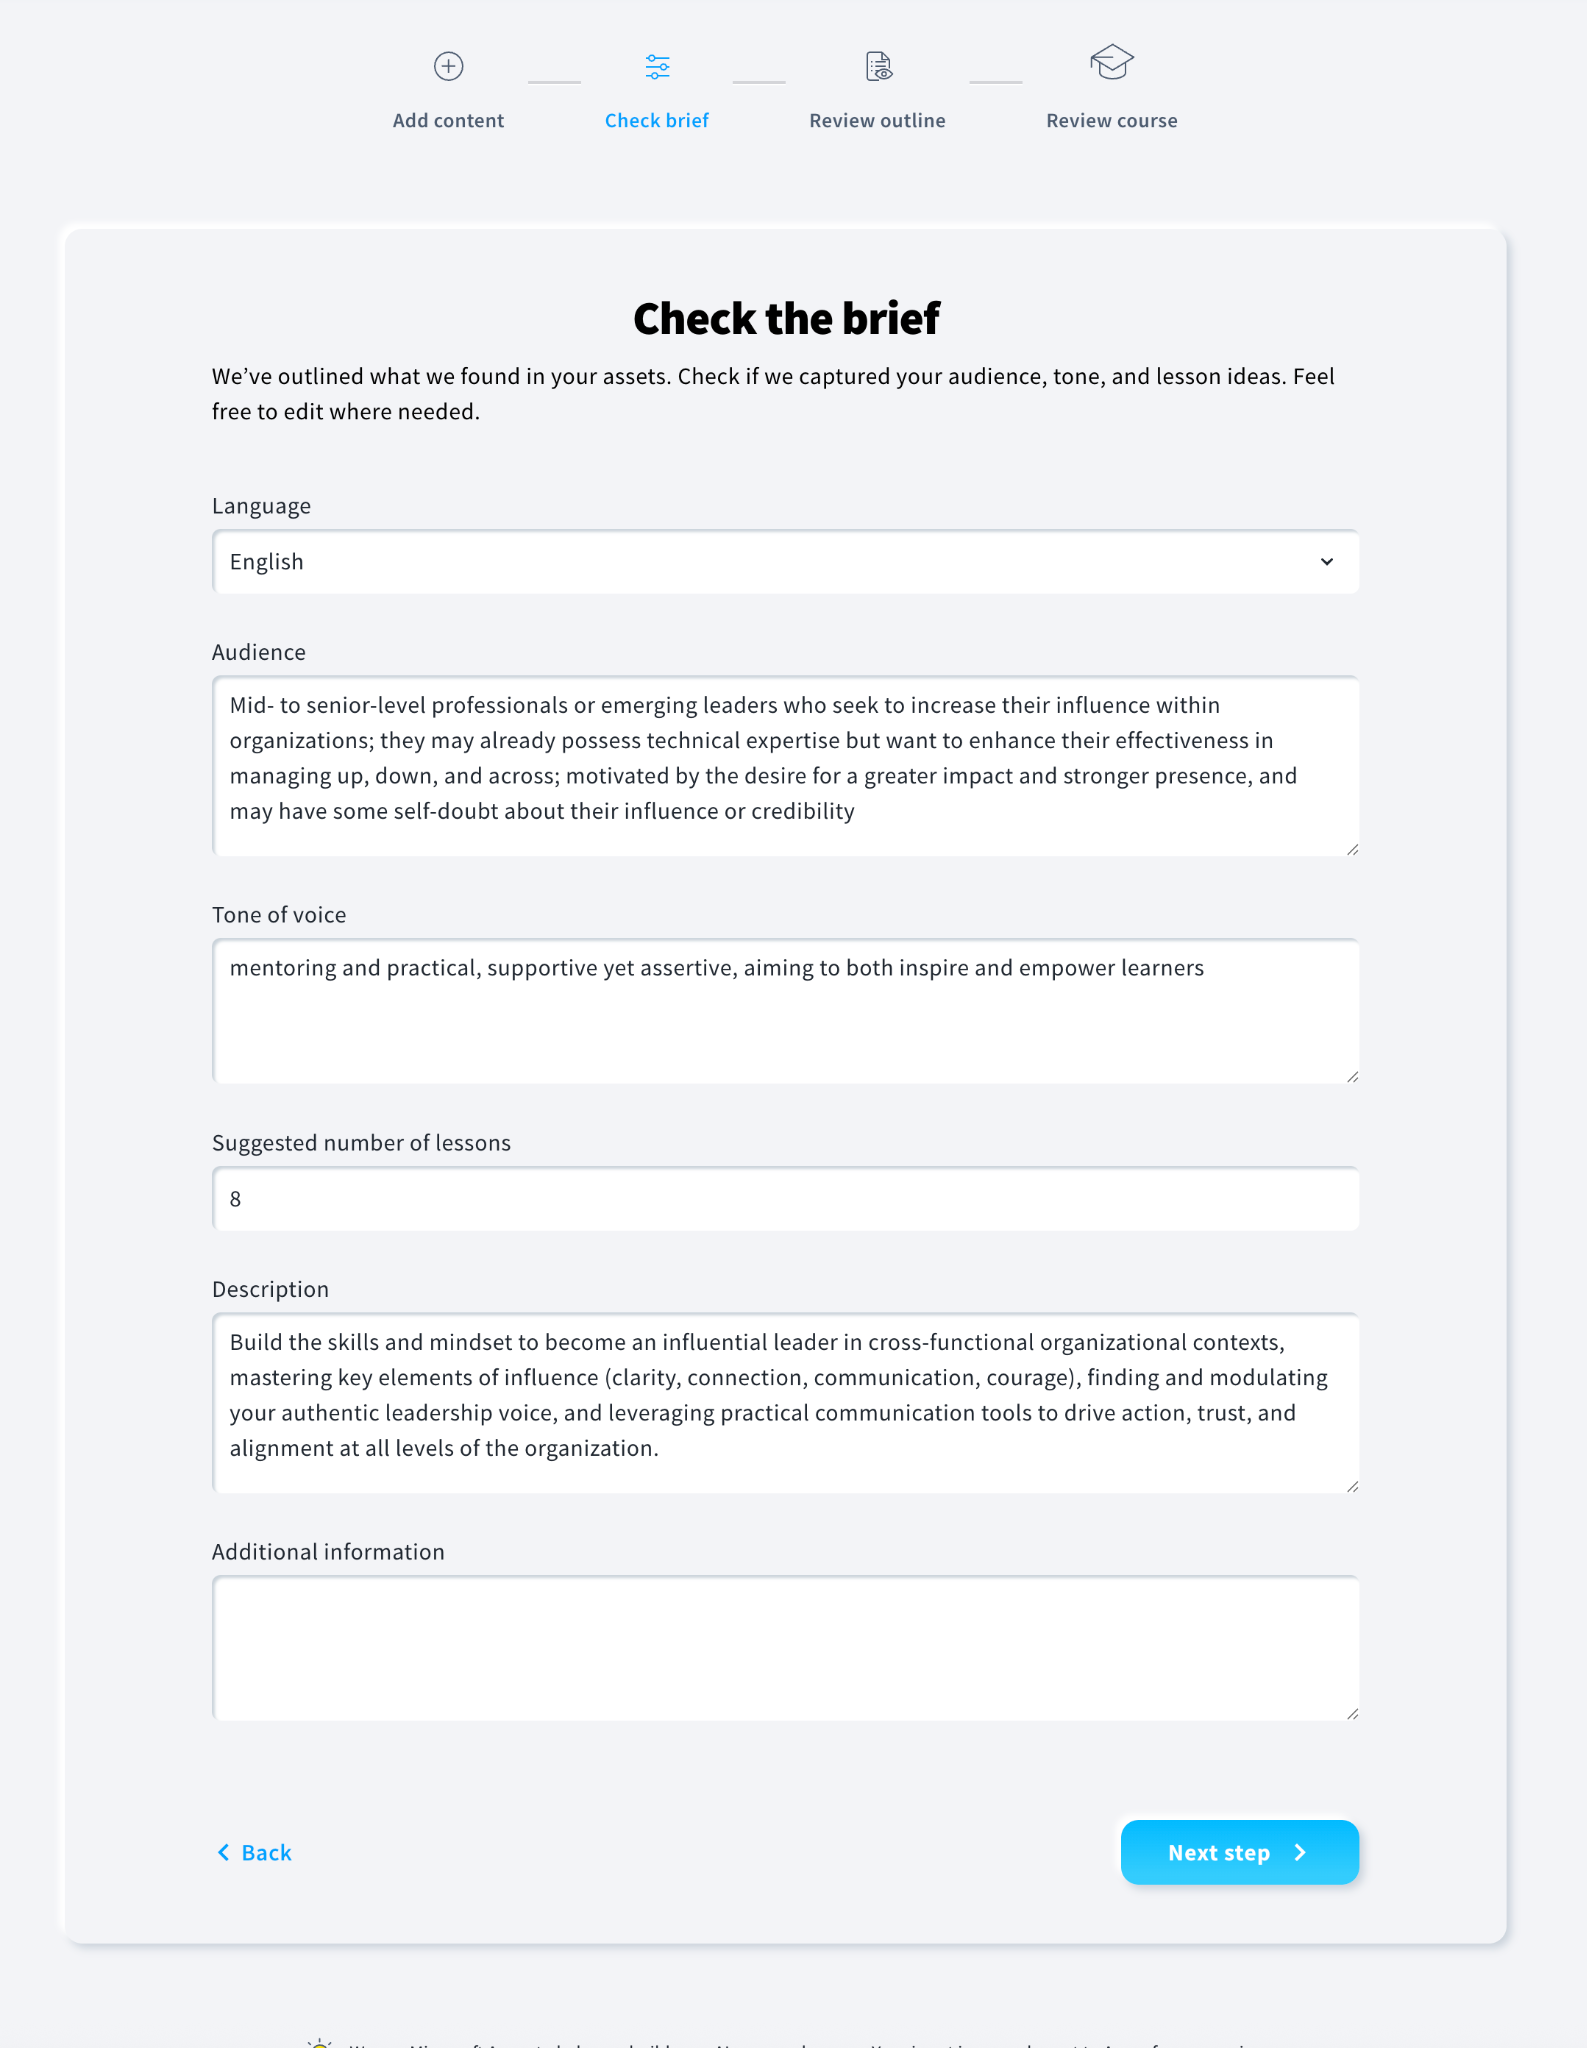
Here’s what you can update:
- Language – Choose the language you want the course to be created in.
- Audience – Review the target audience detected from your materials and edit it if needed.
- Tone of voice – Adjust the tone to match your brand or teaching style.
- Suggested number of lessons – Set how many lessons you want the course to include.
- Description – Refine the course description that summarizes what your learners will gain.
- Additional information – Add any extra guidance or context you want the Wizard to consider.
Once everything looks good, click Next step to continue.
Review outline
The next step is Review outline.
In this stage, the AI Wizard generates a complete course outline based on your brief and uploaded materials. This is your opportunity to refine the structure before the full course content is created.
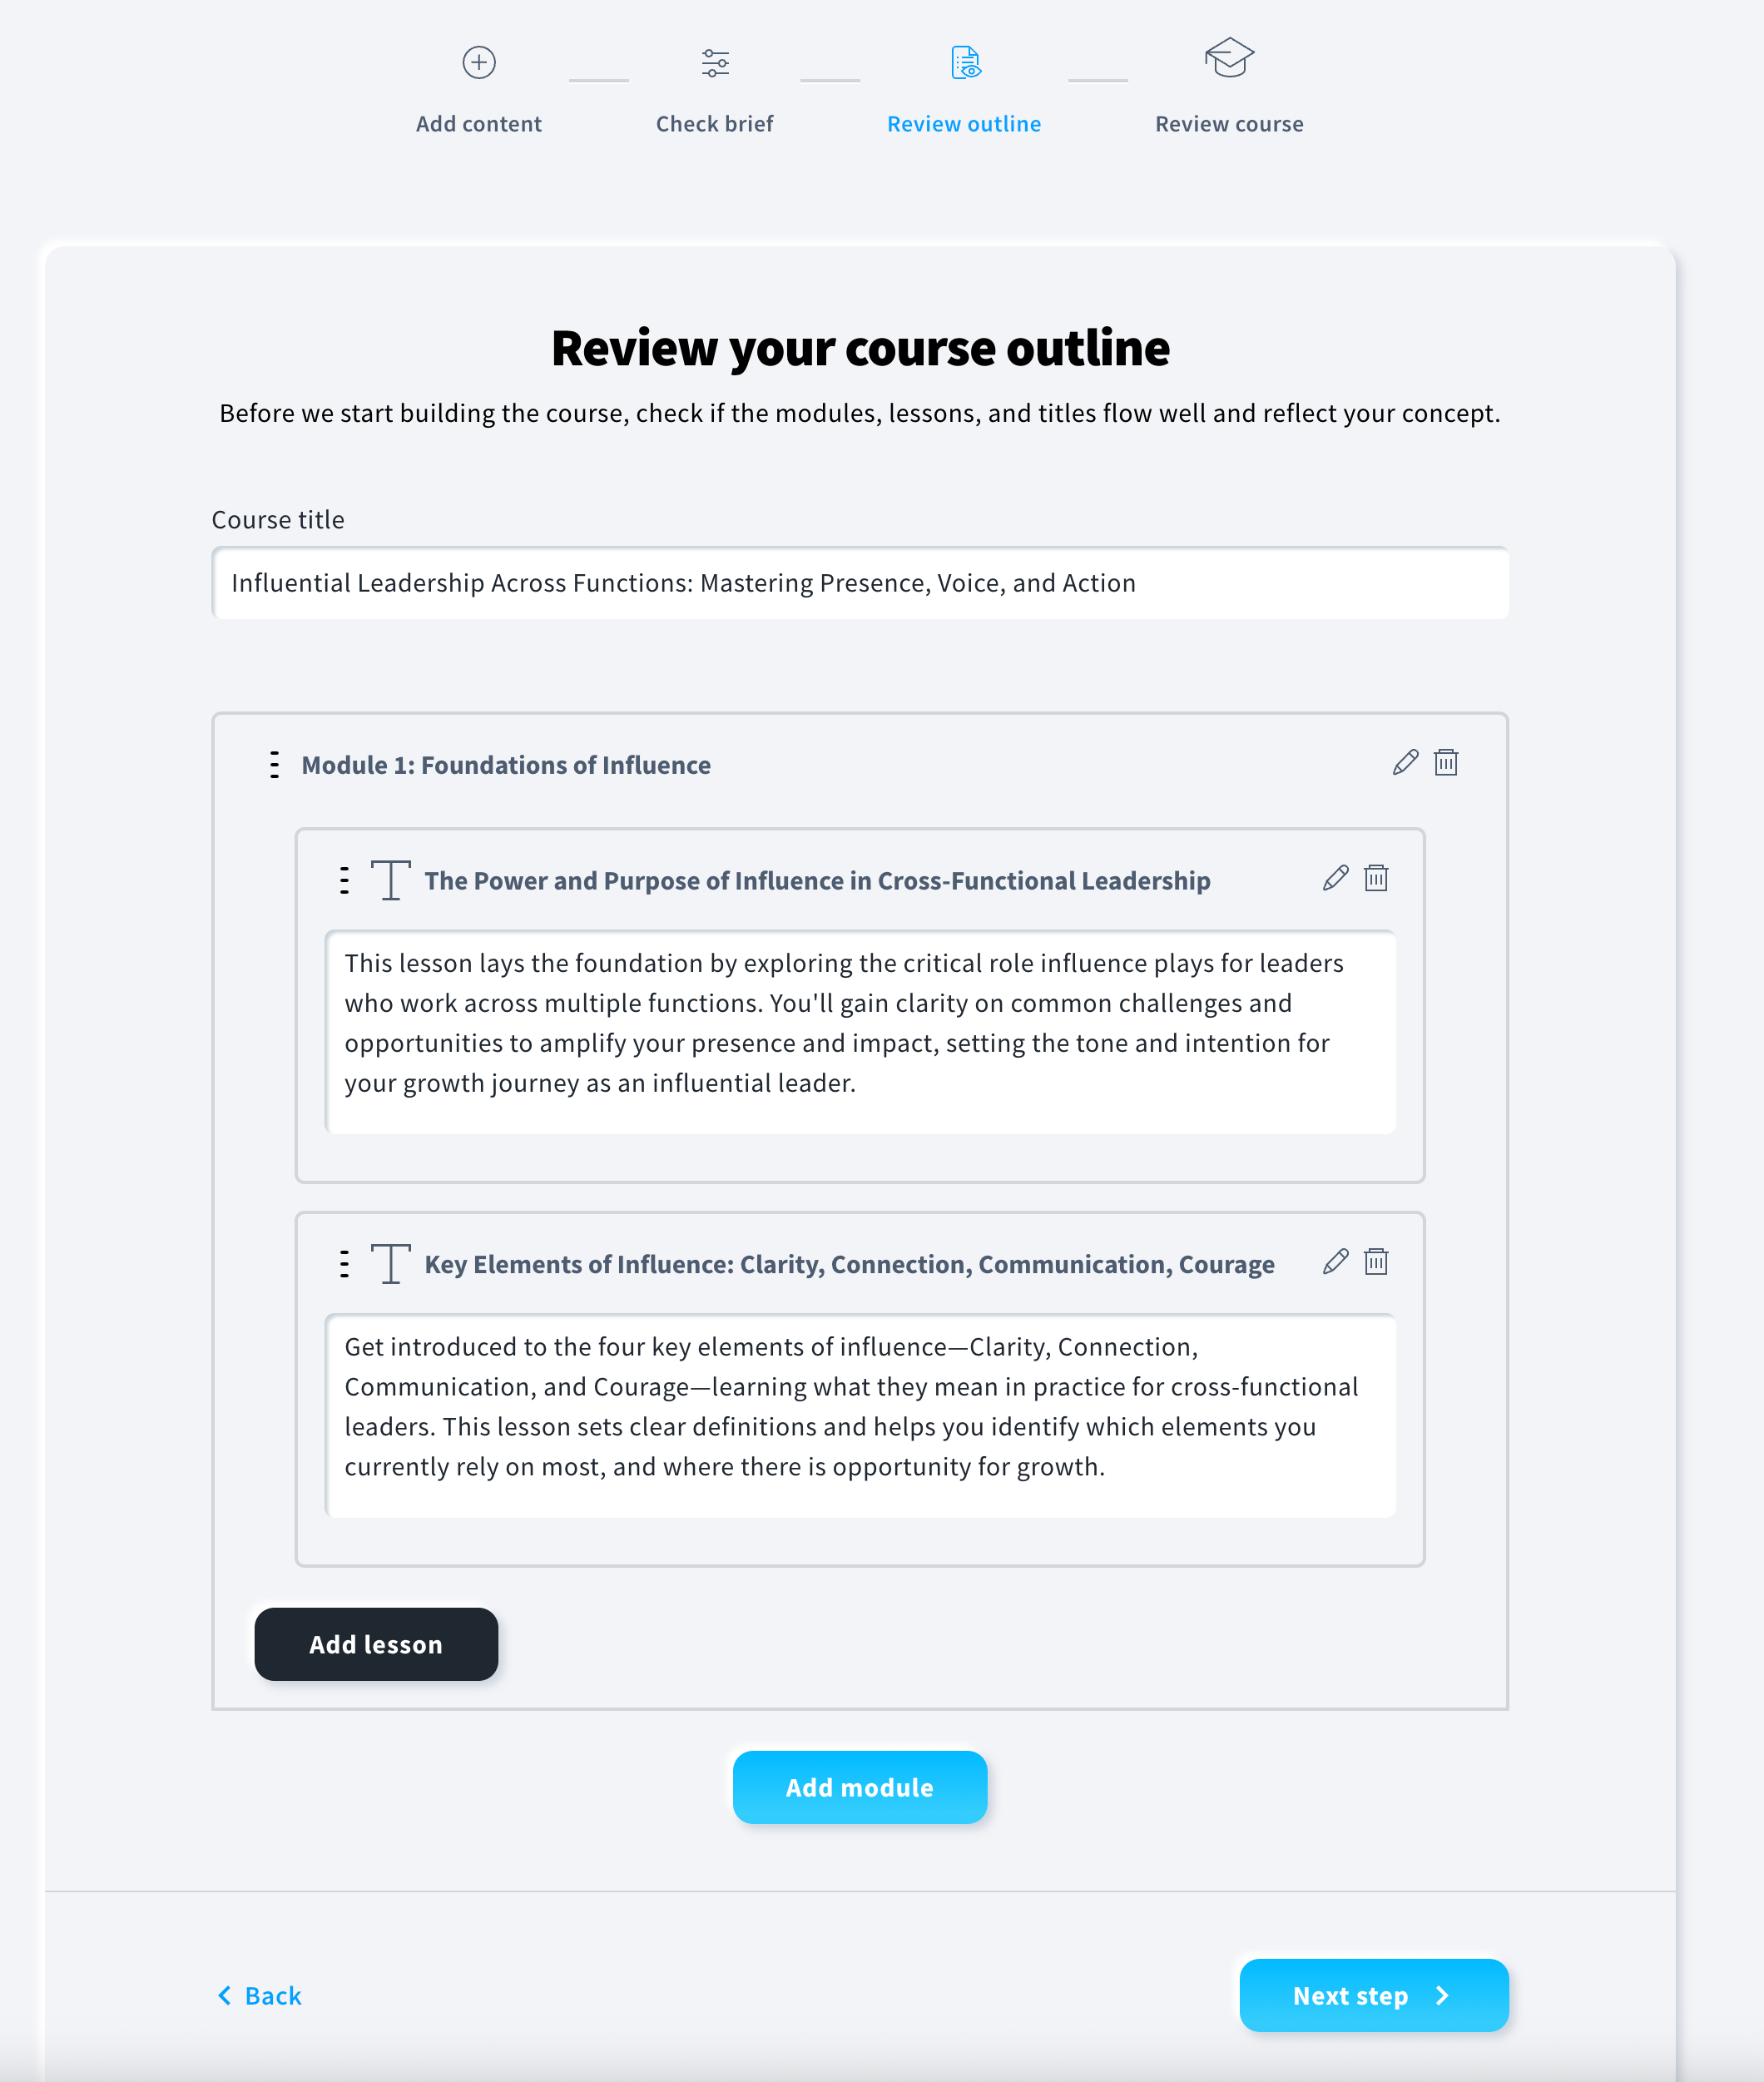
Here’s what you can do in this step:
- Course title – Edit the suggested title to better reflect your course theme or audience.
- Modules – Review each automatically generated module to ensure it matches your intended learning path.
- You can edit module titles and descriptions.
- You can also delete a module if it’s not needed.
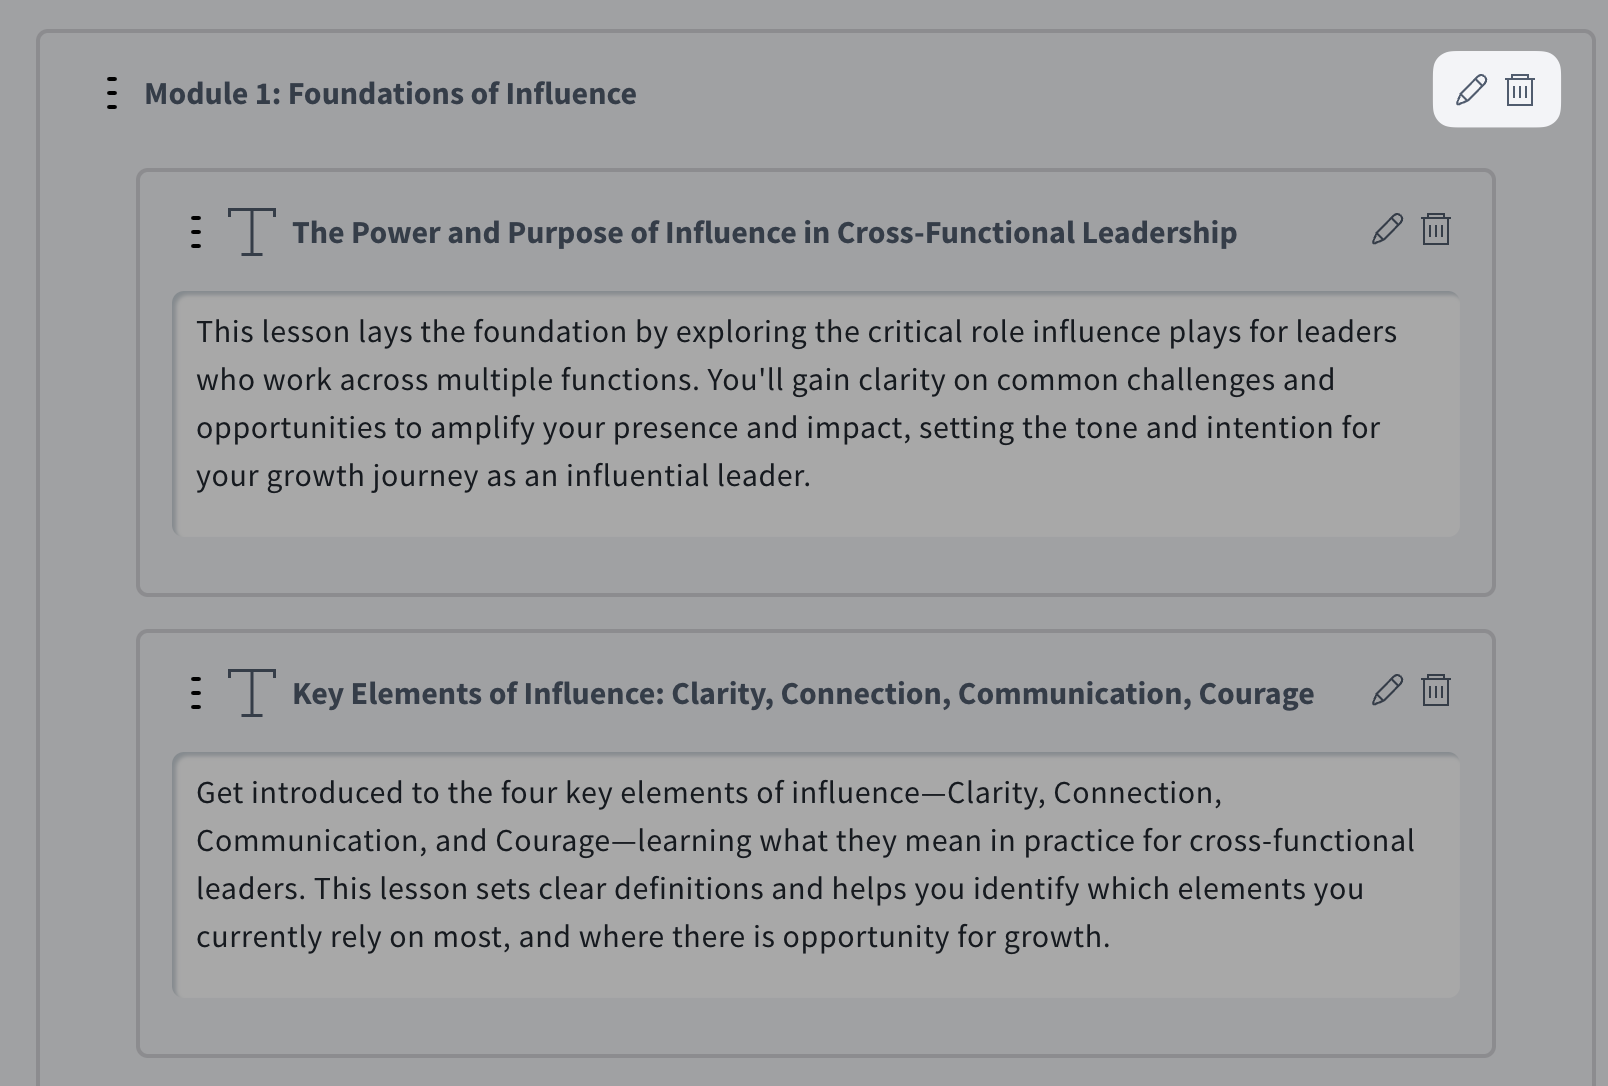
- Lessons – Each module includes lessons created by the Wizard.
- Use the edit option to update titles or descriptions.
- You can delete any lessons that don’t fit your vision.
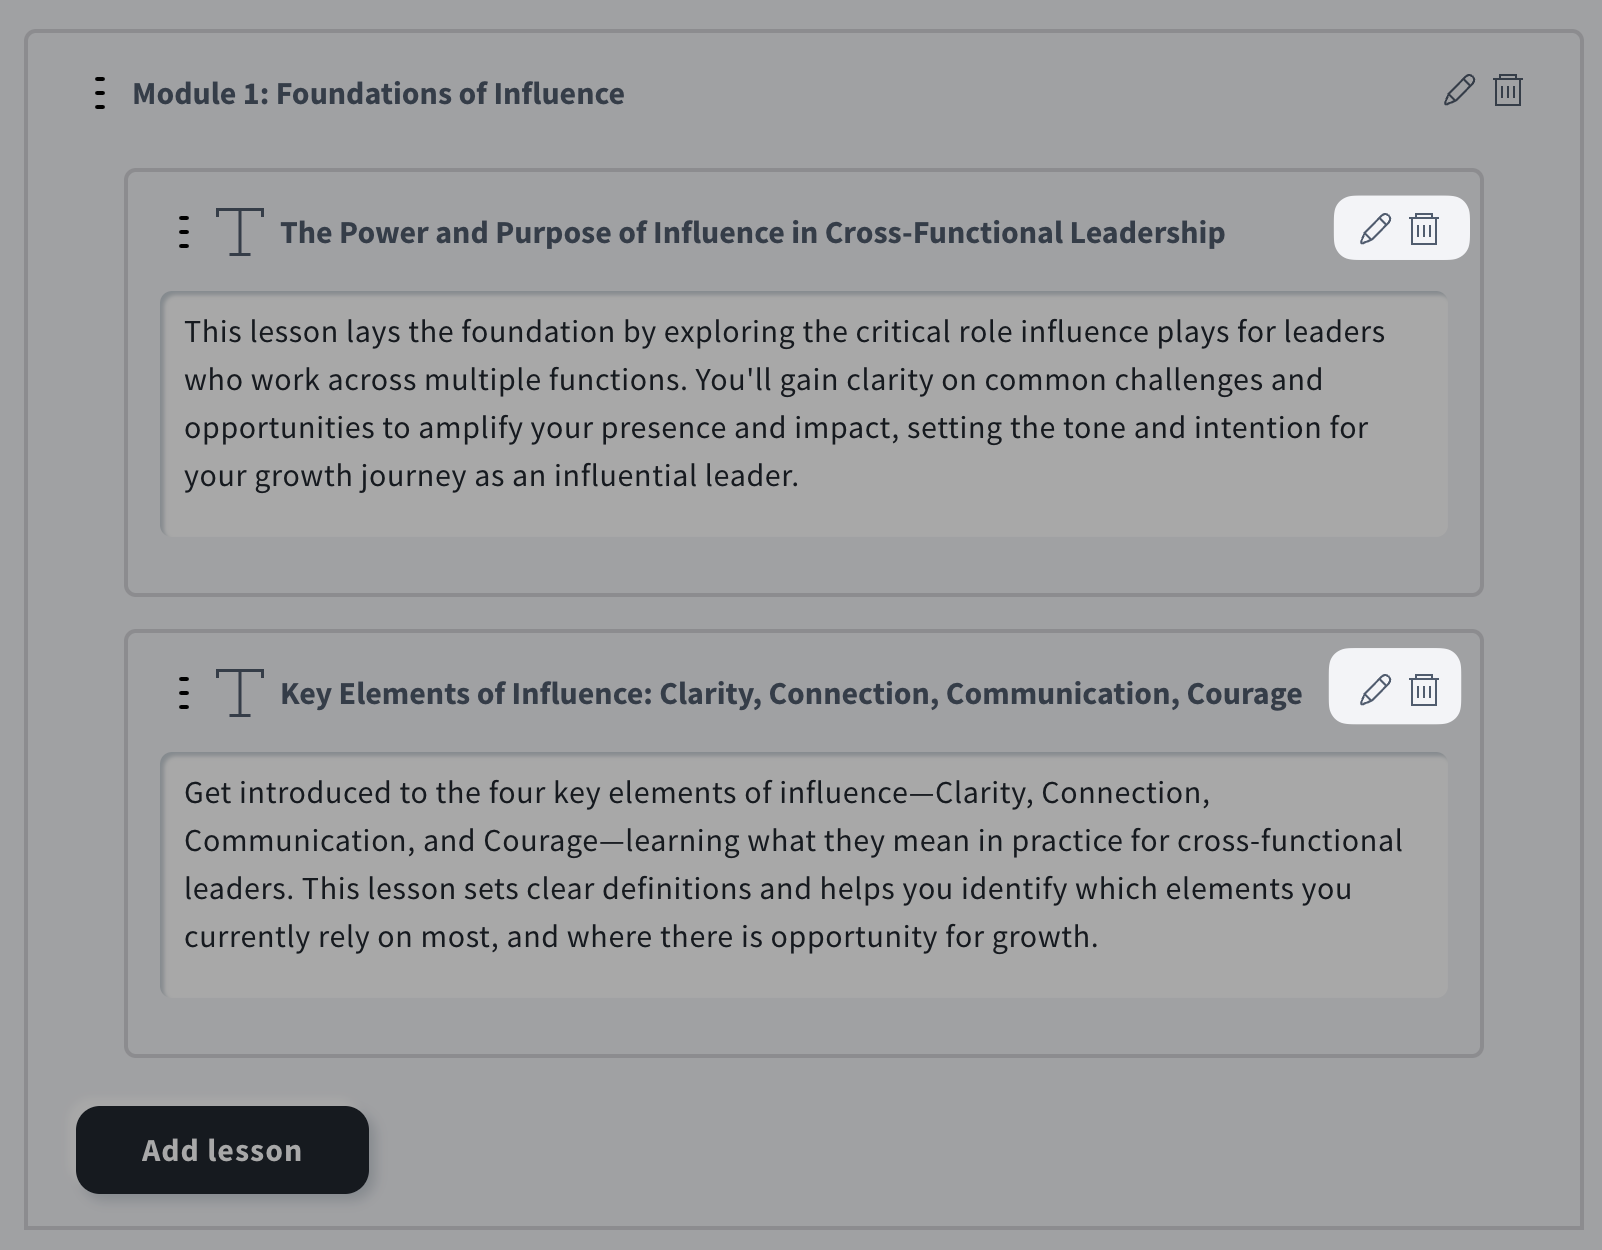
- Add lesson – Click the black Add lesson button(s) to insert additional lessons into an existing module if you want to expand its scope.
- Add module – Click the blue Add module button(s) to add an entirely new module to broaden the course structure or introduce new concepts.

After adjusting the outline to your needs, click Next step to continue.
Review course
The final step is Review course.
When you move to this stage, the Wizard begins generating the full course content based on your outline and earlier inputs. This may take a moment, especially for longer or more detailed courses, so a brief loading period is completely normal.
Once the content is ready, you can:
- Preview every module and lesson to ensure the structure, explanations, and learning flow meet your expectations.
- Read the full lesson text, including concepts, examples, and prompts created by the AI.
- Check the lesson script, which is included for your reference but not visible to students.
- Make sure all titles, transitions, and explanations are accurate and aligned with your learning goals.
After reviewing the entire course, click Continue to creator to move it into the main course editor, where you can refine, customize, or publish it.
In the visual course editor, all the same rules and options apply as when you create a course yourself from scratch. You can freely adjust lessons, add multimedia, modify layouts, and customize the learner experience using the standard editor features.
Every step and setting available in the editor is fully documented in the articles found in the Courses editor section of the Help Center, so you can refer to those guides for detailed instructions on editing and publishing your course.
Courses created with the AI Course Wizard can be found (and managed) in Tools > Courses.


