How to prepare and upload a file to invite students to a course?
You can now quickly invite students to your course by importing their email addresses via file upload or manual entry. This feature allows you to send course invitations in bulk using a clean, simple process.
This feature does not add students to your contact list. If you’d like to add subscribers, go to Contacts > Add contacts and import them.
File requirements
To successfully send invitations, your file must follow these requirements:
- The file format should be either CSV or TXT.
- The file must use UTF-8 encoding.
- The imported file size cannot exceed 10 MB.
- The uploaded file should only consist of one column with email addresses. If the file contains more than one column, only the first column will be used. Column headers are allowed but will be ignored.
Invalid or malformed addresses will be skipped automatically.
No names, tags, or other metadata will be imported — only email addresses are required.
How to send course invitations
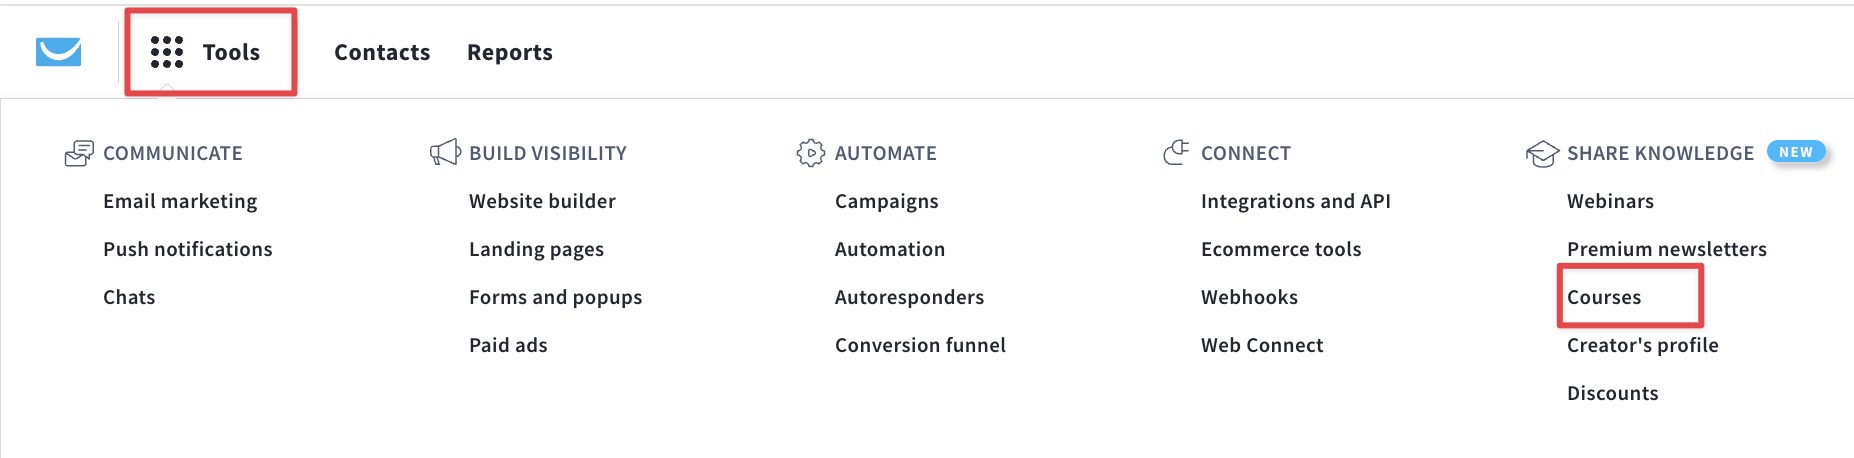
- Navigate to Tools in the top menu.
- Select Courses.
You’ll see your full list of published and unpublished courses.
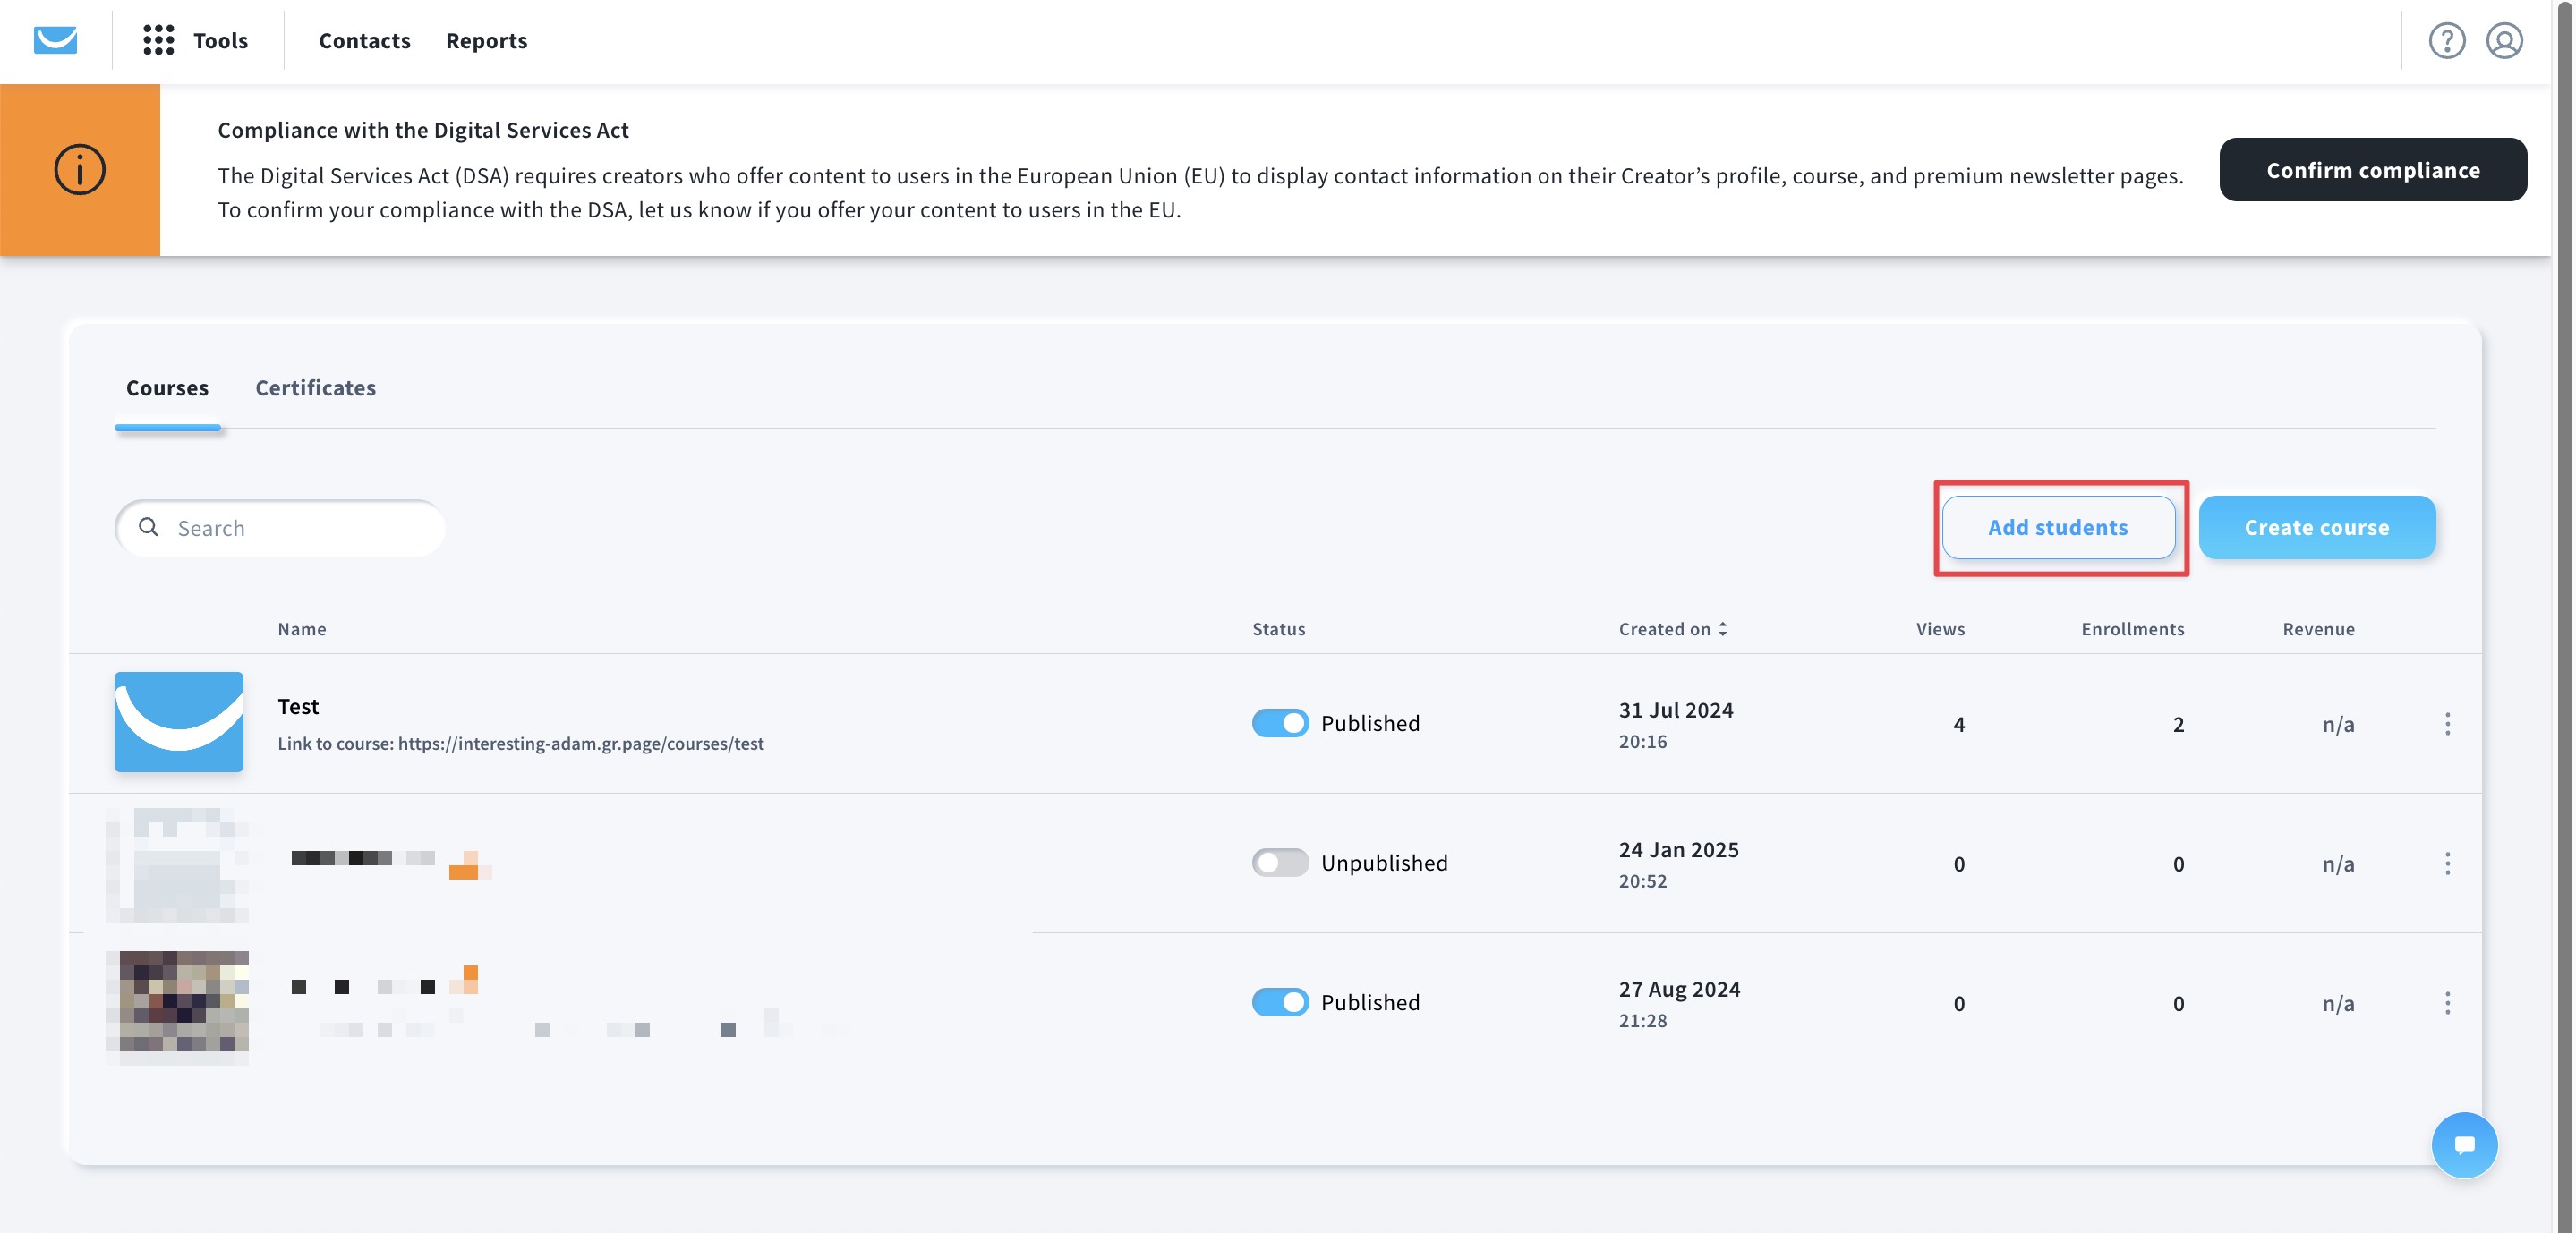
In the top right corner of the Courses view, click the Add students button. A new window will appear with two options for adding students: by uploading a file or by typing/pasting email addresses.
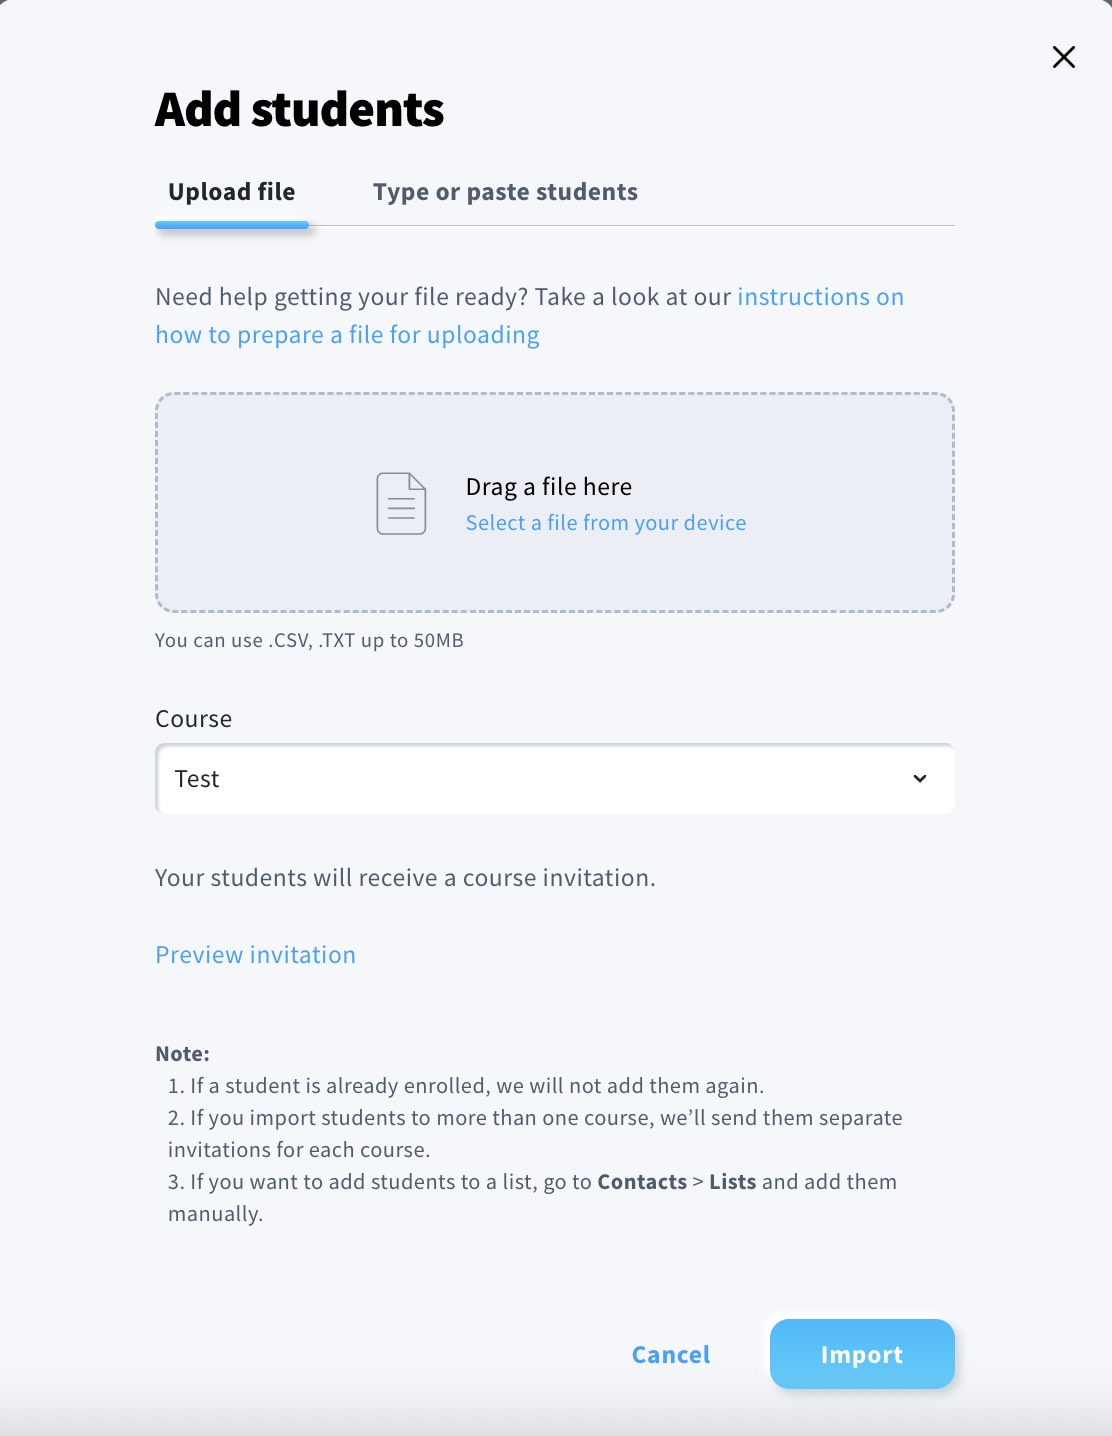
How to send invitations by uploading a file
- In the Upload file tab, click the upload area to browse for your file, or drag and drop it directly.
- Choose the course you want to invite students to from the dropdown list.
- Click Import to send invitations.
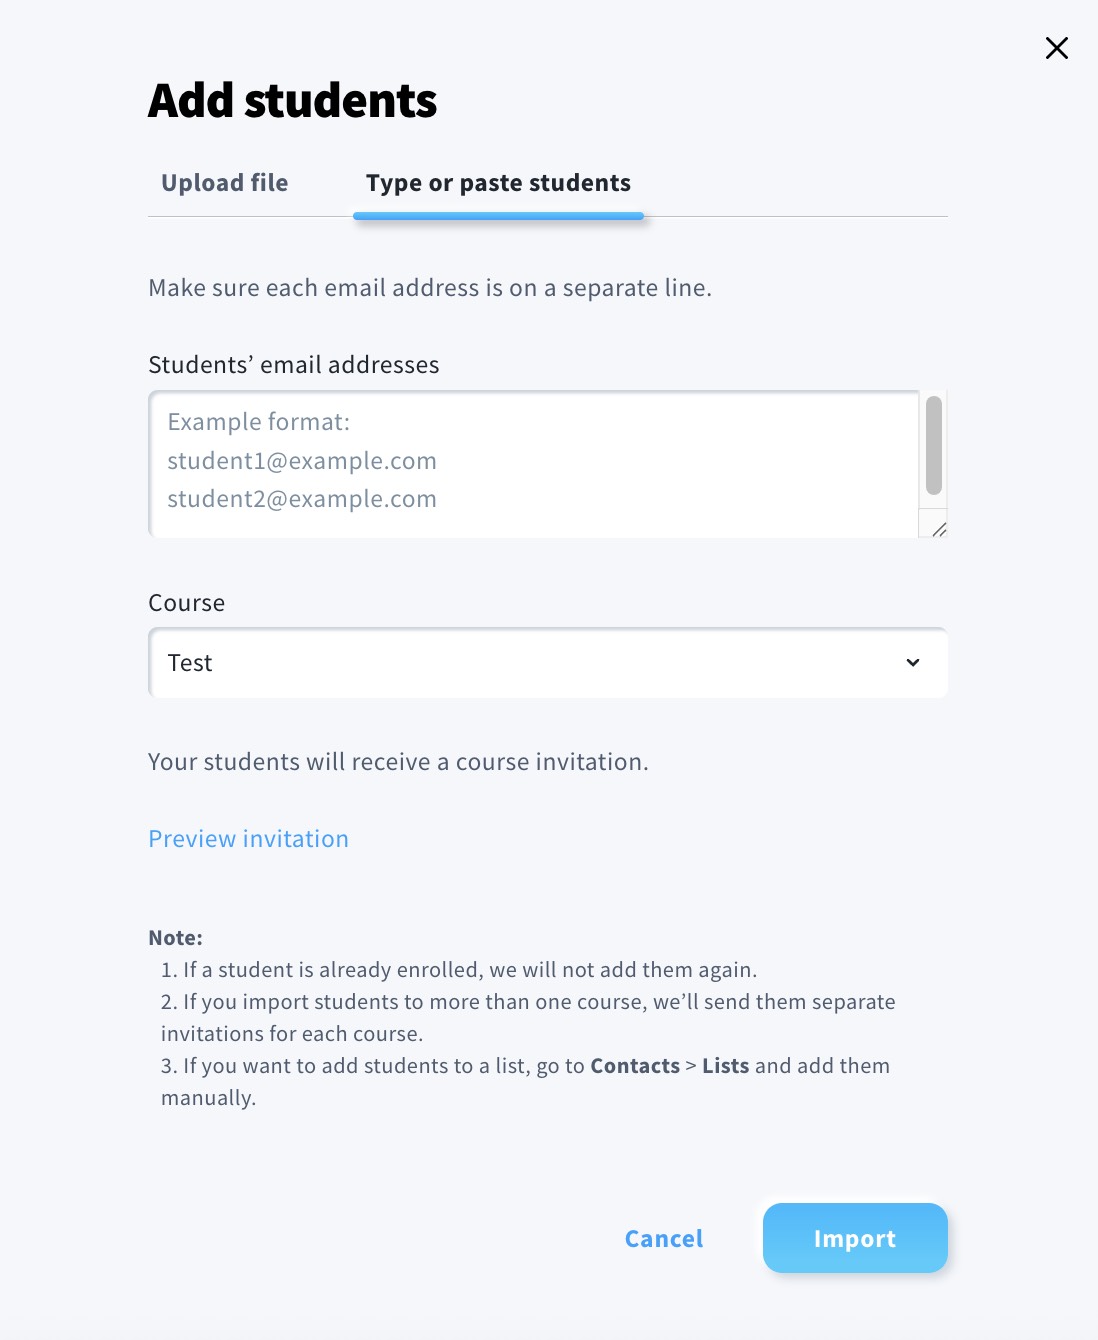
How to send invitations by typing or pasting email addresses
If you don’t want to upload a file, you can paste email addresses manually instead.
- Switch to the Type or paste students tab.
- Enter email addresses — one per line. Only valid email addresses will be processed.
- Select the course you want to invite students to.
- Click Import.
- If a student is already enrolled in the course, we will not send another invitation.
- If you use this process for multiple courses, separate invitations will be sent for each.
What happens after import
Once your addresses are uploaded or pasted:
- Invitations will be sent to each valid email address.
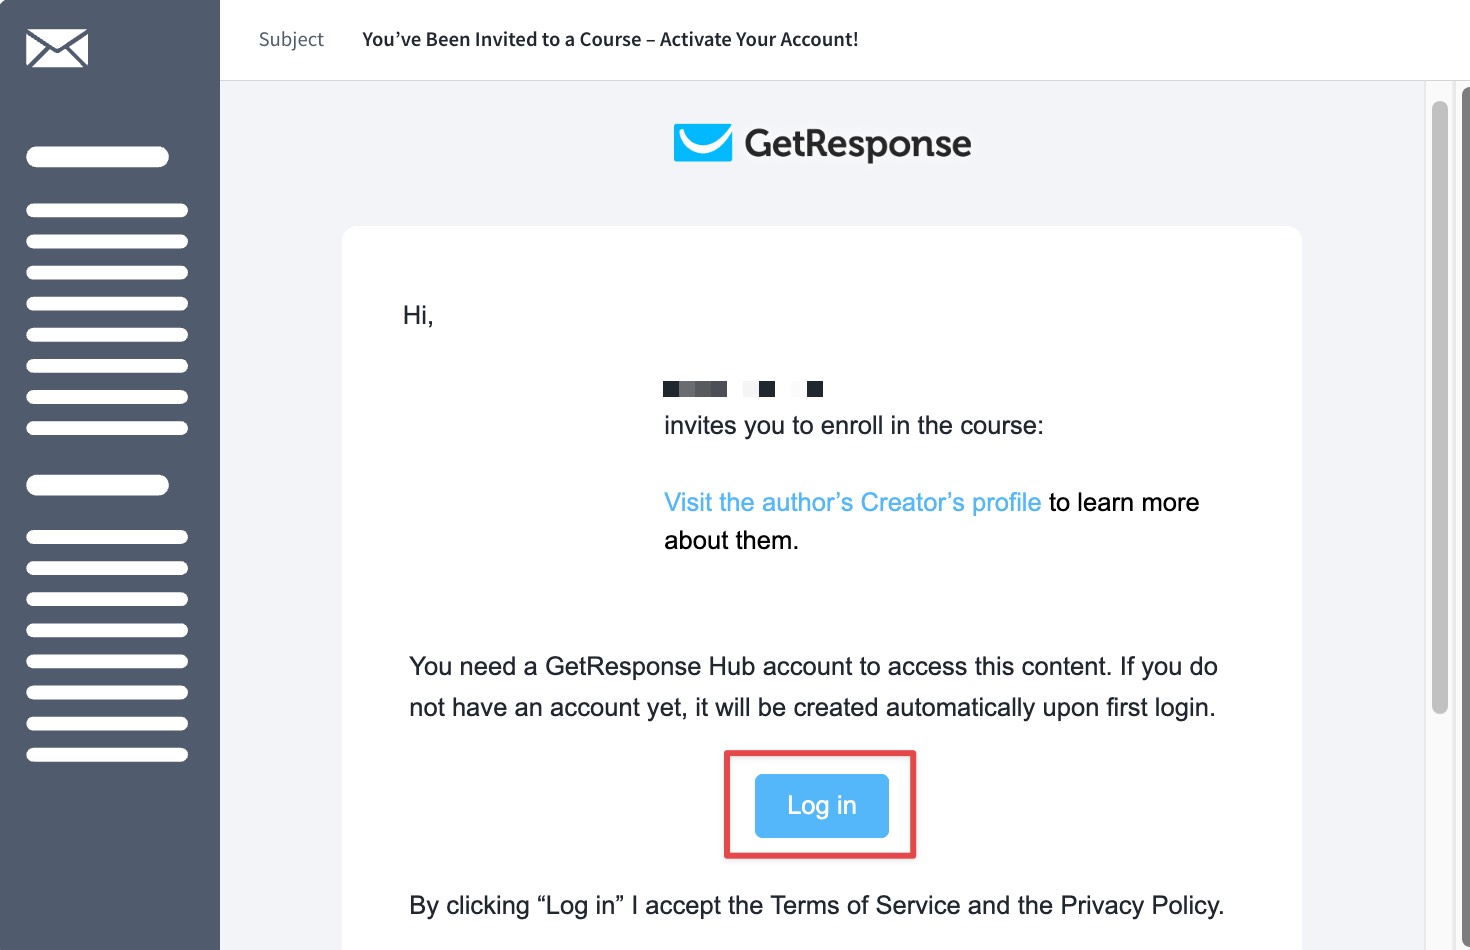
- Students can join the course using the link in the invitation.
- Duplicate entries or students already enrolled will be skipped.


