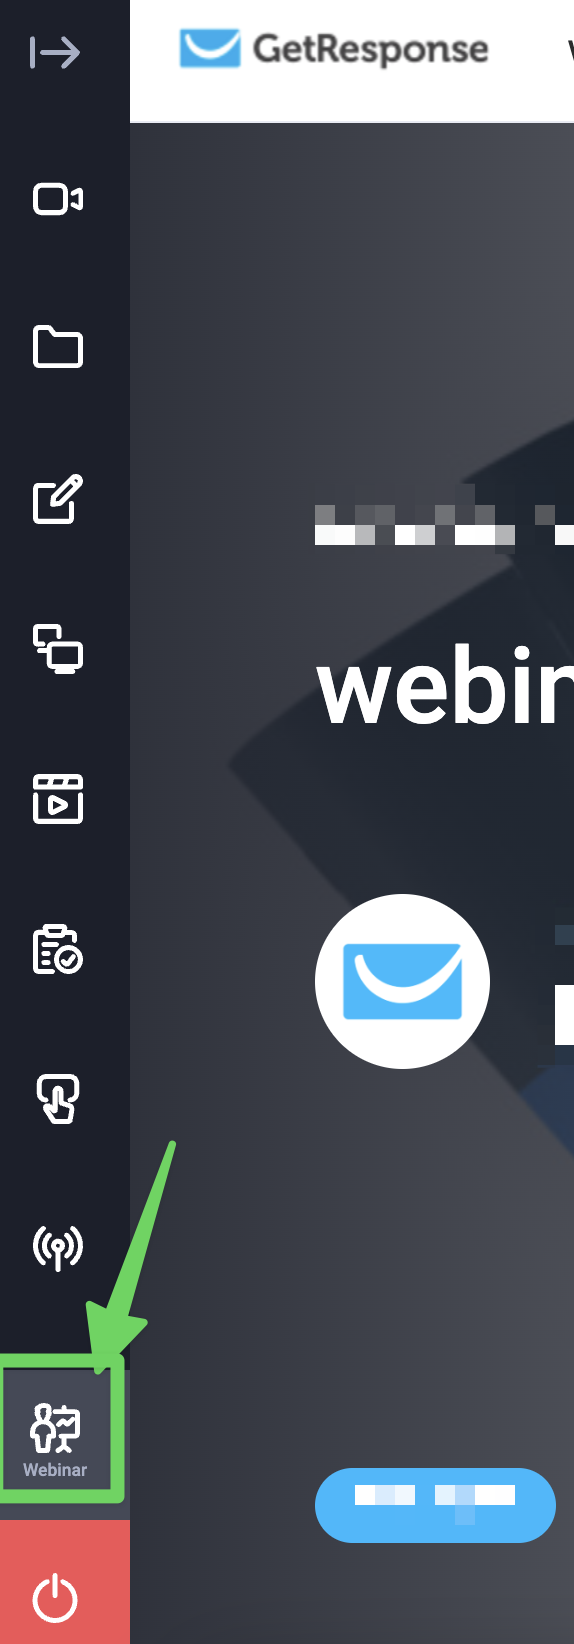
How can I let my participants communicate with me during the webinar?
There are four main methods of managing and enabling webinar interactions.
Webinar modes
By default, webinars begin in Webinar mode, meaning that all attendees are muted, though you can grant audio and video privileges to participants. This is how most webinars work: you present, and the attendees listen.
Alternatively, you can run the webinar in Meeting mode for up to 40 attendees. In this mode, all attendees are unmuted, and everyone can speak and hear one another. Attendees are able to use their computers’ microphones to communicate with you and other participants. You can withdraw their voice privileges at any time during the webinar. Up to 10 people can simultaneously stream video in this mode.
If you need to communicate privately with other presenters, you can switch the webinar to Presenters only – private mode. In this mode, presenters can communicate freely with other presenters, and only presenters see and hear one another. Other attendees have to wait for the webinar to start or to resume.
Give the floor
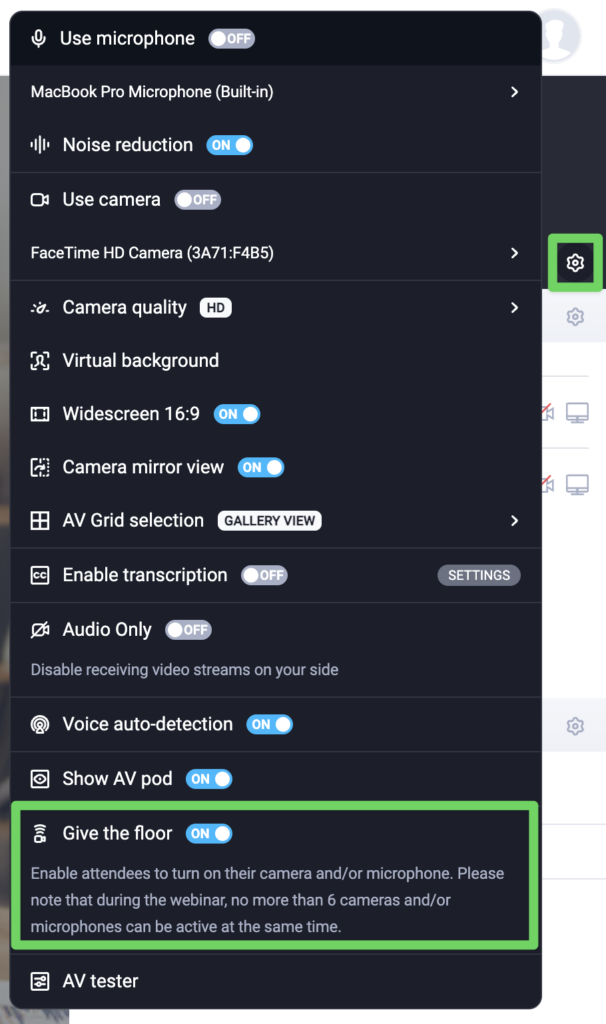
In Webinar mode you can allow your webinar attendees to turn on their cameras and/or microphones by themselves with Give the floor option.
When you turn it on, attendees will be informed that they can turn on their cameras and microphones and will be able to do so. Six audio and video streams can be turned on simultaneously, including presenters.
You can enable the Give the floor option by clicking on the Audio/video settings during webinar and switching it to ON.
When you do that, all attendees are informed that the camera and/or microphone can be turned on.
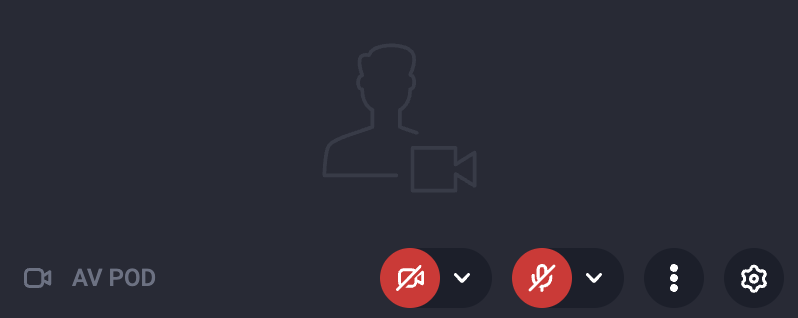
They can use this option by turning on the camera and/or microphone with the button located under the AV window.
When the limit of six simultaneously shared audio and video streams is reached, activation of the microphone and camera by subsequent users will be blocked. The option will be re-activated when the space is freed up.
Chat
By default, public chat is enabled when a webinar begins. Attendees can post comments – including emojis – which can be seen by all participants. To avoid flooding your chat window with messages and to keep the chat on-topic, you can switch to a moderated chat at any time.
To enable chat moderation, click the chat’s extra settings icon and select Enable moderated chat from the menu. In this mode, attendees’ messages have to be verified by the organizer or a presenter.
The moderator can:
- accept messages and display them in the public chat tab,
- edit the message,
- remove it,
- open a private chat with the person who forwarded the message,
- and finally, block the person from posting any messages in the public chat tab.
If you disable the attendee list for your webinar participants, this will also influence the way chat messages to appear in the public chat window. If the list is disabled for attendees, only the first letter of each part of a name is displayed in the chat. For example, ‘John Doe’ becomes ‘J… D…’, etc.
Here you can learn more about how the chat function in the webinar room works.
Status
Attendees can also send alerts by choosing icons from the status section. After selecting an icon, it is displayed on the attendee list next to their names. They can click:
- Raise hand
- I need help