We have some great news for you today! GetResponse has a new useful tool for online marketers.
It’s Web Push Notifications!
Don’t worry if you’re unfamiliar with this term, I’m here to explain how it works 🙂
If you need a guide on creating web push notifications in GetResponse, skip to the last part of the article.
August 2022 Update: You can now create rich push notifications with images, buttons, and topics.
What are web push notifications?
Web push notifications are timely updates that your website visitors can opt-in to. They are sent via the browser and are available both on desktop and mobile devices.
How do they work? The prompt pops up below the search bar when the user visits the website.
After the user agrees to receive your updates, the notifications are displayed in the corner of the user’s screen (desktop) or in the notification panel (mobile/tablets).
When clicked, the notification redirects the user to a website you chose.
Keep in mind that the notifications can be received only when the user is online, and the browser they used while agreeing to notifications is open. If the browser is offline, the message will be queued until the next open.
Read also:
What are web push notifications and how to use them
11 real-life web push notification examples
Why should you use web push notifications?
Web push notifications can be used by anyone who has a website – no matter the industry. They are your additional, inexpensive and super convenient marketing channel, allowing you to reach people in a completely new way.
In a few seconds, you can inform your audience about any news, sales, discounts, articles and posts, and even recover abandoned carts.
Using web notifications is really easy, both for the marketer and the user, reader, or customer. For the subscriber it just takes a single click to confirm their consent. For the marketer – they’re extremely easy and quick to build and set up.
Web push notifications can bring your audience closer to your brand and keep them in the loop, creating a tighter-knit community.
And, of course, they significantly boost your website traffic and, ultimately, conversions.
How to create web push notifications in GetResponse
Now that you know how they work and why you should use them, time to see how to create web push notifications!
To set up web push notifications, you need to have a GetResponse Professional or Max account and a website.
*Side note: at the moment, GetResponse Web Push Notifications support all the main browsers apart from Safari and Internet Explorer 11.
Creating a Site
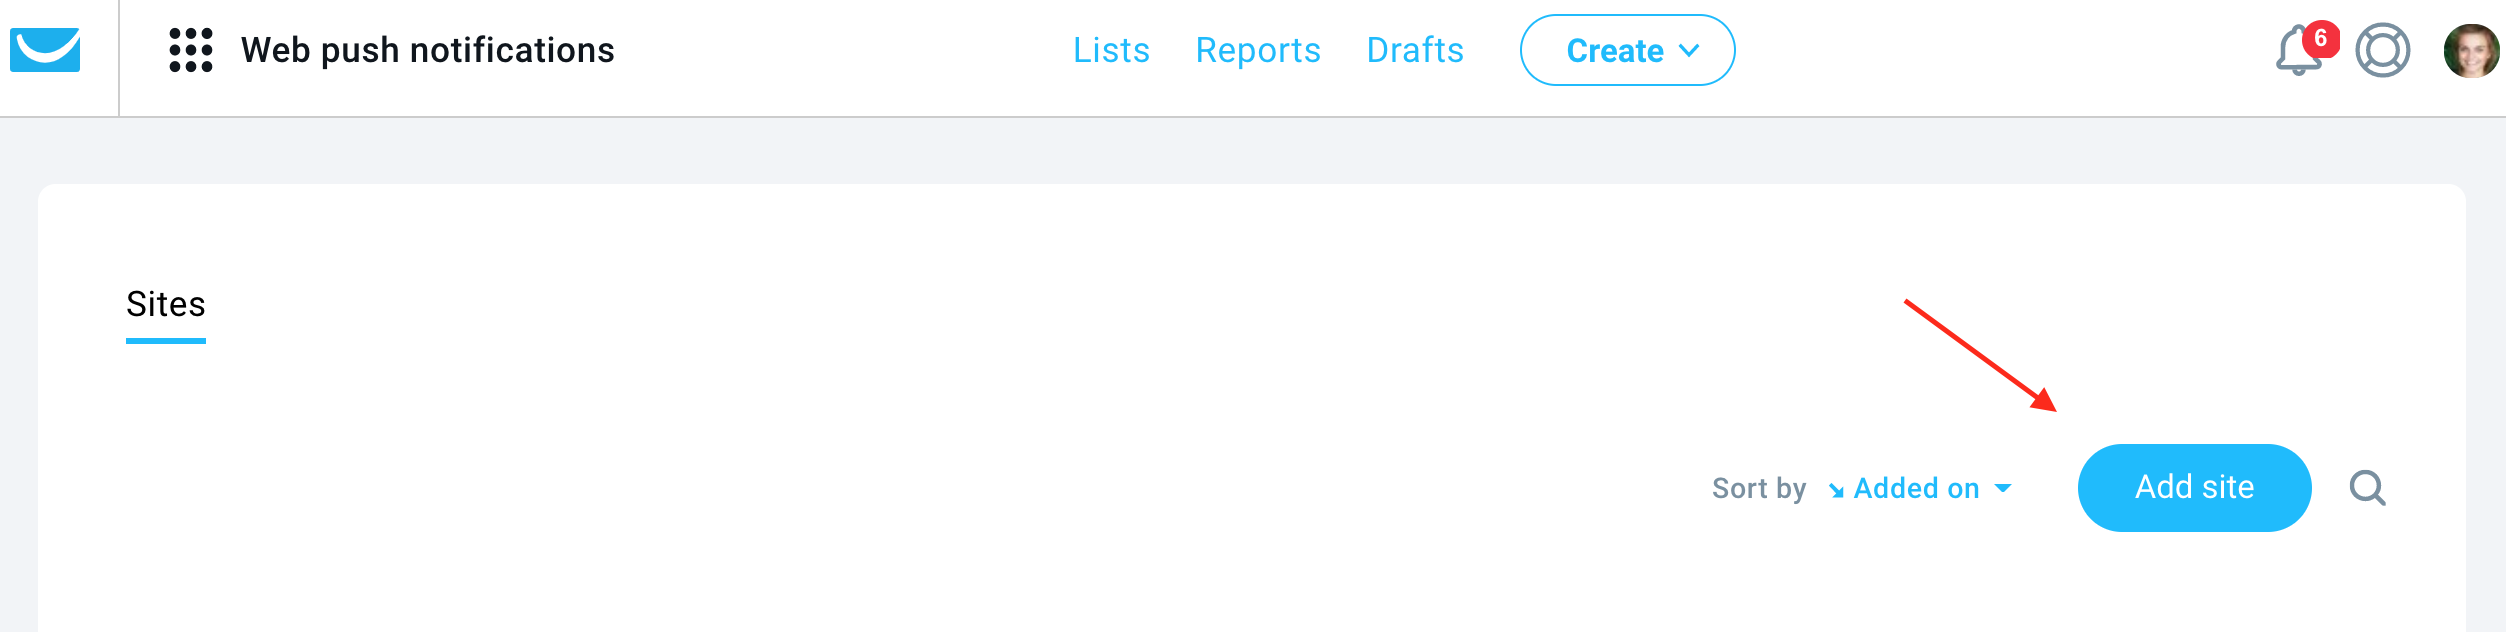
First, you will need to create a Site in your account, it will contain all notifications, your website’s URL, and other information related to notifications.
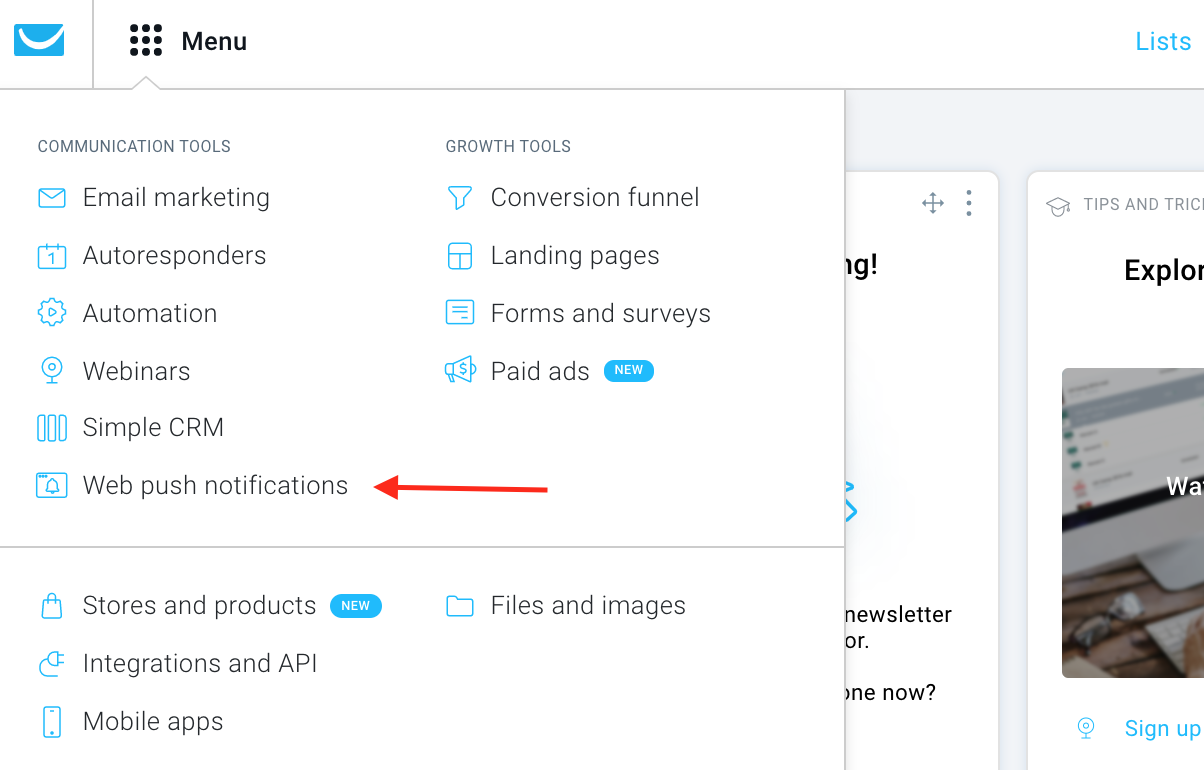
- Click on the Menu and select Web push notifications.
- Click the Add site button
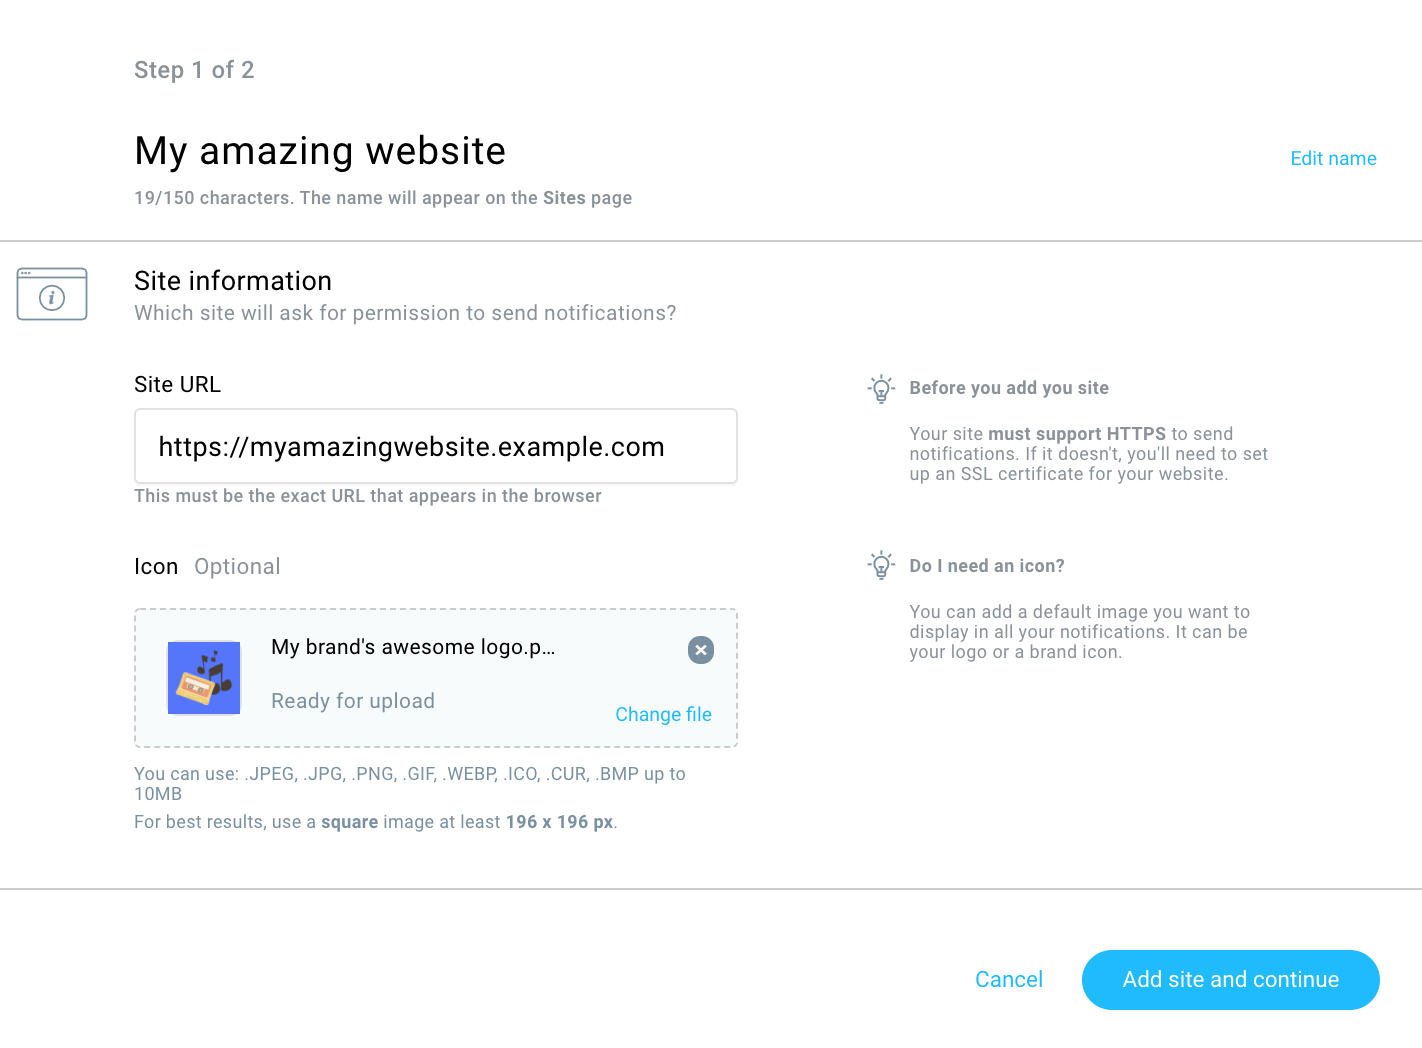
- Give your website a name that will appear on the Sites page (where you manage your notifications.)
- Then, add the website’s URL – the exact URL that appears in the browser and the one which will ask for notifications permission.
- Upload your icon – this is the image that will appear in all your notifications. It can be anything, a brand logo or any image that is relevant to your company and website.
- After filling in the information, click the Add site and continue button to proceed.
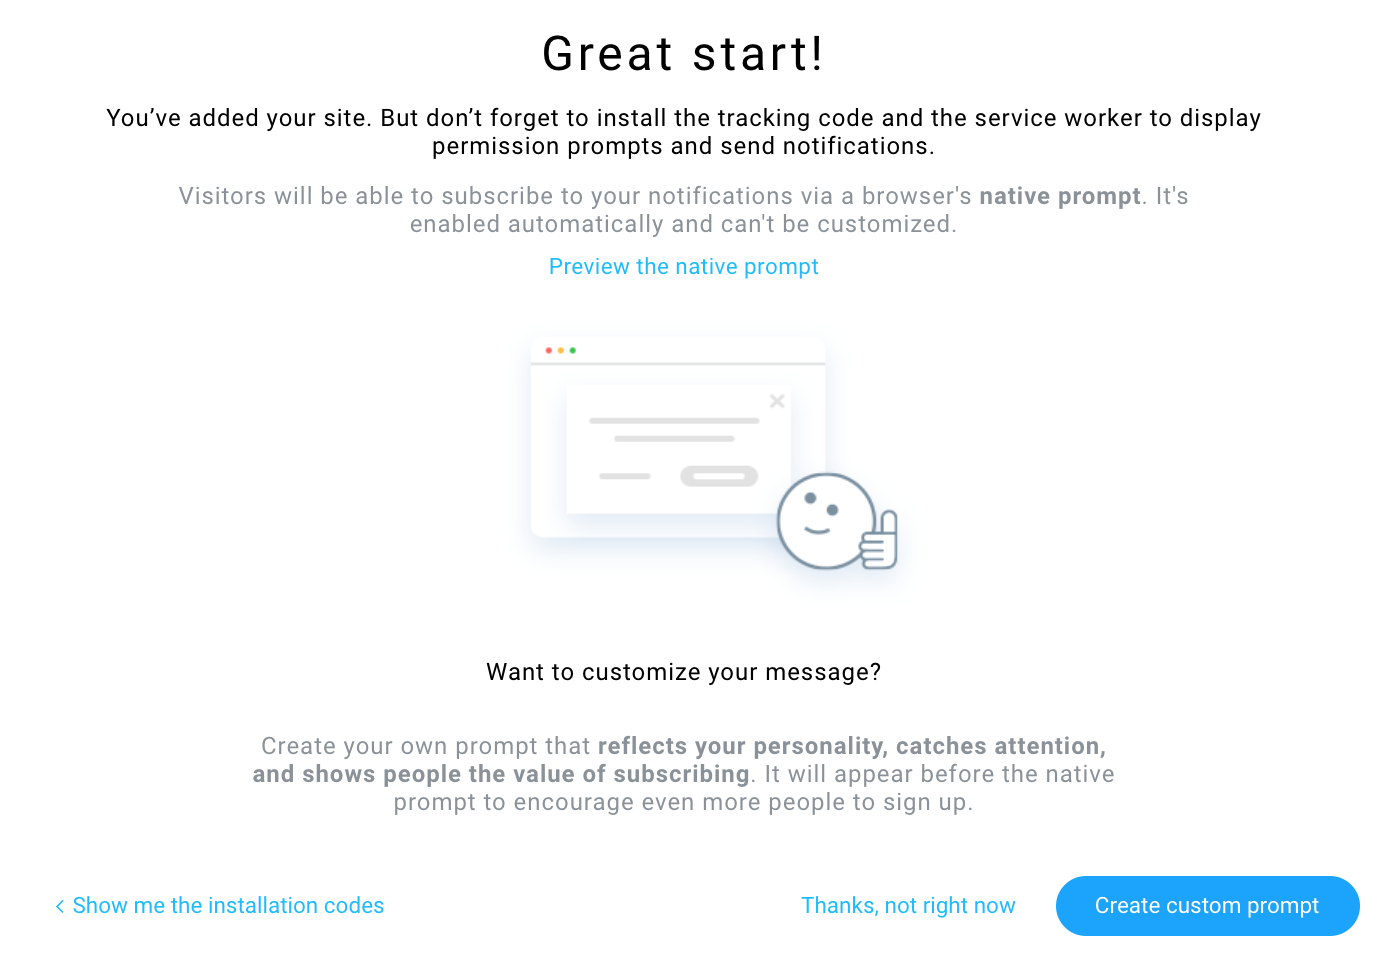
- Here is where you get the tracking and the service worker file that will enable prompting for permissions and identify who has opted in to receive notifications. You should copy the tracking code and add it to the head section of the website where you’’ ask for permission. Download the service worker file and install it on your server. If you don’t have access to your site’s code or root directory, contact your developer. After you’ve completed all these steps, click Finish.
Creating prompts
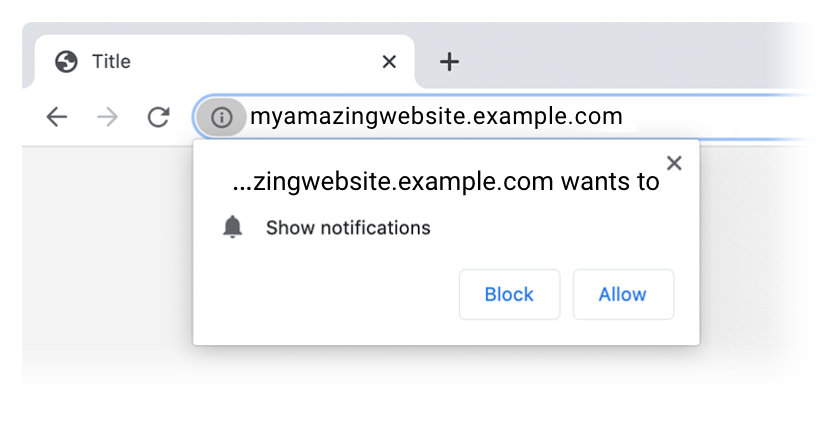
Great! Now the visitors will receive a prompt that will allow them to subscribe to your notifications. This is called a native prompt – it is provided by the browser and cannot be customized, edited or removed.
But, worry not, this is when a custom prompt comes into play.
A custom prompt shows up before (not instead of) the native prompt and can be easily customized to reflect your brand’s personality. It should show users the value of subscribing to your notifications and encourage them to say “yes”. Only then the native prompt will show up.
So, how do you set up a custom prompt?
This option is available after you click Finish in the previous step. If you want to do it immediately, click Create custom prompt.
You can also do this later by clicking Create prompt in the options of the site you’ve created in the Sites menu.
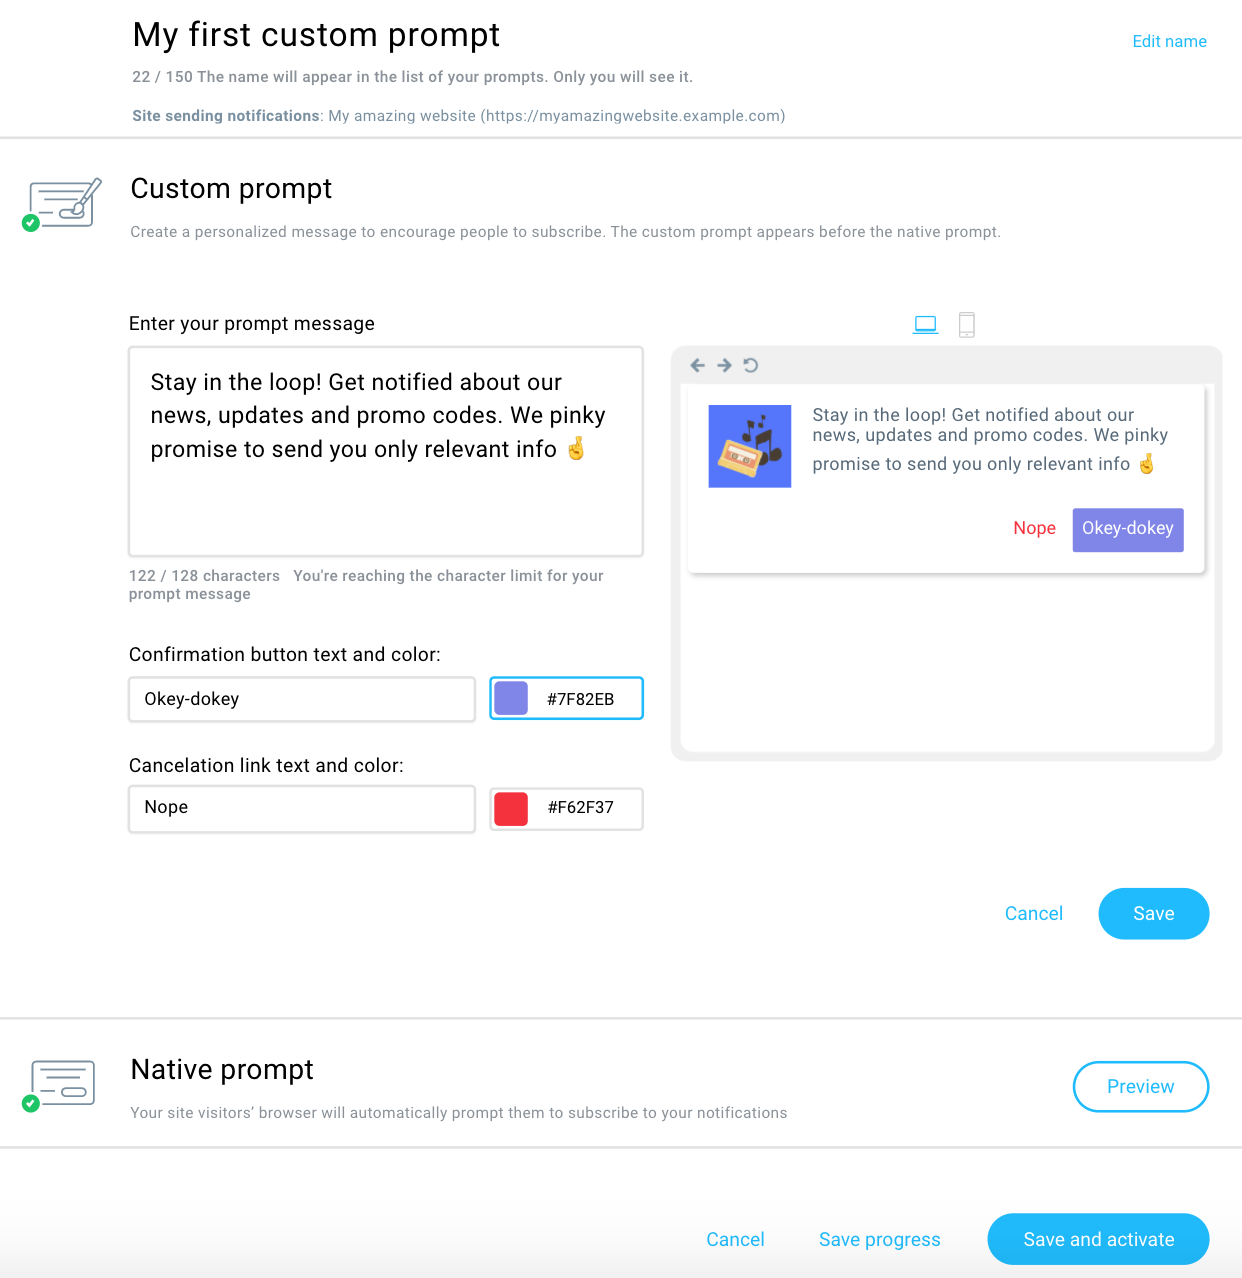
- First, add your prompt’s name.
- Then, enter your prompt message – it should be shorter than 128 characters and encourage visitors to give their consent for notifications. Even though the message is short, don’t let go of your brand’s voice.
- Customize the confirmation and cancelation texts. You can choose the colors to fit with your website’s aesthetics. Keep in mind that the “Allow” is always a button, and the “Don’t allow” is always a link.
- You can preview the prompt and see how it will look on desktop, mobile, and on different browsers. If it looks fine – save your prompt.
- Next, you can preview your audience, i.e. how many people subscribed to receive your notifications.
- When you’re finished you can either cancel, save draft, send the notification immediately, or schedule it for later.
Note: You can also use scheduled web push notifications inside our Marketing Automation software.
After you finish, you will be able to check which custom prompt is active, how many people view your prompts, and how many subscribe.
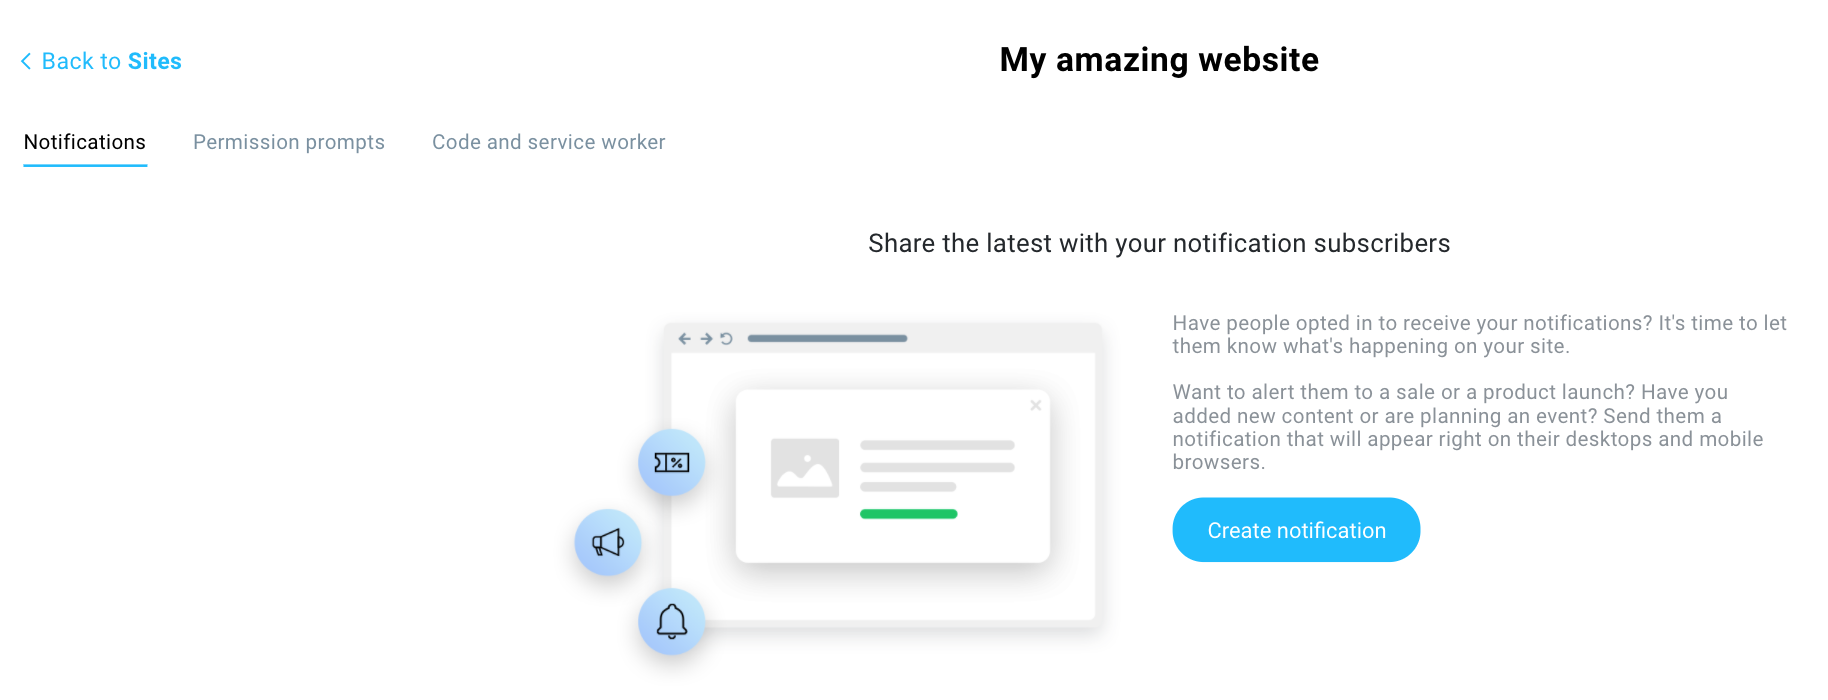
Creating notifications
Now that your visitors have an option to allow notifications, it’s time to create a notification to send!
When you click on your previously created Site you will be directed to the Site’s management center.
Here, you need to click on Notifications and the Create notification button.
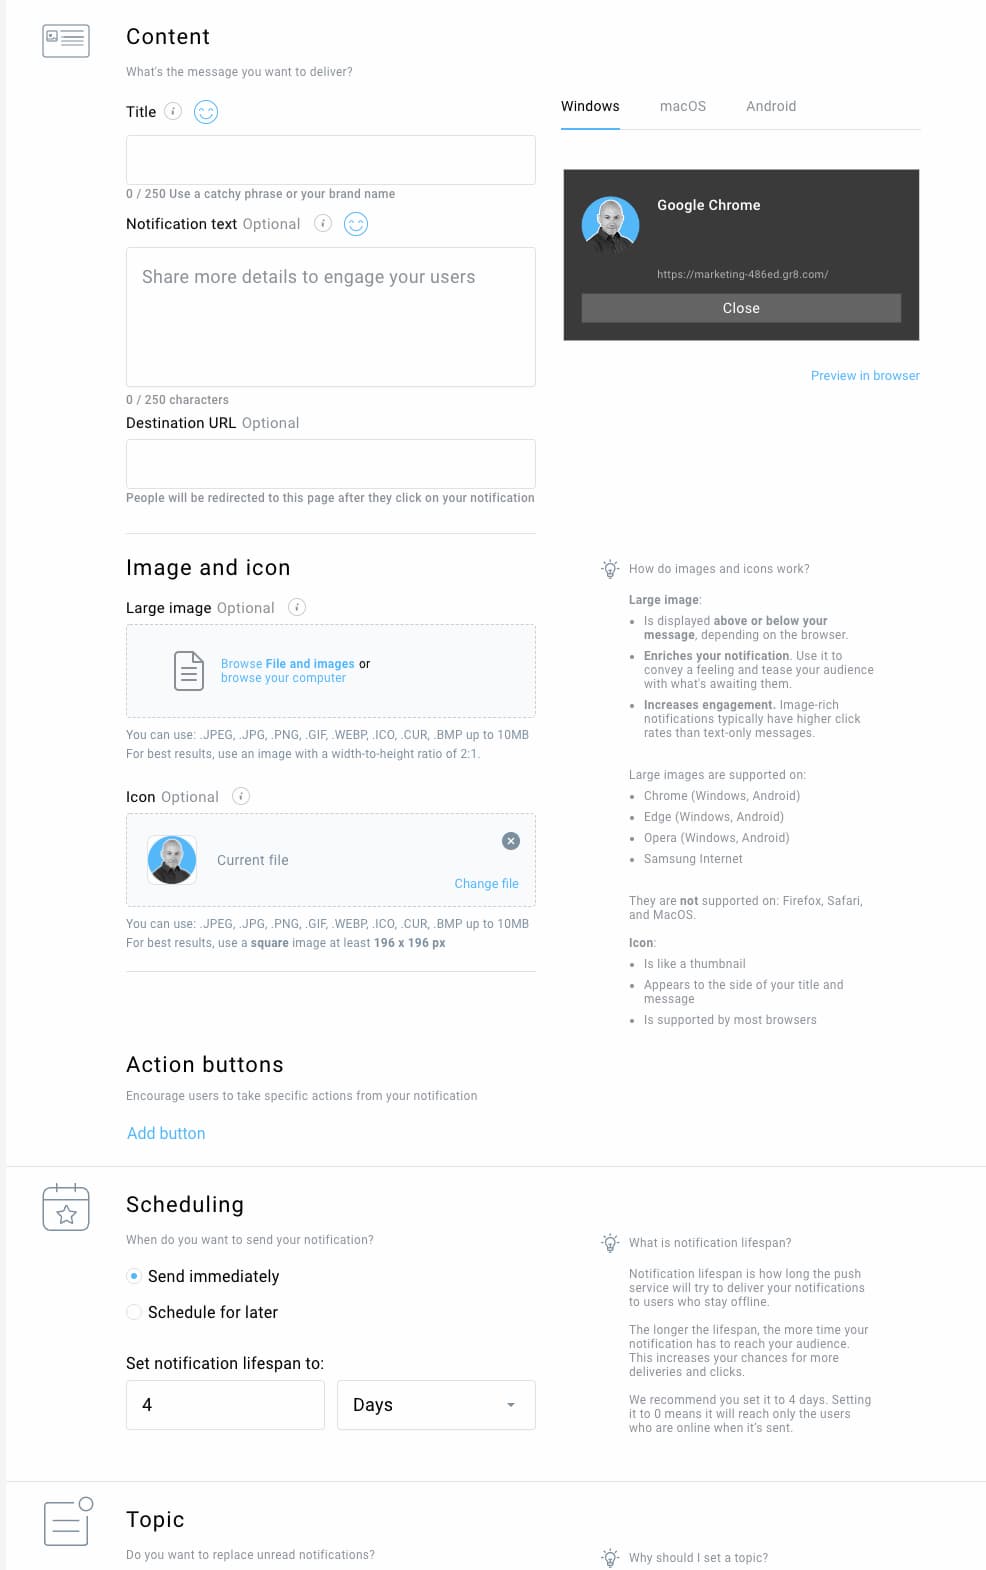
- You will need to create a name for this notification, which won’t be visible to the subscribers but will be helpful while searching through all the notifications you’ll create.
- Then, add a Title with less than 250 characters. This is the first thing that the subscribers will read. Use your brand’s name or an eye-catching phrase. Try to think of something intriguing that sparks your subscriber’s interest yet doesn’t sound like SPAM.
- Next is the Notification text – this step is optional, but I highly recommend using this space. You’ve got some extra room to use here, and in this copy, you can invoke a sense of urgency and explain why it’s worth it to click on the notification. You can use up to 250 characters, but in desktop browsers, the copy usually cuts to 50 characters.
Hint: Using the preview on the right-hand side, test how this message will appear on different devices. - After providing the text, you can also choose to provide a destination URL. This is where people who click on your notification will be redirected to.
- You can also upload a custom image and an icon. Use this space to stand out in your subscribers’ browsers better.
- Then, you can add action buttons, a.k.a. your call to action.
- Finally, you can schedule your web pushes and assign them a topic. In case you had previously sent another notification with the same topic that wasn’t clicked by your subscriber, the new notification will take its place. In other words, topics help you avoid showing too many notifications to your audience, all at once.
If you have some subscribers already and want to send them the message, click on the Send notification button.
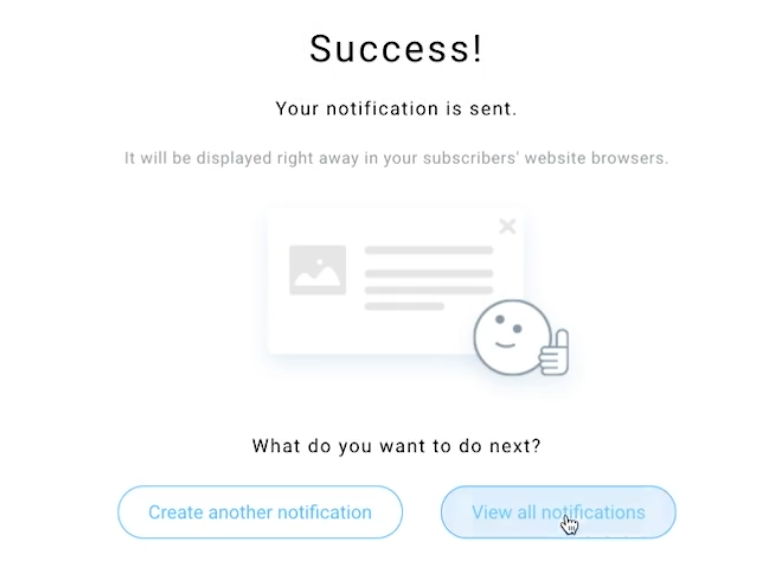
Success! Your notification will now be displayed in your subscribers’ browsers.
Although my explanation seems pretty long, the process itself is incredibly quick and simple. Once you set up the code on your website, it will only take a couple of seconds for your information to go from your mind to your subscriber’s screen.
Summary
We’re really excited about our Web Push Notifications feature and hope you feel the same way. If you need more in-depth instructions, please visit our Help Center – How to create a Web push notification.
And if you want to try out GetResponse for yourself, sign up for free today.
